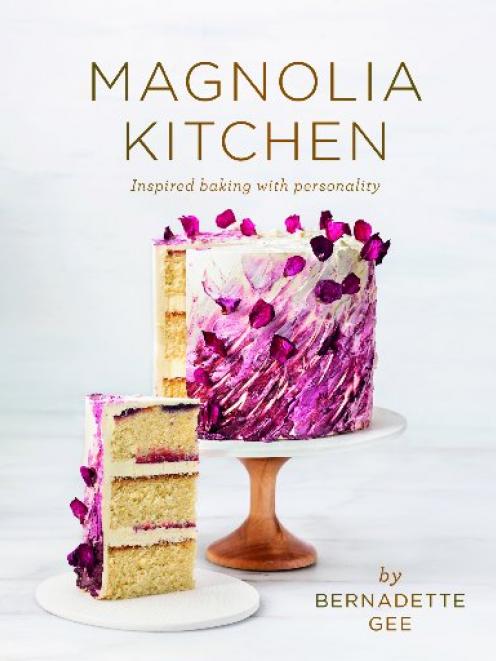
Bernadette Gee provides plenty of inspiration on this front in her first book, Magnolia Kitchen, named for her Magnolia Kitchen Sweet Cafe in Silverdale Village, Auckland.
Gee started out making sweet treats for friends and then cakes for workmates, gaining popularity through a stall at General Collective market in Epsom and then on Instagram and Snapchat.
She tells her inspiring story - teenage mum, multiple sclerosis diagnosis, marriage, two more children and now an expanded cafe, retail products and merchandise range - in the introduction to the book and pays tribute to her family, which played a part in the creation of her business.
Gee is well known for her artistic cake designs and includes many tips and tricks in the book, such as how to assemble a two-tier cake, to help home cooks to create similar masterpieces.
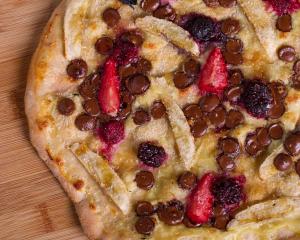
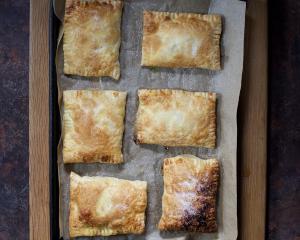
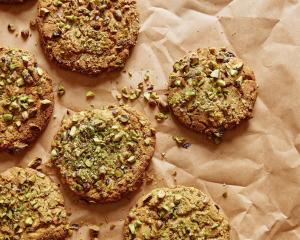
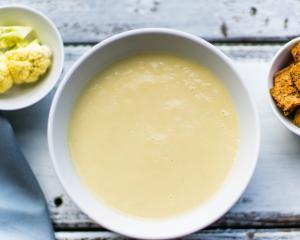
This book is broken up into chapters covering doughs and loaves, cakes, icing, curds and fillings, Italian macarons, brownies and cookies and sweet treats - sweet tooth heaven.
 Photos: Lottie Hedley
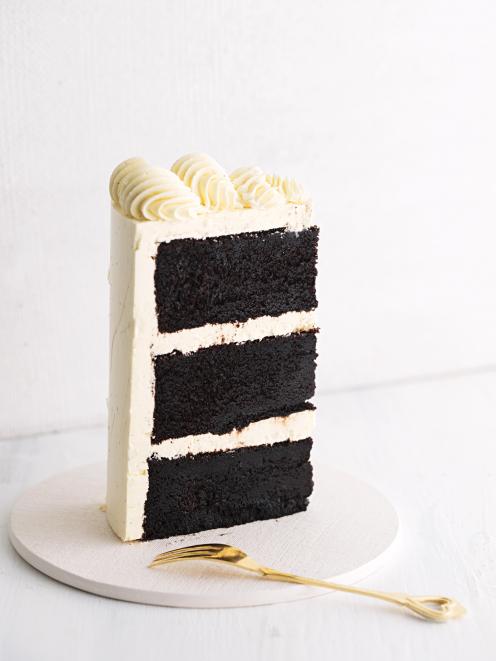
Magnolia Kitchen's signature rich chocolate cake

You need to know that this is the BEST chocolate cake EVER - it is my signature recipe, and to date only my staff and my sister know it. It keeps everyone happy, even the ''I don't like chocolate cake'' people out there (you know who you are).
It is rich and chocolatey, but at the same time light in texture. It has served me well for so many years and was the first cake I sold for money way back when.
I might even go so far as to say that the feedback on the deliciousness of this cake from that very first sale is what gave me the confidence to open Magnolia Kitchen. It will continue to serve me well for years to come, and now that I am sharing it with you guys I know it will serve you well, too.
Serves 18 when decorated | Makes 3 18cm round layers
Prep 20 minutes | Baking 30-40 minutes | Chill 2 hours
Ingredients
365g plain flour
600g brown sugar
120g Dutch cocoa
15g baking soda
250g butter, at room temperature
1 tsp instant coffee (or 30g shot of espresso)
370g warm water
4 whole eggs
120g canola oil
2 tsp vanilla extract
260g buttermilk
Method
Heat your oven to 170degC. Prepare three 18cm cake tins with cooking spray or butter and line with baking paper.
Place the flour, sugar, cocoa and baking soda in the bowl of a stand mixer fitted with the paddle attachment, and mix on low to combine.
Add the butter and mix on low until the mixture resembles breadcrumbs.
In a separate bowl, dissolve the instant coffee in the warm water (or just use the shot of espresso), add the eggs, oil and vanilla and mix together.
Add two-thirds of the wet mixture to the dry ingredients and mix on medium-high until thick and fluffy. Add the remaining wet ingredients and mix well until combined and the batter is smooth. Make sure you scrape down the bowl and then continue mixing, as the dry mixture can get stuck at the bottom and you really want a nice, smooth consistency.
Add the buttermilk and mix slowly to combine. There may be small chunks of buttermilk but don't fret, this is normal. This batter is also wetter than the basic vanilla recipe, so don't panic if it's not thick.
Pour the mixture evenly into the prepared tins (use your scales to get them all the same), and bake for 30-40 minutes until a skewer or knitting needle poked into the cakes comes out clean.
Allow to cool in the tins for 5-10 minutes, then turn out on to cooling racks.
When the cakes are cool, wrap them in plastic wrap and chill for 2 hours or overnight - this will make them easier to trim and ice.
This cake goes perfectly with every type of icing. If you are after something classic, go for dark chocolate ganache; if you want to balance the rich chocolate cake with something lighter, use vanilla bean swiss meringue buttercream.
Note: Try out these flavour variations with my rich chocolate cake recipe.
Orange chocolate cake: Replace the vanilla extract in the wet ingredients with 1 teaspoon of orange oil.
Berry chocolate cake: Make the cake as per the recipe, then distribute 180g frozen berries evenly over the batter and bake as normal. If using larger berries such as strawberries or boysenberries, chop these up before adding to the batter.
Coconut chocolate cake: Add 150g desiccated coconut to the dry ingredients at the start.
 Allergy-friendly double chocolate cookies

Makes 20 cookies (10 sandwiches) | Dough prep 20 minutes | Bake 15 minutes
Chill 2 hours, preferably overnight
Ingredients
75g almond meal
225g glutenfree flour
170g soft brown sugar
40g Dutch cocoa
175g dairyfree butter substitute
75g golden syrup
100g boiling water
1½ tsp baking soda
125g 70% dark chocolate chunks
allergy-friendly strawberry and nutmeg ice cream (see recipe below)
Method
Put the almond meal, flour, sugar and cocoa into the bowl of your stand mixer fitted with the paddle attachment, and mix on low to combine.
On the stove, heat the dairy-free butter and golden syrup in a pot until the butter has melted. Separately, mix the boiling water and baking soda together and add it to the pot, stirring to combine.
Add this liquid mixture to your dry ingredients and mix on low until combined. Add the chocolate and fold through by hand. Chill the mixture in the fridge for an hour before scooping.
Scoop portions of mixture (using a cookie scoop, if you have one) on to a tray lined with baking paper. You can space them close together, as this is just the chilling stage. Chill for at least an hour in the fridge (or less time in the freezer), so that the dough is firm and holds its shape.
At this point you can put the raw cookies into a container and store them in the freezer. If you do this, make sure you layer them between pieces of baking paper, as this recipe is stickier than the other cookie recipes and you can learn from my mistakes. If you don't, trust me: they will all freeze together and you will be carving them apart and that is not a good time.
When ready to bake, preheat your oven to 170degC.
Line a baking tray with baking paper and put your chilled cookies on to the tray, leaving lots of space between them, as they will spread.
Bake for about 15 minutes or until they are crispy around the edges, then remove from the oven and allow to cool on the tray.
I love these sandwiched together with a generous helping of our allergy-friendly strawberry and nutmeg ice cream.
 Allergy-friendly strawberry and nutmeg ice cream

The only reason this recipe exists is that we needed a creative way to photograph the allergy-friendly double chocolate cookies. They may be delicious cookies, but they look like black pancakes in photos by themselves - so I decided that allergy-friendly ice cream was the best solution (thanks to wonderful photographer Lottie for the suggestion).
Seriously, though, now that this recipe exists I am left wondering where it's been all my life!
Makes 1.8kg ice cream | Prep and chill 4-5 hours
Ingredients
1kg coconut cream
600g frozen strawberries
200g maple syrup
½ tsp good quality vanilla bean paste
1 tsp vanilla extract
1 Tbsp grated nutmeg
Method
Chill your coconut cream, in its can or carton, in the freezer for about an hour before starting this recipe - this will make sure the milk and cream separate inside.
Do not shake the coconut cream. Turn your can/carton upside down to open it, and drain out the liquid. You will be left with solidified coconut cream, which is thick and almost looks like yoghurt.
Scoop the thick coconut cream into the bowl of your stand mixer and whisk on high for about 7 minutes or until the coconut cream thickens and looks like over-whipped cream.
While the coconut cream is whipping, prepare your strawberries.
Roughly chop 200g of them and set aside. Put the remaining strawberries in a blender along with the maple syrup, vanillas and nutmeg, and blend until combined and the strawberries are pureed.
Add the pureed strawberries to the mixer bowl with the whisked coconut cream and fold together until combined. Add the chopped strawberries and fold to combine.
Scrape the ice cream into a freezer-safe bowl or container and freeze for 20 minutes. Remove from the freezer and whisk by hand, then put back in the freezer for another 20 minutes.
Repeat the freezing and whisking until your ice cream is too thick to whisk, then cover and store in the freezer for at least an hour before serving.

