


"It has not been a lack of knowledge about what constitutes a healthy diet; it has been how to actually ensure we put that knowledge into practice in the midst of our hectic lives."
So Freer decided to write a book The Organised Cook which not only has recipes but also plenty of advice and practical tips to turn people from frazzled and frustrated into calm and organised.
"These strategies will help make your life easier and healthier — and hopefully a bit more fun, too."
The requirement to shop, prepare and cook food every day can be daunting, so she looked at ways to make it easier, finding herself focusing on a handful of practical things — how people’s kitchen is equipped and arranged and whether that hinders or supports cooking; how simple meal planning has the power to reduce stress around choosing what to eat and food waste and now to navigate cost-effective food shopping.
It is all things she has been doing and teaching others to do for years.
"This process formed the solid foundation upon which a sustainable, healthy diet could be built. So I know that it really works, not just for me, but for anyone who wants to eat well, whatever kind of kitchen you have."
Freer starts with advising people to organise their space. She uses the "Three U’s Tool" — checking every item in the kitchen earns its place by being useful, used or still usable. If things do not fall into one of these categories they go into the not useful pile, to be stored outside the kitchen, if it’s something people cannot bear to part with or is used only occasionally, for events such as Christmas, or recycled, donated or disposed of responsibly.
"I want to bust a pervasive myth. An effective kitchen has nothing to do with how big or fancy it is, whether it’s new or decades old, or even how much storage or work space there is. What matters is the food and drink we bring into our kitchens, how we organise it, and how we make the best use of our space and equipment to consistently cook nourishing meals from scratch."
Then she advised a deep clean before everything is put back, organising the available storage space and ensuring the right things are put back in the right place and sorted in the right way, putting everyday food preparation equipment within easy reach and cooking utensils and pots and pans near the oven.
"Try to give everything a specific space to live — having a logical system of organisation that is easy for everyone to maintain."
The next step is to define the "golden work space", the area where people do most of their preparation, and remove any appliances, jars and clutter from the zone.
Attacking the pantry is next — check foods are still within use-by dates, put opened packets of the same dried or long-lasting foods into one container, and donate any unwanted food that is still good to eat. She also suggests doing the same process with the fridge.
"Keep healthy food at eye-level and make it as easy as possible to access. Try to keep a stock of wholesome store-cupboard staples to hand, so you don’t have to go shopping every time you are hungry."
Freer is aware keeping a kitchen in this state all the time is not possible if people are using it, so recommends setting aside half an hour each month to do a stock-check and mini organisation.
Meal planning is her other advice to feel more in control in the kitchen. Start with a stock check, work out the busiest days and add proteins, she says. Jot down complete meals. Plan in leftovers. And write a shopping list.
"Having a rough idea of what you’re going to cook and eat each day can save an enormous amount of time, effort, money and mental load."
Keep all your meal plans and shopping lists in a folder so they can be referred back to next year and remember that a nourishing meal can be created from almost any whole food ingredients following this simple guide — 1/2 plate vegetables, 1/4 plate of protein, 1/4 plate of minimally processed carbohydrate, a little healthy fat, a pop of flavour and a piece of fruit for pudding.
Finally, she says see through the clever temptations of food advertising by using the END tool — E for emotion, N for nutrition and D is display.
"It helps us to become more mindful about whether it is effectively persuading us to believe in that emotion."
The book
Extracted from The Organised Cook by Amelia Freer. Published by Bonnier. RRP $55.
 One-pot green dahl
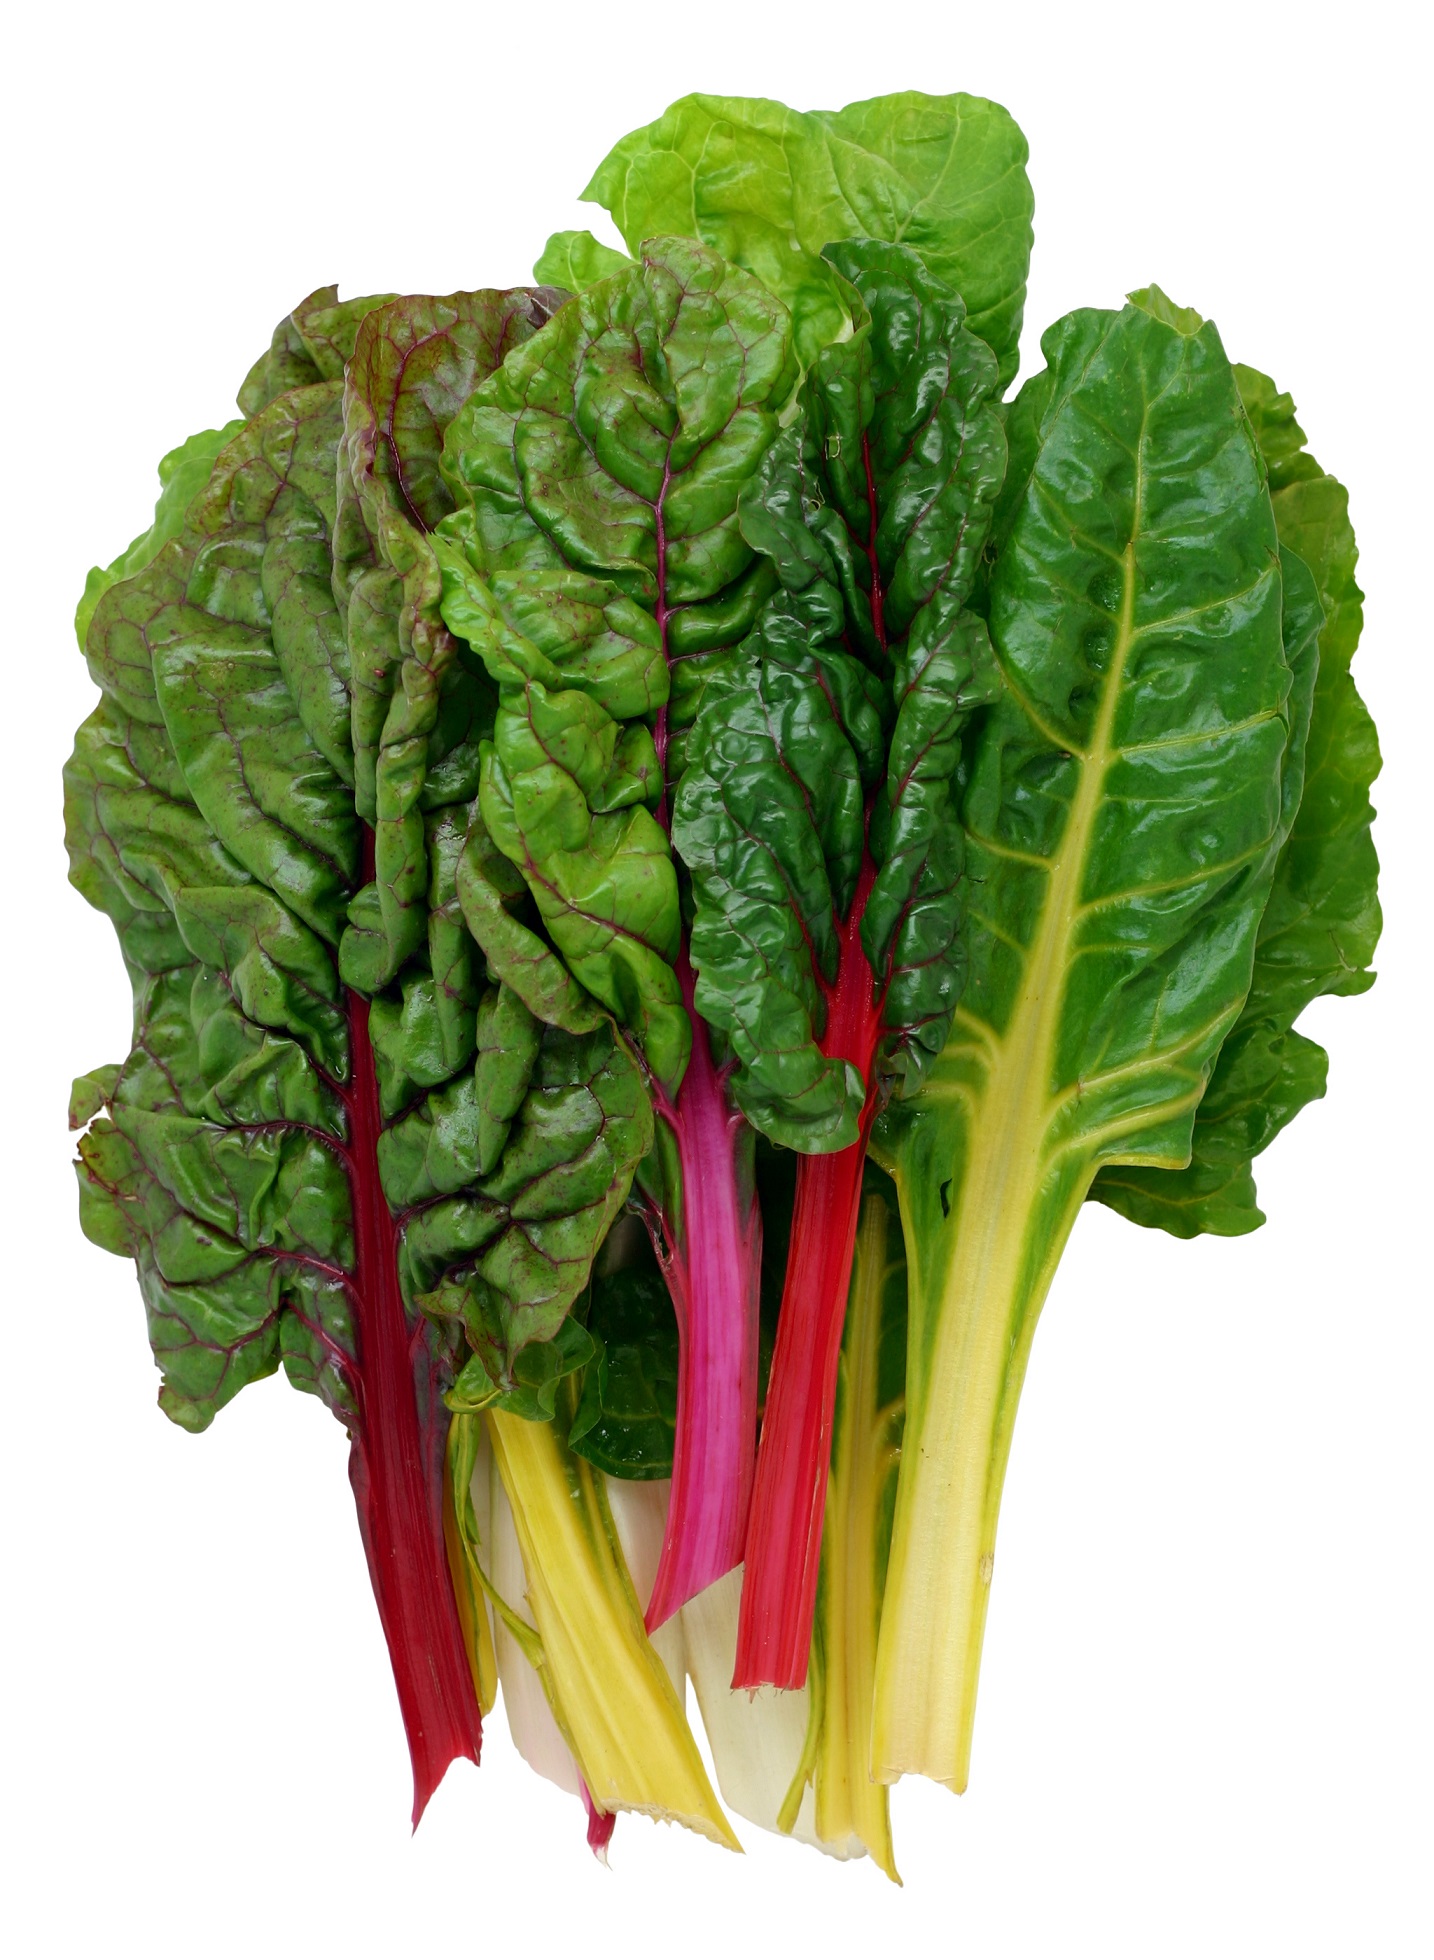
This is a one-pot wonder that we often make for Sunday night dinner at our house. Nourishing and wholesome, it really sets us up for the week ahead. I’ve added extra greens here with some Swiss chard, but you could easily swap this for spinach (a few cubes of frozen spinach would work well), beet leaves, cavolo nero, or even a couple of handfuls of peas, if that’s what you have to hand.
GF/DF/vegan/vegetarian
Serves 4–6
Prep time: 5-10 mins
Cook time: 1 hr
Ingredients
1 shallot or ½ medium white onion, sliced
1 Tbsp coconut oil or mild olive oil
1 large piece of fresh root ginger (about 3cm), peeled and grated
2 cloves garlic, grated
1 green chilli, deseeded and chopped
1 tsp mustard seeds
1 tsp ground coriander
1 tsp ground cumin
1 tsp ground turmeric
300g dried black/brown lentils
1 × 400ml tin of coconut milk
200g Swiss chard, washed and roughly chopped
natural or dairy-free yoghurt, to serve (optional)
small handful of fresh coriander, chopped
In a shallow saucepan, fry the shallot or onion in the coconut or olive oil over a medium heat for 5 minutes, until it starts to soften and caramelise, stirring occasionally.
Add the ginger, garlic and chilli and all of the spices, and fry for another 5 minutes, stirring often.
Mix in the lentils, coconut milk and 650ml water.
Bring to the boil, reduce the heat and simmer for about 40–50 minutes, stirring occasionally, until the lentils are soft and the water absorbed. Add the Swiss chard and cook for 5 minutes, until wilted.
Season to taste with salt and pepper.
Serve warm with a little yoghurt (or dairy-free alternative) swirled through, if you fancy, and coriander sprinkled on top.
TIP:
This recipe makes a versatile "base" dahl to batch cook and freeze. Make it up to the point of adding the Swiss chard (but don’t add it), then cool and freeze in portions.
When you come to eat it, heat through with other fresh greens, roasted pumpkin, grated carrots or courgettes or any other vegetables you fancy.
 Best black bean burger
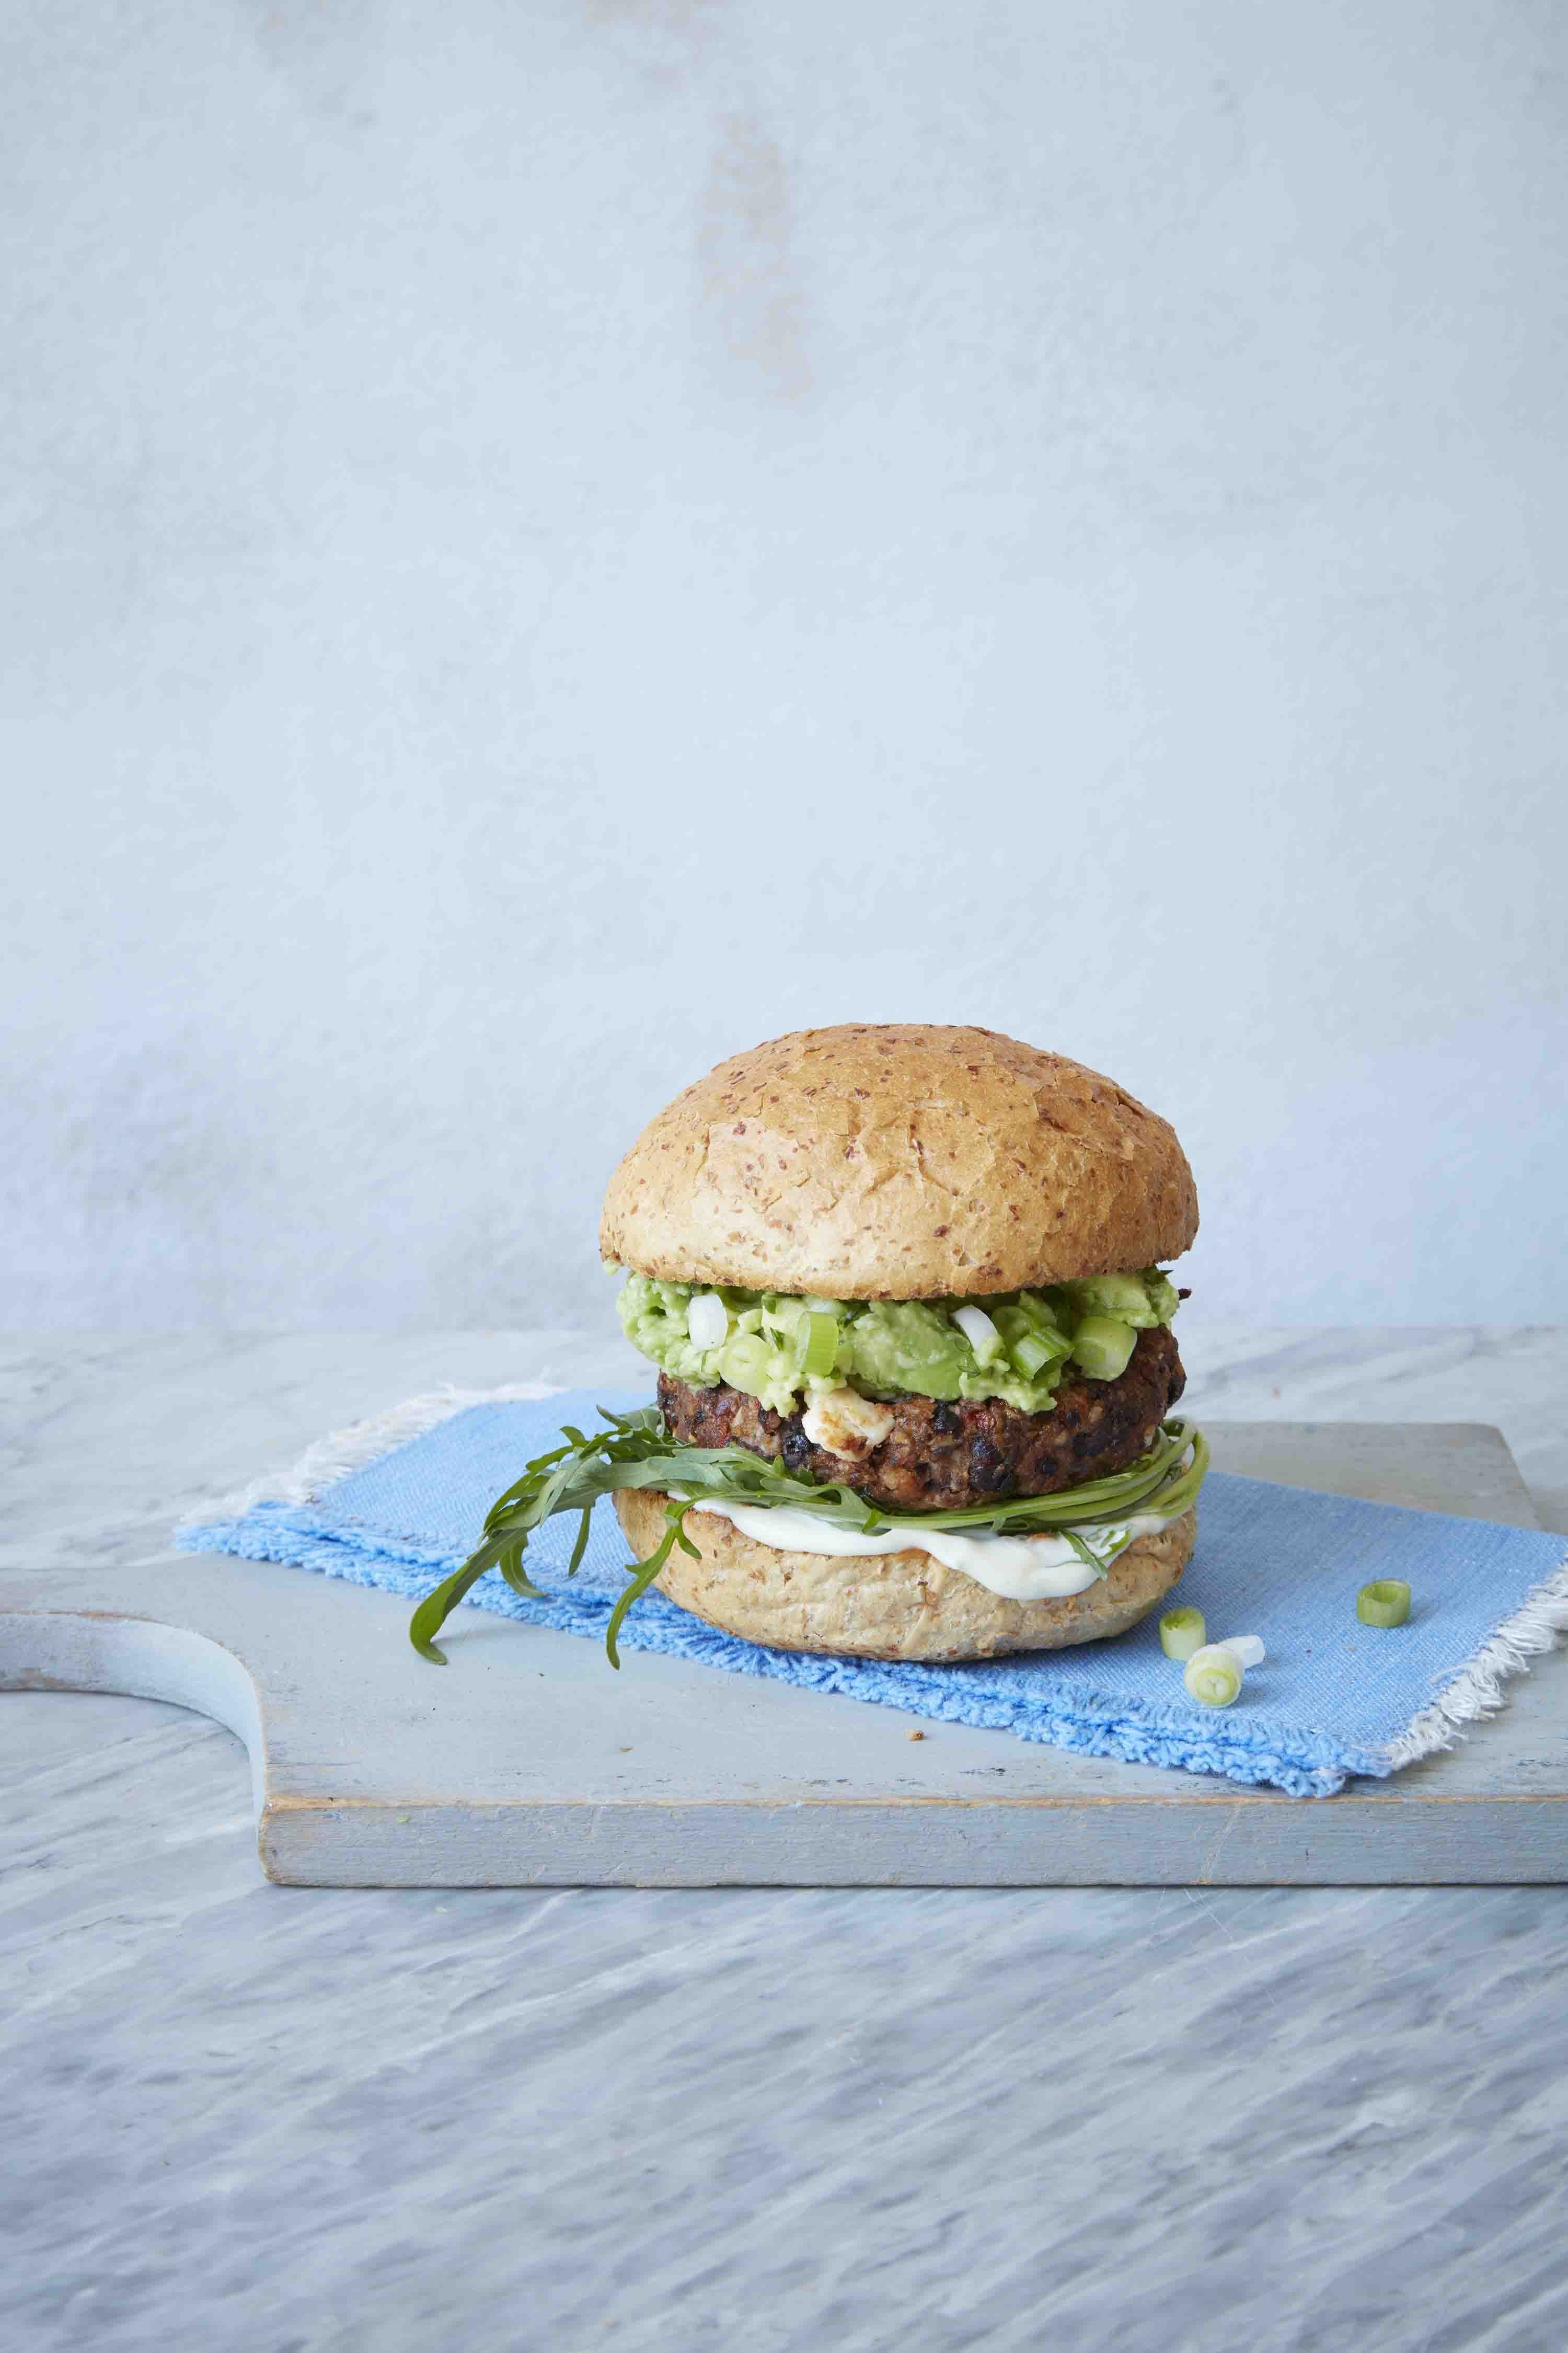
This is definitely the best bean burger I have made and I’ve made a lot! The recipe was inspired by a wonderful bean burger on Sally’s Baking Addiction blog, but I’ve reduced the number of ingredients so it’s more likely that you’ll have everything to hand. Serve them with all the normal burger accompaniments and you’ll never look back. It’s also a family-friendly and economical option to have in the freezer to pull out whenever, so do make a few spare if possible.
Vegetarian/GF/kids
Makes 6
Prep time: 30–40 minutes plus 2 hours resting in fridge
Cook time: 10–14 minutes (grill), 20 minutes (baking)
Ingredients
2 × 400g tins of black beans, drained and rinsed
1 Tbsp olive oil, plus extra for drizzling
½ red pepper, deseeded and roughly chopped
1 shallot or small onion, roughly chopped
220g mushrooms, roughly chopped
2 cloves garlic, crushed
1½ tsp ground cumin
½ tsp sweet smoked paprika
½ tsp dried mixed herbs
65g breadcrumbs (use gluten-free, if necessary)
80g feta, crumbled
1 large free-range egg
1 Tbsp Worcestershire sauce (or a vegetarian alternative)
Method
Preheat the oven to 150degC fan/170degC.
Spread the drained beans on a baking tray and bake for 15 minutes until slightly dried out. This is important, as a lower water content helps the beans to stick together better, and really improves the texture of the burger.
Add the oil to a medium-large saucepan over a medium-high heat. Add the pepper, shallot or onion, mushrooms, garlic, cumin, paprika and mixed herbs and saute for around 8 minutes until soft.
Remove from the heat and set aside to cool a little.
Place the sauteed vegetables and all the remaining ingredients, including a good pinch of salt and grind of pepper, in a large food processor and pulse until combined, leaving some larger chunks.
You don’t want to end up with a paste, so go carefully. Using wet hands (as it helps prevent the mixture sticking), shape the mixture into 6 patties (each roughly 8–10cm). Line a baking tray with parchment paper and place the patties on top. Put the tray in the fridge for a couple of hours, to help the patties stick together.
Preheat the grill to a medium heat or the oven to 190degC fan 210degC.
If grilling, drizzle a little olive oil over the patties and place them under the grill for 8 minutes. Turn them over, then grill for 4 minutes on the other side, checking every few minutes as every grill is different. They should look a little golden.
If baking, drizzle a little olive oil over the patties, then bake in the oven for 10 minutes.
Flip them over and bake for a further 10 minutes.
 One-pan roasted salmon, fennel and potatoes with tarragon sauce
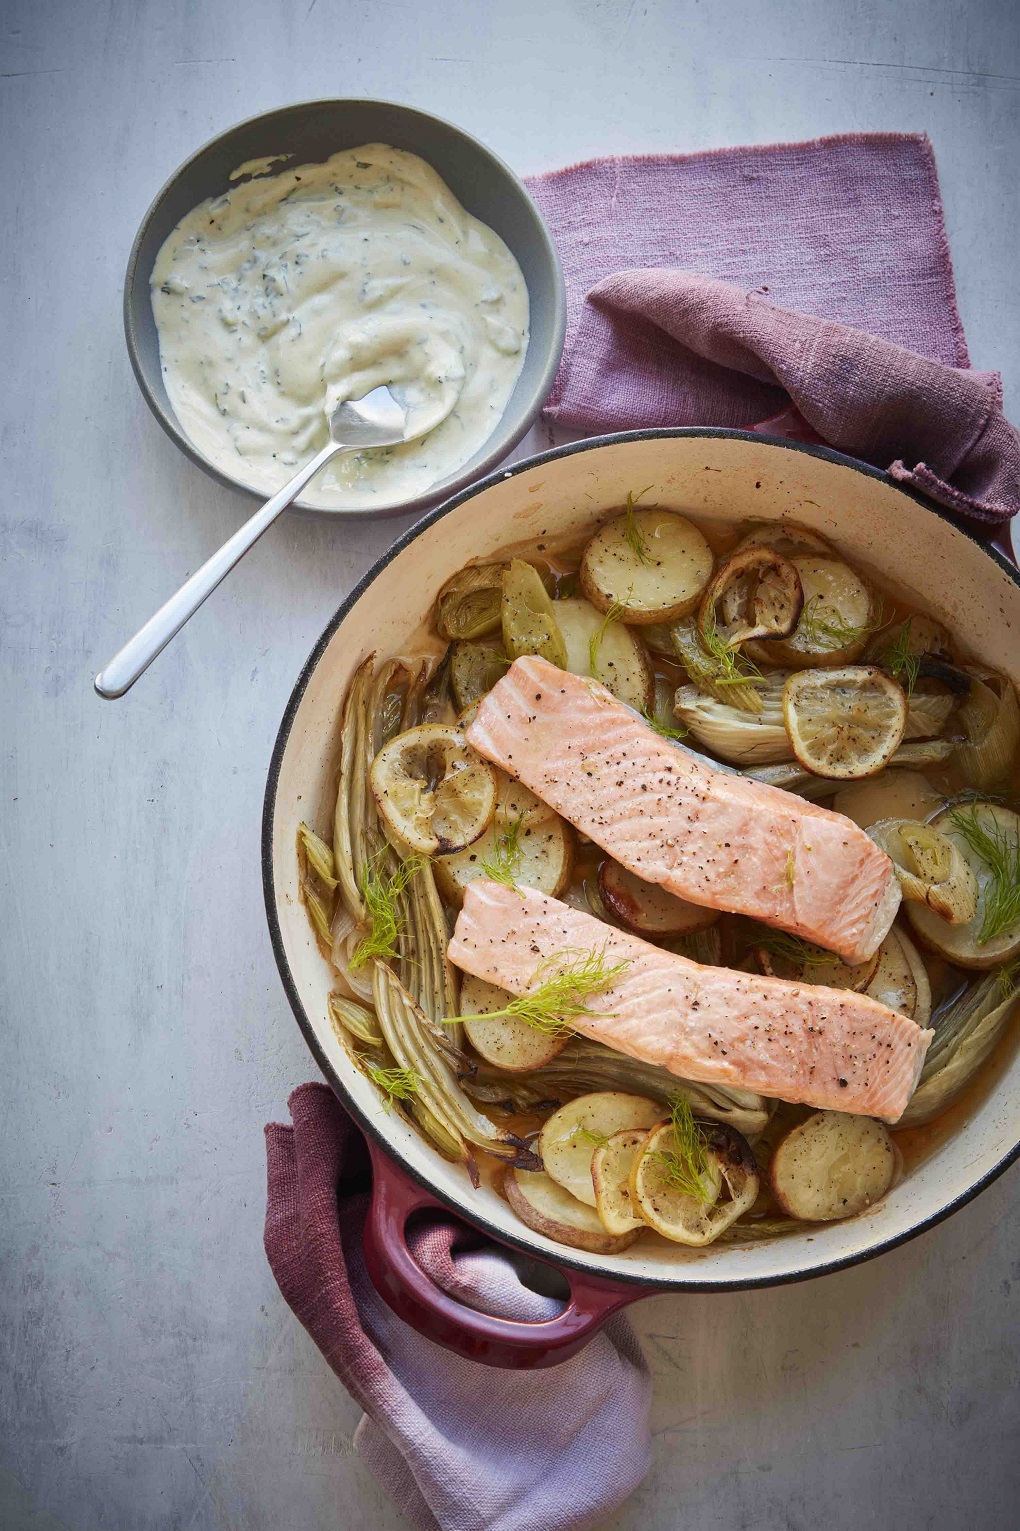
When you want to serve something that’s special but still simple, this one-pot salmon dish is a must. I make it when I’ve got a little time on my side, but minimal energy left (and therefore don’t want a lot of fiddly prep or a huge pile of washing up). It’s mostly a case of chopping, roasting and waiting, and you’re rewarded with a wonderful weeknight meal.
GF/DF
Serves 2
Prep time: 10min
Cook time: 1 hr 25min
Ingredients
1 leek, trimmed and cut into 1cm rounds
2 sticks of celery, chopped into 1cm pieces
1 fennel bulb, cut into 1cm wedges (reserve any fronds to garnish)
4 waxy potatoes (such as Charlotte, Jersey Royals or Maris Peer), cut into 1cm rounds.
½ lemon, cut into thinnest possible slices and seeds removed
2 Tbsp olive oil
100ml chicken or vegetable stock
2 salmon fillets (or hot-smoked salmon fillets)
For the tarragon sauce
2 Tbsp crème fraîche (or dairy-free alternative such as oat crème fraîche, coconut cream or dairyfree yoghurt)
Juice of ½ lemon
1 tsp horseradish sauce
2 Tbsp chopped tarragon leaves
1 tsp Dijon mustard

Preheat the oven to 140degC fan/160degC.
Toss all the chopped vegetables and lemon slices into a baking dish with the olive oil and season with salt and pepper.
Cover with a lid and bake in the oven for 50 minutes until the veg is soft.
Meanwhile, make the sauce. Mix the crème fraîche with the lemon juice, horseradish, tarragon and mustard, season and set aside.
Remove the vegetables from the oven and increase the temperature to 200°C fan/220ºC.
Stir the vegetables, then return to the oven for a further 20 minutes without the lid, until starting to brown and crisp.
Remove the dish from the oven and pour the stock into the base, then carefully place the salmon fillets on top of the vegetables.
Bake without the lid for 12–15 minutes, or until the fish is just cooked through. (If using hot-smoked salmon, bake with the lid on for 6-8 minutes so the fish warms
through without drying out.) Garnish with the fennel fronds, if you have some.
Serve hot with a bowl of the tarragon sauce on the side.
TIP: Make the most of the oven being on, and add another tray of vegetables to roast, or a couple of small jacket potatoes.


