PHOTO


Green and pink seem to be the colours of the season, and they make a pretty pairing. The blushing rhubarb and the pinky-red strawberries look beautiful against the fresh-sprouted limey-green asparagus, herbs and... peas. I love peas!
Did you know that the UK has an annual Great British Pea Week? We could do with one here, as this tiny but mighty vegetable is worth celebrating. The young, round pea is just the right size for little fingers to pick out straight from the pod and so sweet, too. The trick when cooking peas is to do it super swiftly, so they don’t lose their vibrancy. Just two minutes in boiling water is enough.
I’ve shared one of my favourite pea recipes opposite and also a tart featuring antioxidant-packed blueberries and mascarpone - a little bit naughty, a little bit nice.
Although blueberries might not be in season until later in spring, it’s worth keeping this recipe on hand for when you spot them coming into the local market or supermarket.
The tart looks so pretty decorated with edible flowers, which are good to plant alongside your spring veg.
Flowers are sunshine for the soul and always lift the spirits. I hope these recipes do too.
Nga mihi nui, Nadia.
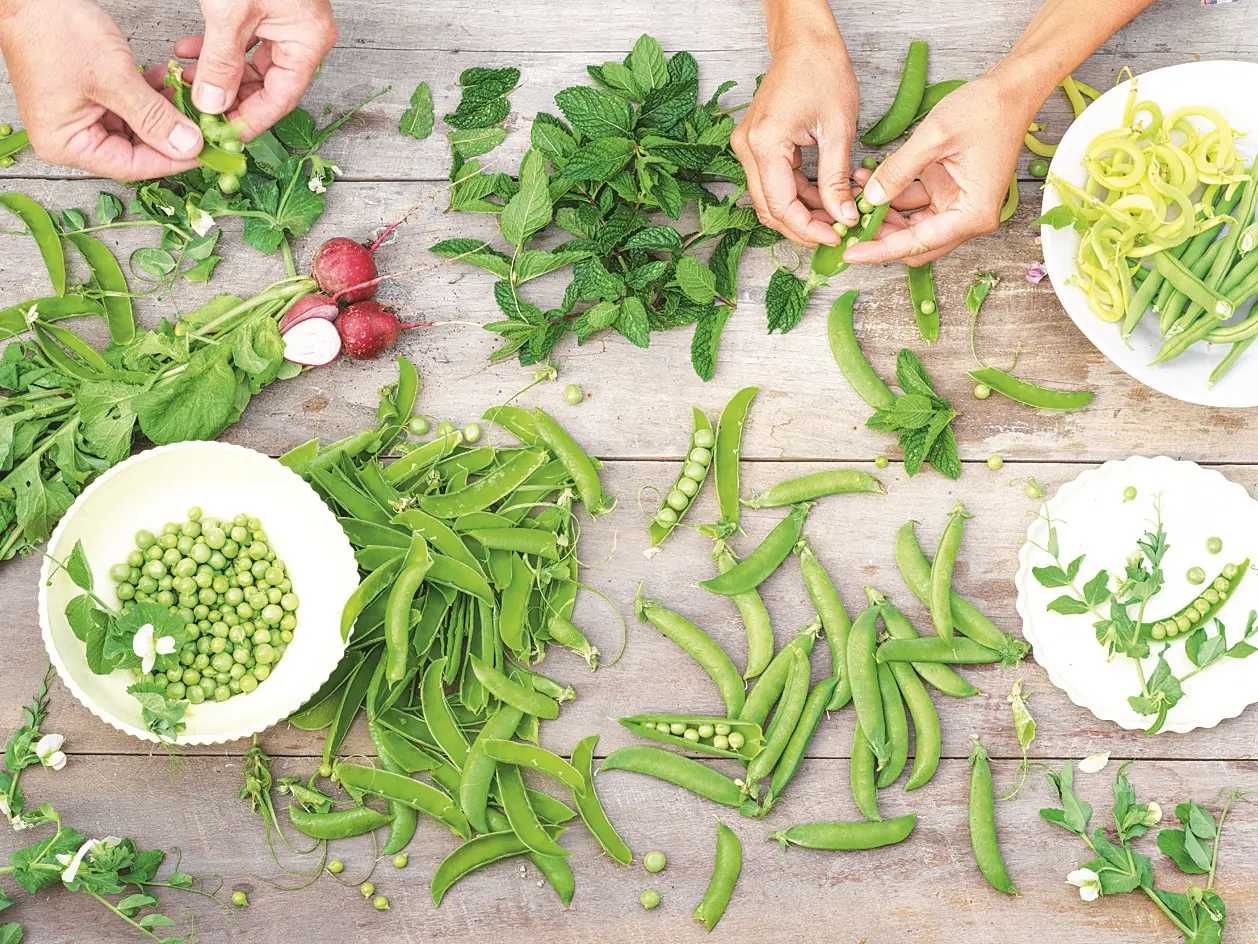
Peas
Freshly picked peas are a true delight. Some need shelling, while others such as snow peas and sugar snaps (also known as mange tout) can be eaten straight from the vine, which is how children typically love to eat them - mine can’t get enough of them.
• Best grown from seed.
• Plant from autumn to winter in warm areas; early spring in cooler regions.
• Space 15cm-20cm apart in rows about 60cm apart.
• 65-100 days from sowing to harvesting, depending on the variety.
• Crop rotation: Ideal for following nitrogen-hungry brassicas since peas, being legumes, replenish nitrogen in the soil.
• Plant family: Fabaceae
What type to plant
Snow peas are eaten as immature pods before the peas fill in; pick sugar snap peas when they are fully mature but still sweet and tender. Shelling and edible-podded peas come in dwarf or tall varieties to suit your growing preferences. Both types require the same growing conditions of full sun and free-draining soil.
Where to grow
It’s best to sow peas where they are to be grown, but keep in mind that cold, wet soil will cause the seeds to rot. Moist soil is fine, but wet soil is not. A raised bed may be your best bet if your garden soil is soggy. If it’s still too cold outside and you want to get a head start, sow your seeds in cardboard toilet-roll inners and transplant them into the garden when seedlings are 8cm-10cm high.
Sow to a depth of about 2.5cm.
Provide support
Tall varieties should be staked or grown against a support, such as a teepee or trellis. Dwarf varieties don’t need staking, although a row of hoops will keep flowers and pods clear of the soil.
Sowing
Sow seeds successively (every 2-3 weeks) to extend the picking season. Pea planting can continue until October or early November in cooler areas, but as the weather warms up, flowers tend to drop and yields decrease.
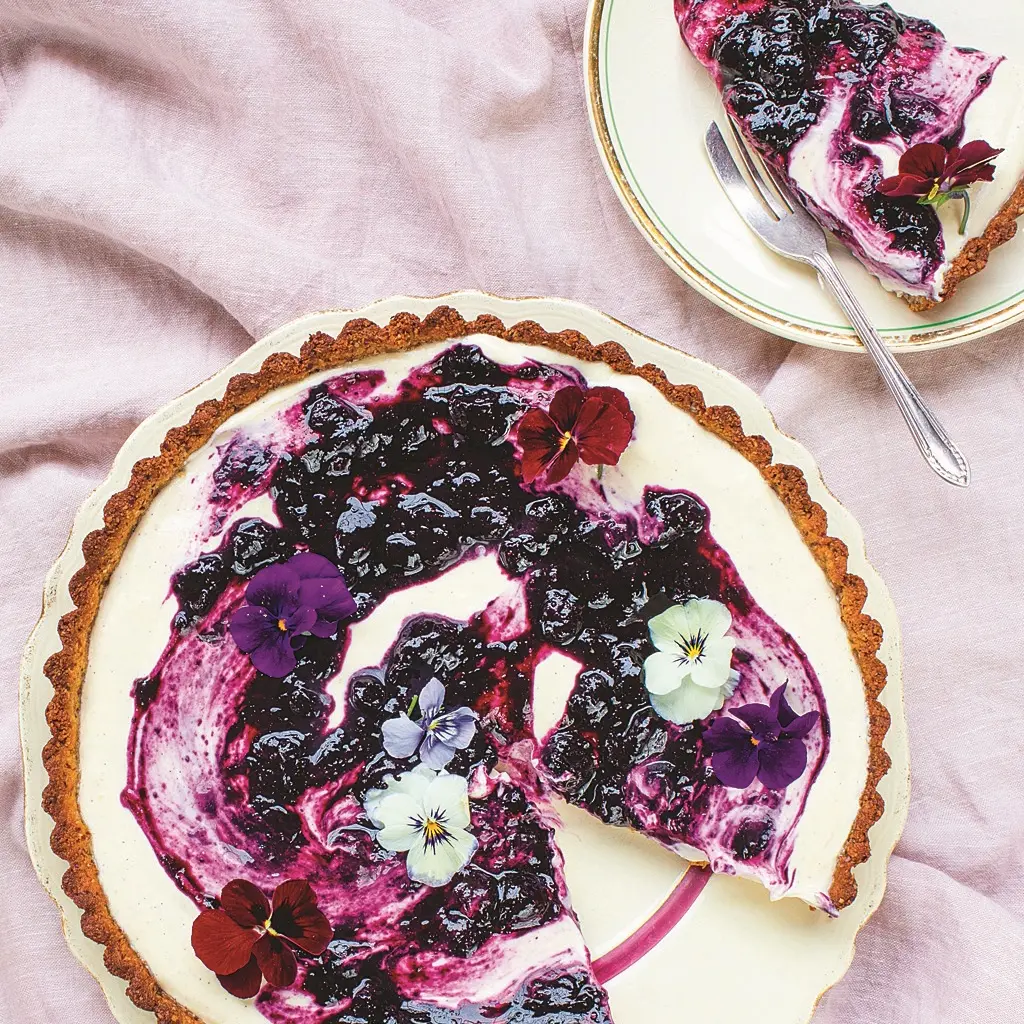
Honeyed blueberry & mascarpone tart
The base and blueberry filling for this pretty, spring-fresh tart can be made a couple of days ahead. Store the tart base in an airtight container and the blueberry mixture in the fridge.
SERVES 8
Prep time 15 minutes
+ 45 minutes cooling
Cook time 20 minutes
25g butter or coconut oil
5 Tbsp honey
1½ cups almond meal
3 tsp vanilla bean paste or extract
250g blueberries
1 Tbsp lemon juice
200g mascarpone
1 cup Greek yoghurt
small handful of fresh, edible flowers
Method
Preheat oven to 180degC. Grease a 24cm tart tin with a loose base with oil or butter.
Melt butter and 2 Tbsp of honey together in a small pot over medium heat. Remove from heat and add the almond meal and 1 tsp of the vanilla and mix until very well combined.
Tip into the prepared tin and use your fingers to press into the base and sides if the mixture is sticking, wet fingertips slightly.
Place in the fridge for about 30 minutes to firm up.
Use a fork to prick the base of the tart all over. Bake for 8 minutes until golden brown and cooked through. Allow to cool completely.
To prepare the blueberries, place blueberries, 1 Tbsp of the honey, lemon juice and 2 Tbsp of water into a small pot.
Bring to a simmer over medium heat and simmer for 10 minutes, stirring occasionally, until the liquid has reduced and is syrupy.
Set aside to cool completely.
Combine mascarpone, yoghurt, remaining 2 Tbsp of honey and remaining 2 tsp of vanilla in a bowl and whisk to combine.
Fill the cooled tart tin with the mascarpone mixture and swirl through the blueberries. Scatter over flowers.
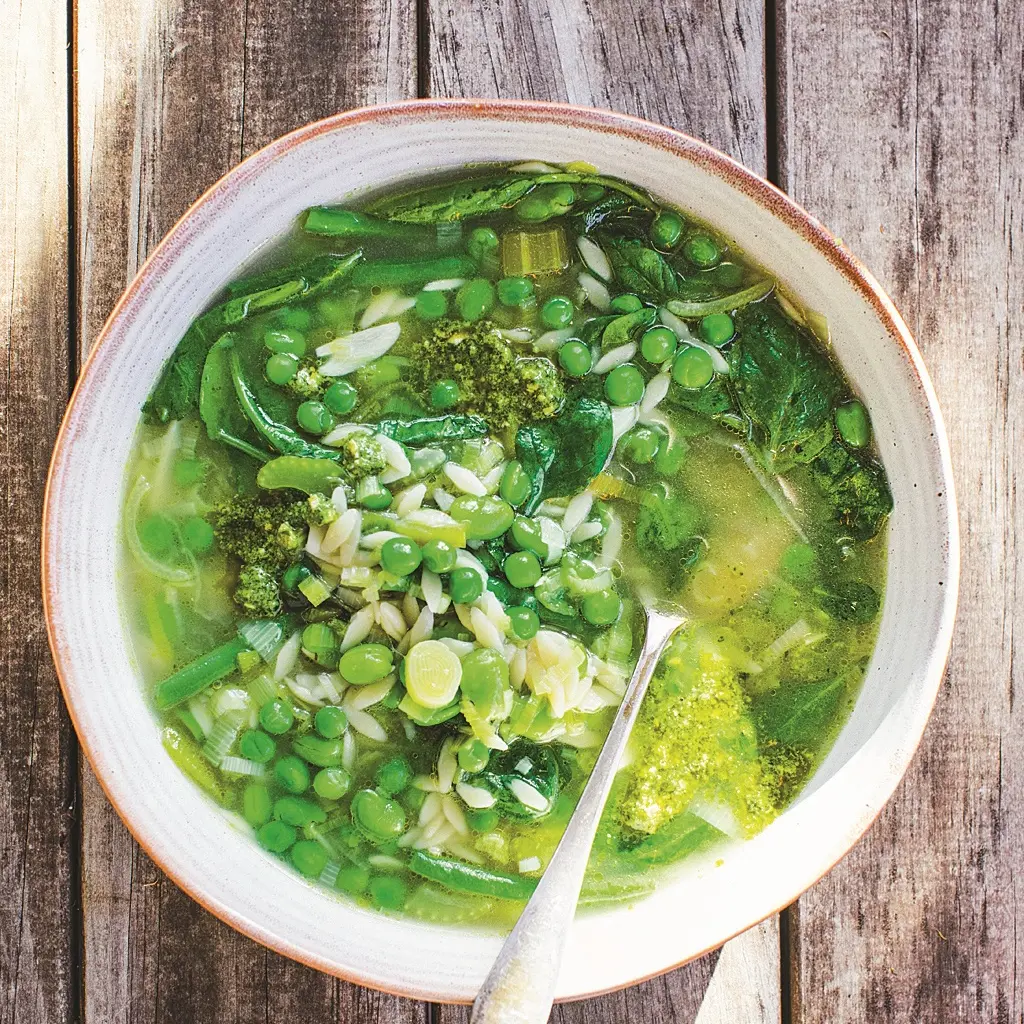
Green minestrone with pesto
SERVES 4
Prep time 10 minutes
Cook time 20 minutes
1 leek, thinly sliced
2 stalks celery, thinly sliced
4 cloves garlic, thinly sliced
1.5L vegetable stock
½ cup orzo or other small pasta
1 cup peas (fresh or frozen)
1 cup podded broad beans (or use an extra cup of peas)
100g green beans or sugar snap peas
2 good handfuls baby spinach or baby kale leaves
Spring pesto (below) or store-bought basil pesto, to serve
Method
Heat a drizzle of olive oil in a large pot over medium heat. Add leek, celery and garlic and cook for 5 minutes until just softened.
Add stock, cover and bring to the boil. Stir in pasta, cover and cook for 8 minutes or until al dente (firm to the bite).
Add peas, broad beans, beans or sugar snap peas and spinach and cook for 1-2 minutes, or until just tender. Season to taste with salt and pepper.
Divide between bowls and spoon over pesto to taste.
Spring pesto
A good pesto has many uses, as a dip for vegetable crudites or crackers, drizzled on a pizza or a warm roast veg salad, dolloped on a pie or frittata, or tossed through pasta. You will find a jar in the fridge very handy indeed.
MAKES 1 CUP
Prep time 10 minutes
Cook time 5 minutes
1/3 cup blanched (skin off) almonds, cashew nuts or pine nuts (or a mixture)
2 cups chopped mixed soft herbs, e.g. parsley, coriander, mint
½ clove garlic
zest and juice of 1 lemon, plus extra juice to taste
¼ cup extra-virgin olive oil
Method
Lightly roast nuts in a 170degC oven for about 5 minutes until starting to turn golden. (Watch them carefully to ensure they don’t burn.) Leave to cool completely before making pesto.
Place cooled nuts in a food processor with herbs and garlic and pulse a few times until finely chopped, scraping down the sides as necessary to ensure everything is incorporated. Don’t over-blend it; it is nice to retain some texture.
Add lemon zest and juice, extra-virgin olive oil and a pinch of salt, and pulse a few more times until combined. Season to taste with more salt and lemon if needed. Spoon into a jar and cover with a thin layer of oil (this stops the pesto from oxidising).
Keep in the fridge for up to about a week.