PHOTO

One of the joys of autumn is playing in the leaves with my two boys. It always brings out the child in me. We collect them into great big piles and then, along with Winston, our pup, jump straight into the middle, scattering leaves everywhere, then kick them up to watch them fall like natural confetti to the ground.
In autumn, the garden delivers such a plentiful harvest it’s pretty much impossible to eat it all. The solution is to share. Some fruit trees, too, are loaded with seasonal goodness and hand-delivering a basket of gathered chestnuts or excess apples or pears, or some preserves, creates little moments of connection that build friendships and community.
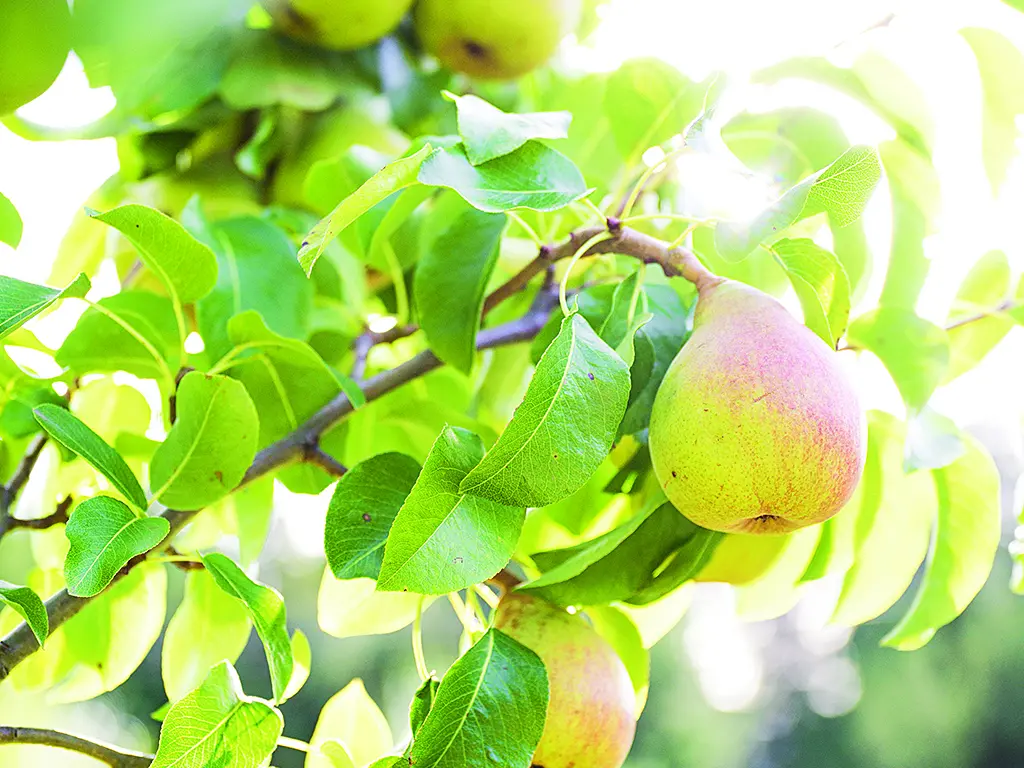
Pears are one of my favourite autumn fruits and I love the fact that we’re still eating and cooking with varieties that originated back in the 1800s. If you aren’t lucky enough to have a couple of old trees in your back garden or neighbourhood, you can buy the same heirloom varieties in the supermarket. They’re perfect poached for dessert but also bottled.
Here I've shared a recipe for chai-spiced bottled pears along with a scrumptious pear and walnut scroll that is all sticky and unctuous and guaranteed to get you an invitation inside for a cuppa.
Growing pears
Pears (from the plant family Rosaceae) are a delicious autumn fruit that grow well in all parts of the country. They’re also very long-suffering in that they tolerate cold winters and hot summers, adapting to nearly all growing situations. They are best grown from young trees and planted in winter or early spring when dormant. Check the plant label to see how far apart to plant them (it depends on the species) and you’ll need to wait three to seven years for a crop.
Oldies but goodies
Heirloom varieties are most commonly available since you cannot beat their flavour and output. Beurre Bosc (Bosc) originated in Belgium in 1807 and is best known for its cinnamon colour and as a first-rate dessert pear. It’s still one of the most popular, perfect eaten fresh or cooked and especially useful for poaching. Conference, Packhams Triumph and Doyenne du Comice are equally delicious dessert varieties, Comice being one of the most popular pears in Europe. The aromatic Starkrimson looks stunning in the garden with its brilliant crimson fruit. Winter Nelis, Taylors Gold and Concorde are favourites too, the latter one of the sweetest of all.
It takes two
Plant at least two pear trees for successful fruiting - most varieties aren’t self-fertile and require another tree for pollination.
Sun, soil and stakes
All fruit trees do best in a sunny position, with at least six hours of sun a day. They will produce less fruit in shaded spots and are more prone to diseases. Free-draining soil is best, although pears will tolerate heavier or sandy soils. They love fertile soil, so dig in plenty of organic matter such as compost and blood and bone at planting time. In spring, feed trees with a complete flower and fruit fertiliser or a phosphorus-rich organic one, such as liquid bone meal, to aid fruit development. Stake plants from the outset (two stakes on either side of the tree with flexible ties).
A low-maintenance ally
If you’re a relaxed gardener, pear trees, which are fairly low maintenance, are your friend. But keep them weed-free and water well during dry spells, especially when they are young. Keep mulched in the warmer months to conserve moisture.
Harvest at crunch time
Pears are best picked when still firm. They ripen from the core outwards, so if they are left on the tree to ripen fully, the fruit will develop a gritty, floury texture and won’t taste as great by the time they are picked. Harvest when the fruit is full-sized and has begun to change colour. Lift each and twist it slightly - it should come away easily from the branch - then leave to ripen indoors, which should take one-two weeks. You can also store fruit for several weeks in the fridge - refrigerate them directly after picking and (ideally) take them out a week before eating.

Sticky pear & walnut scrolls
These sticky, caramel-coated scrolls take some dedication, but they fill the house with such a lovely aroma, you’ll be salivating in anticipation by the time they are done.
If you don’t have a stand mixer, knead the dough by hand. You can make it the night before, covering it well and refrigerating it overnight if you prefer.
You could also use dried active yeast - activate it in the milk and sugar for about 10 minutes before adding the dough ingredients.
MAKES 12 SCROLLS
Prep time: 40 minutes, plus proofing time for the dough
Cook time: 50 min
Brioche dough:
1 cup milk
¼ cup brown sugar
2 tsp instant yeast
2 free-range eggs
2 tsp vanilla extract
¼ tsp salt
3½ cups plain flour
50g butter, softened
Filling:
4 pears, peeled, core removed and roughly chopped into 1cm pieces
1 Tbsp cornflour
150g butter, softened
1½ cups brown sugar
2 Tbsp ground cinnamon
2 tsp vanilla extract
½ cup golden syrup
2 cups shelled walnuts, roughly chopped
Method
To make the brioche, gently heat the milk in a pot over medium heat or in the microwave until it is warm to the touch. Pour into a mixer fitted with a dough hook and add sugar, yeast, eggs, vanilla, salt and flour. Mix on low for a minute until just incorporated. Increase speed to medium and mix for about 5 minutes until dough is smooth and elastic. Add butter and mix for 5 more minutes. Put into a lightly oiled bowl, cover and leave in a warm spot to rise for 1 ½-2 hours, or until doubled in size.
Grease a 20cm x 35cm (or similar-sized) oven dish well with butter.
To make the filling, heat a small knob of butter in a frying pan over medium-high heat. Add pears and cook for 5 minutes, until just tender. Stir in the cornflour. Set aside to cool completely (refrigerate if you need to).
Put the butter, brown sugar, cinnamon and vanilla in a bowl and mix until smooth. Divide in half and place one half into another bowl with the golden syrup.
Mix well to combine, then spread the golden syrup mixture over the base of the greased dish. Scatter over the walnuts and set aside.
Turn the dough out on to a lightly floured surface and use a rolling pin to roll it into a 60cm x 40cm rectangle. Spread the remaining cinnamon filling mixture evenly over the dough, making sure you get right to the edges. Evenly spread pears over the filling.
Roll the dough from the longest side tightly into a log. Cut 12 pieces with a sharp knife (each about 5cm wide). Place each scroll cut side down on top of the walnuts Lightly cover and leave to rise in a warm place for about 45 minutes to 1 hour until puffy and almost doubled in size. Meanwhile, preheat oven to 180degC.
Bake scrolls for 35-40 minutes until dark golden brown. Allow to stand for about 5 minutes, then top with a similar-sized serving dish/platter/board and invert the scrolls on to the board.
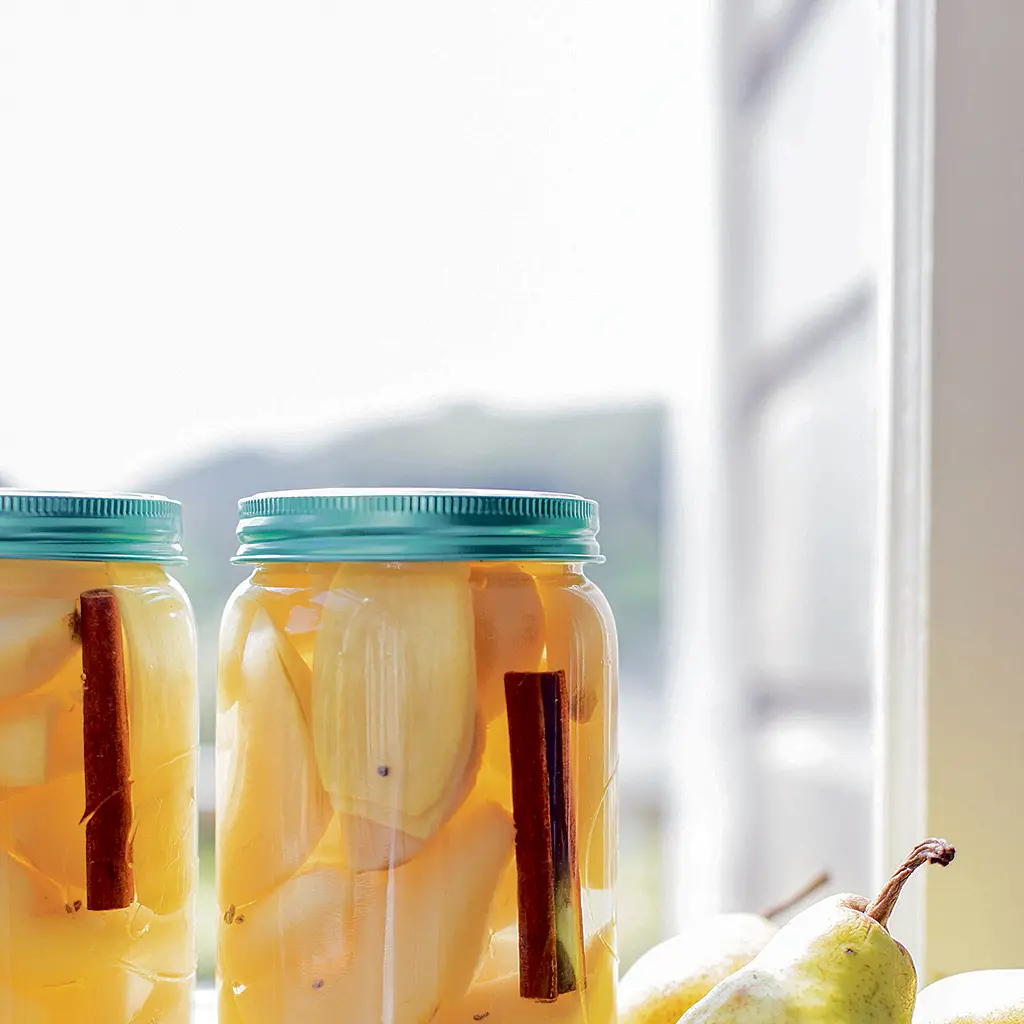
Chai-spiced bottled pears
Preserving is a time-tested way of dealing with a fruit glut. These chai-spiced pears, which have a sweet, earthy flavour, are fab with cereal, cold and hot (they’re super delicious with creamy porridge). Or serve them for dessert with ice cream or tangy Greek-style yoghurt.
MAKES 4 x 1-litre JARS
Prep time: 20 min
Cook time: 20 min
4 cups sugar
3L water
3kg (about 16) firm pears, peeled, quartered and cored
4 sticks cinnamon
1 thumb ginger, thinly sliced
4 cardamom pods, cut in half
Method
Put sugar and water in a large pot over high heat and bring to a boil. Boil for about 10 minutes. Add pears to the syrup, return to a boil and simmer for 5 minutes until pears are just tender.
Put the sterilised jars on a large oven tray (to catch the overflow). Use a slotted spoon to spoon the fruit into the jars - a wide-necked funnel will make it a bit easier. Put a cinnamon stick, some ginger and a halved cardamom pod down the side of each jar.
Use a ladle to pour the hot syrup into the sterilised jars until it reaches the top and almost overflows - this will ensure there is no air left in the jar, which can spoil the fruit.
Remove any air pockets by inserting a knife and running it around the inside of the container - add more syrup if necessary.
Wipe the tops of the jars with a clean tea towel, then seal. Store for at least a month or so before opening. Once opened, keep in the fridge.