
PHOTO
Natalie Paull wants to know what sweet makes people’s hearts beat faster.
She finds some days she craves cheesecake, another day it might be chocolate and another day a fruity cake.
“I desire flavours.”
So her latest cookbook is divided into chapters based on dessert desires — fruity, creamy, dark, bitter and sticky, spicy, nutty or fluffy.
Each chapter also gives bakers options for going big or small and she has included a rolling pin scale to indicate difficulty.
“When considering what sweet we want to eat, it doesn’t always have to be a back-breaking baking quest. It can be a small thing.”

Paull, known for her cakery Beatrix Bakes which she started in Melbourne in 2011 and ran for 12 years, has always been trying to re-imagine a bake to give it extra layers, extra flavours and extra sparkle.
With as many as 20 bakes on offer on any given day she realised customers were often overwhelmed by choice so she would ask them “what do you feel like?” “Fruity, chocolately, creamy or tangy?”.
"That question was the genesis of this collection.”
These days she has moved into her “little batch” era making smaller recipes with less reliance on a stand mixer.
"Although the recipes are simpler and make cake life and batches maybe smaller, the feelings, flavours and slices of cake are not.”
She spends her days thinking about the optimal way to cook apples or what the perfect devil’s food cake should be.
"I try brown butter in everything. I adore vanilla and dark brown sugar and caramel-kissed fruits, flaky AF pastry and cream-forward cheesecakes.”
Paull finishes every meal with a sugary something.
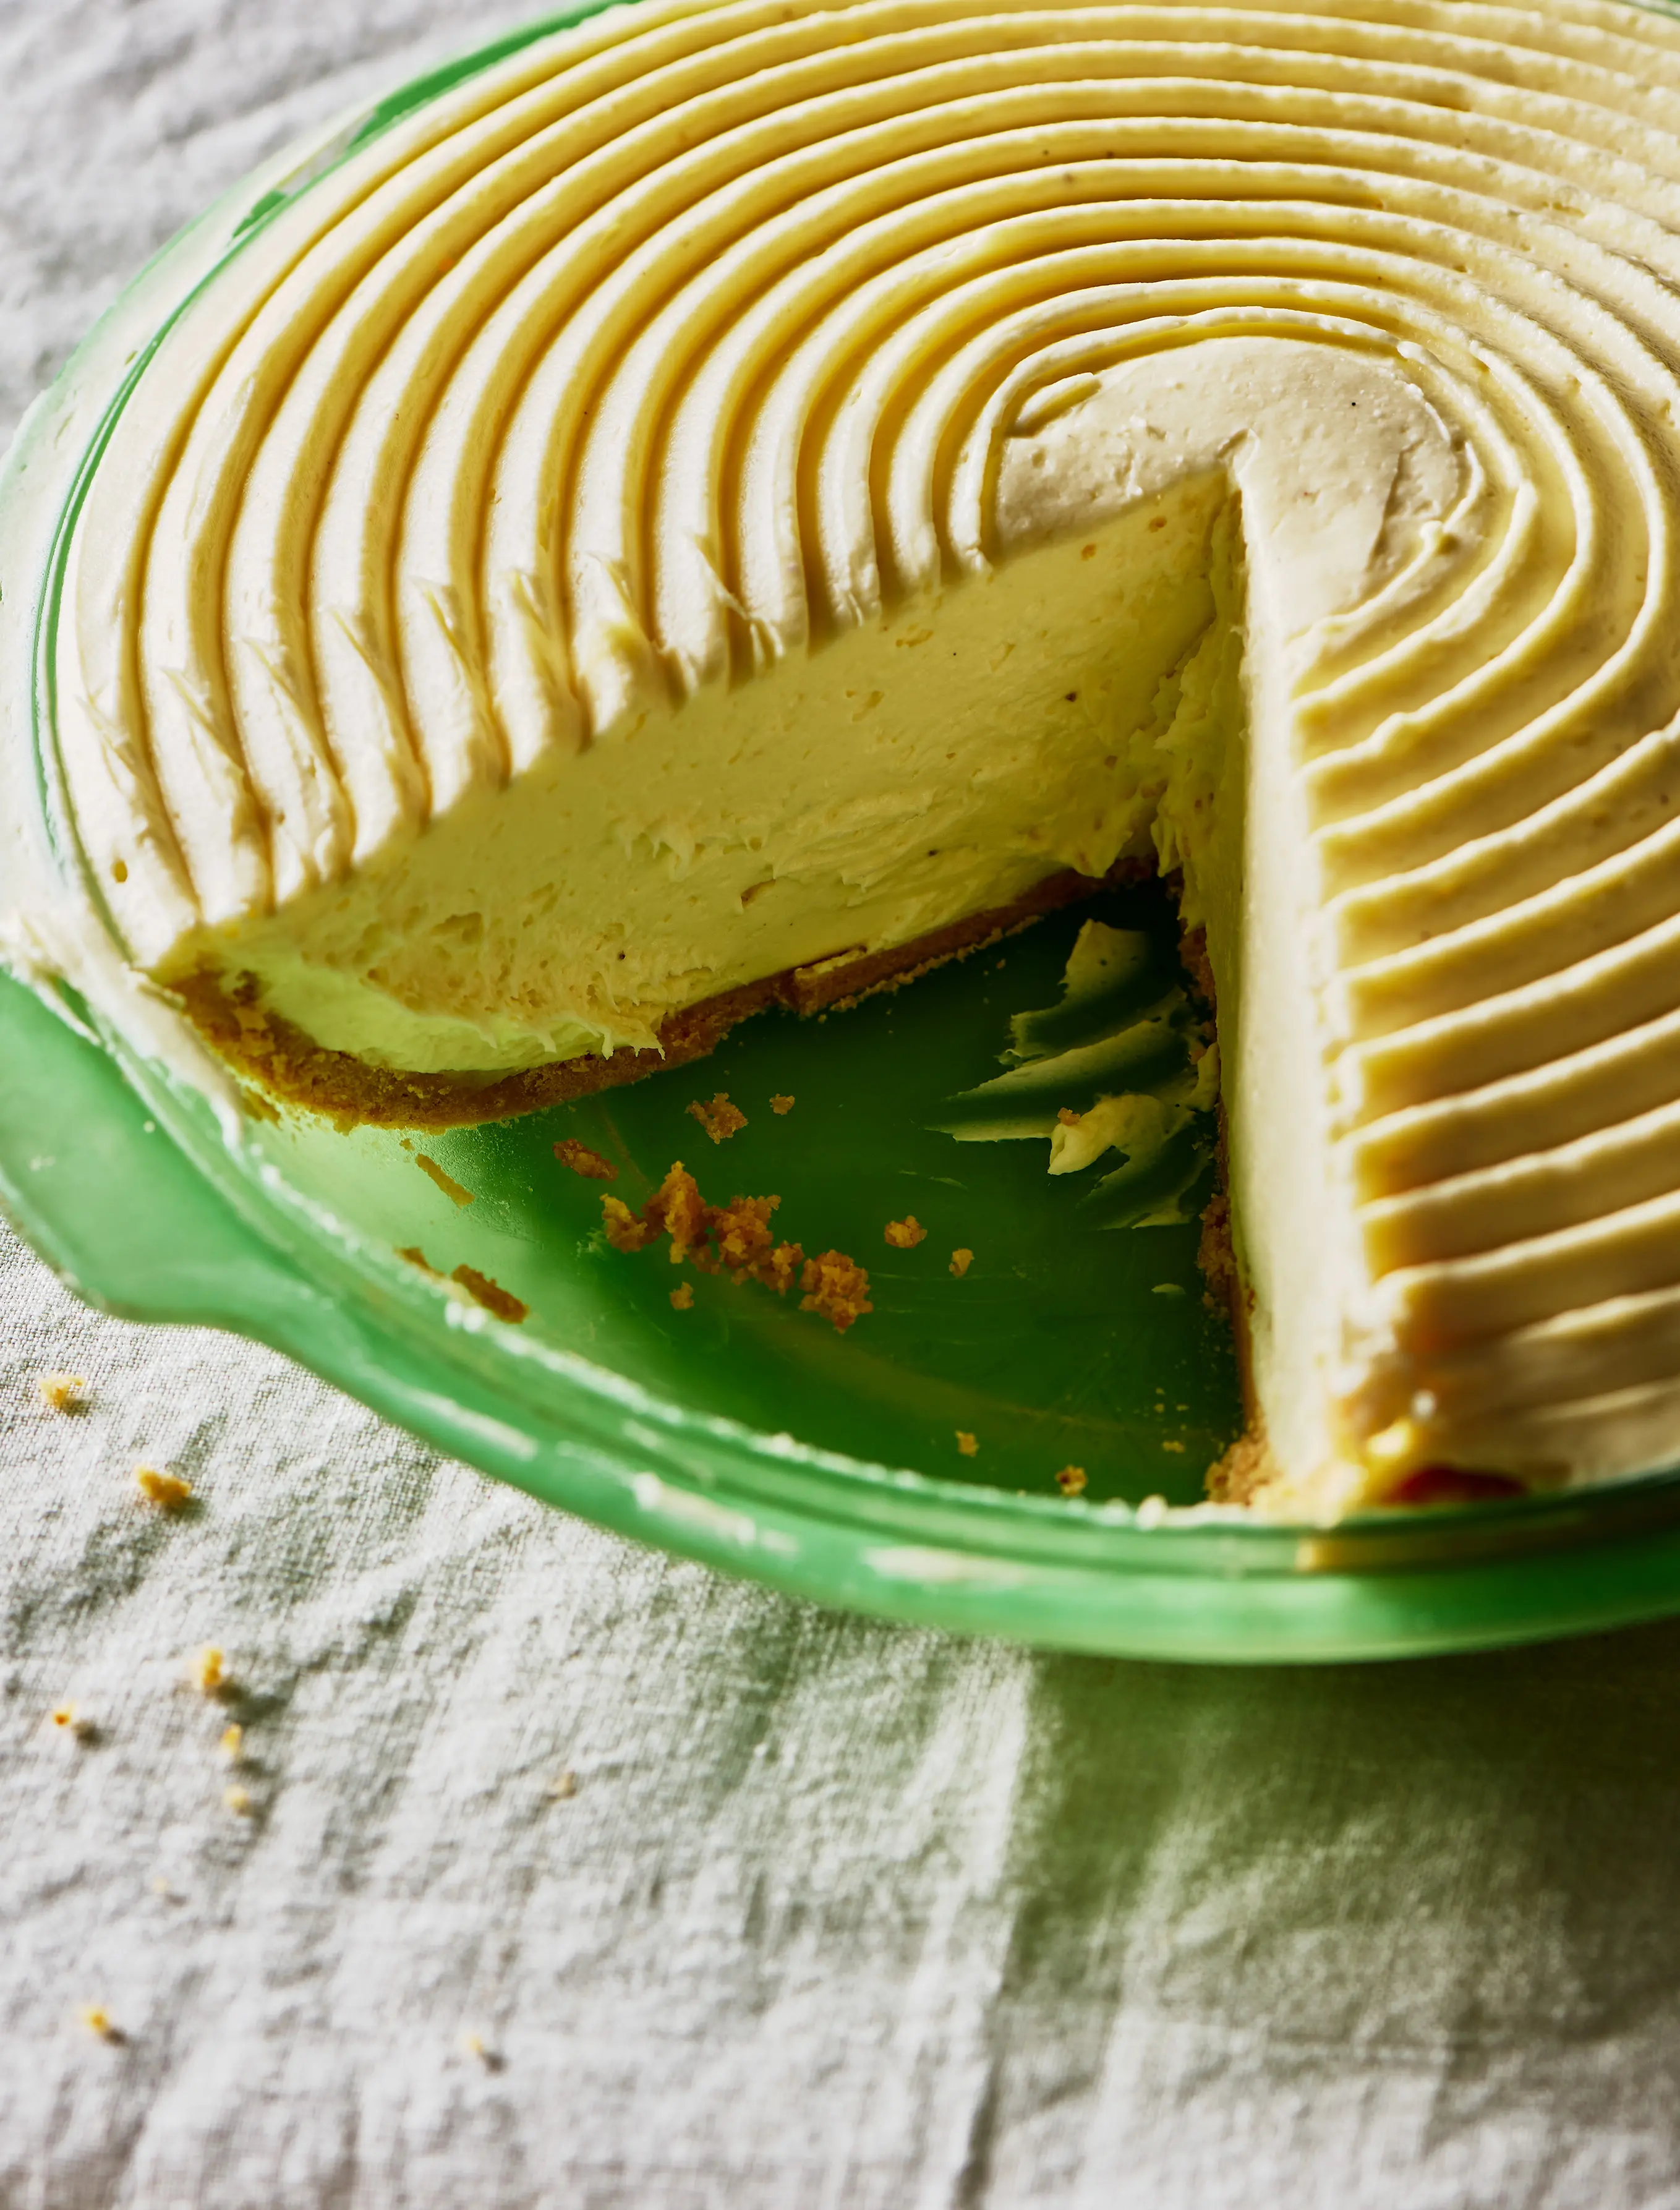
(Almost) no-bake cheesecake
Truth be told, I have belittled no-bake cheesecakes. Maybe as I was reaching for the upper rungs of culinary cleverness, I left them behind. I forgot that they are as satisfyingly creamy as a baked cheesecake and that their simplicity is a power not a weakness.
Fat matters for the filling. You can replace the cream with extra mascarpone OR replace the mascarpone with all full-fat cream, but skimping on the fat percentage is NOT an option – I have made this with 35% fat cream and it was so unstable I needed to do the gelatine fix (see Top Trix 1).
I call this recipe an almost no-bake because I am hardwired to bake my own pale, buttery, salty and lemony crumb crust. Cardamom adds a bashful uplift of citrusy spice. You can happily use shop-bought cookies (see Adaptrix) and cross “almost” out completely.
MAKES a 23cm cake to serve 8–10
TAKES approx. 1 hour to make from base to filling, then at least 3 hours to set before serving (but always best to set overnight)
CARDAMOM CRUST
cooking oil spray
8 cardamom pods
140 g unsalted butter, squidgy soft (22°C)
150 g plain (all purpose) flour (10% protein)
50 g icing (confectioners’) sugar mixture
¼ teaspoon (2 g) fine sea salt
finely grated zest of 1 lemon
CHEESECAKE MIX
500 g cream cheese (Philadelphia highly recommended), soft and squidgy (20–25°C)
200 g sweetened condensed milk
1 teaspoon (5 g) vanilla bean paste
⅛ teaspoon (1 g) fine sea salt
20 g/ml fresh lemon juice
430 g mascarpone or thick (double/heavy) cream (45% fat), or a mixture of both
Method
Make the crust. Preheat the oven to 140°C and spray a shallow tray lightly with cooking oil and line with baking paper.
Crush/split the cardamom pods and place them with the butter in a small saucepan over low heat. Melt the butter, then stand for 10 minutes to infuse. Strain the pods out and mix the butter with the remaining ingredients to make a moist paste.
Tip the crumb into the tray and bake for 40–45 minutes until aromatic with the palest golden honey hue – stir halfway through to achieve an even crumb colour.
Set aside to cool to warm, then whiz to a coarse crumb by pulsing in a food processor, just until the crumb starts to clump. (Whiz this super buttery mix with care. It can turn into a paste if you overprocess.)
Spray a 20cm-deep fluted tart tin or pie dish with a light spritz of cooking oil and tip the crumb onto the base. Press to even out and compact the crumb lightly – too firm and the base will be hard to cut through when cold.
Make the cheesecake mix: Beat the cream cheese, condensed milk, vanilla and salt in a stand mixer with the paddle attachment on low speed for 8 minutes until smooth and very lump free. Stop and scrape the side of the bowl every 2 minutes – clear off any cream cheese that has clung to the paddle. Stream the lemon juice in and beat for another minute. Scrape the cream cheese into a wide mixing bowl and give it a thorough hand-whisk.
Place the mascarpone into the scraped-out (no need to clean) stand mixer bowl and switch to the whisk attachment. Whip on medium speed until the pattern of the whisk holds strong in the mascarpone. Take care – don’t over whip (see Top Trix 2).
Gently fold all the cream into the cheesecake base using a wire whisk – giving the final folds with a flexible plastic spatula.
Assemble
Scrape the mix into the crumb base in the tin/dish and run a cake comb around the top or smooth evenly with an offset spatula.
Chill uncovered for at least 3 hours to set, then cover to chill overnight.
Keep and store: Refrigerate for up to 4 days, wrapped well. Freezes (whole or in slices) and thaws without an ounce of creamy textured love lost.
TOP TRIX
- How to fix with gelatine. If, after chilling the cheesecake, I can see the cheesecake part hasn’t set, I gently scoop/scrape the top layer off, trying not to dislodge any of the base. Stir 10 g powdered gelatine with 30 g/ml cold water and set aside to bloom. Heat 120 g of the unset mix over a double boiler in a wide bowl. When hot, hand-whisk in the gelatine. Cool for 5 minutes, then slowly add the unset cheesecake mix to the “gelatined” cheesecake mix.
- If you overwhip the mascarpone, add some extra cold unwhipped cream and stir, not whip, it in. Adjust the weight you add to the cream-cheese base.
ADAPTRIX
Shop-bought cookie base: Whiz 160 g plain digestive (sweet wholemeal) or plain chocolate cookies – or a motley crew of leftover cookies – until blitzed to a fine crumb. Add 50 g warm melted butter and mix together. Check for correct crumbliness by squeezing a clump in your fist. The crumb should hold together but easily become crumb again when poked.
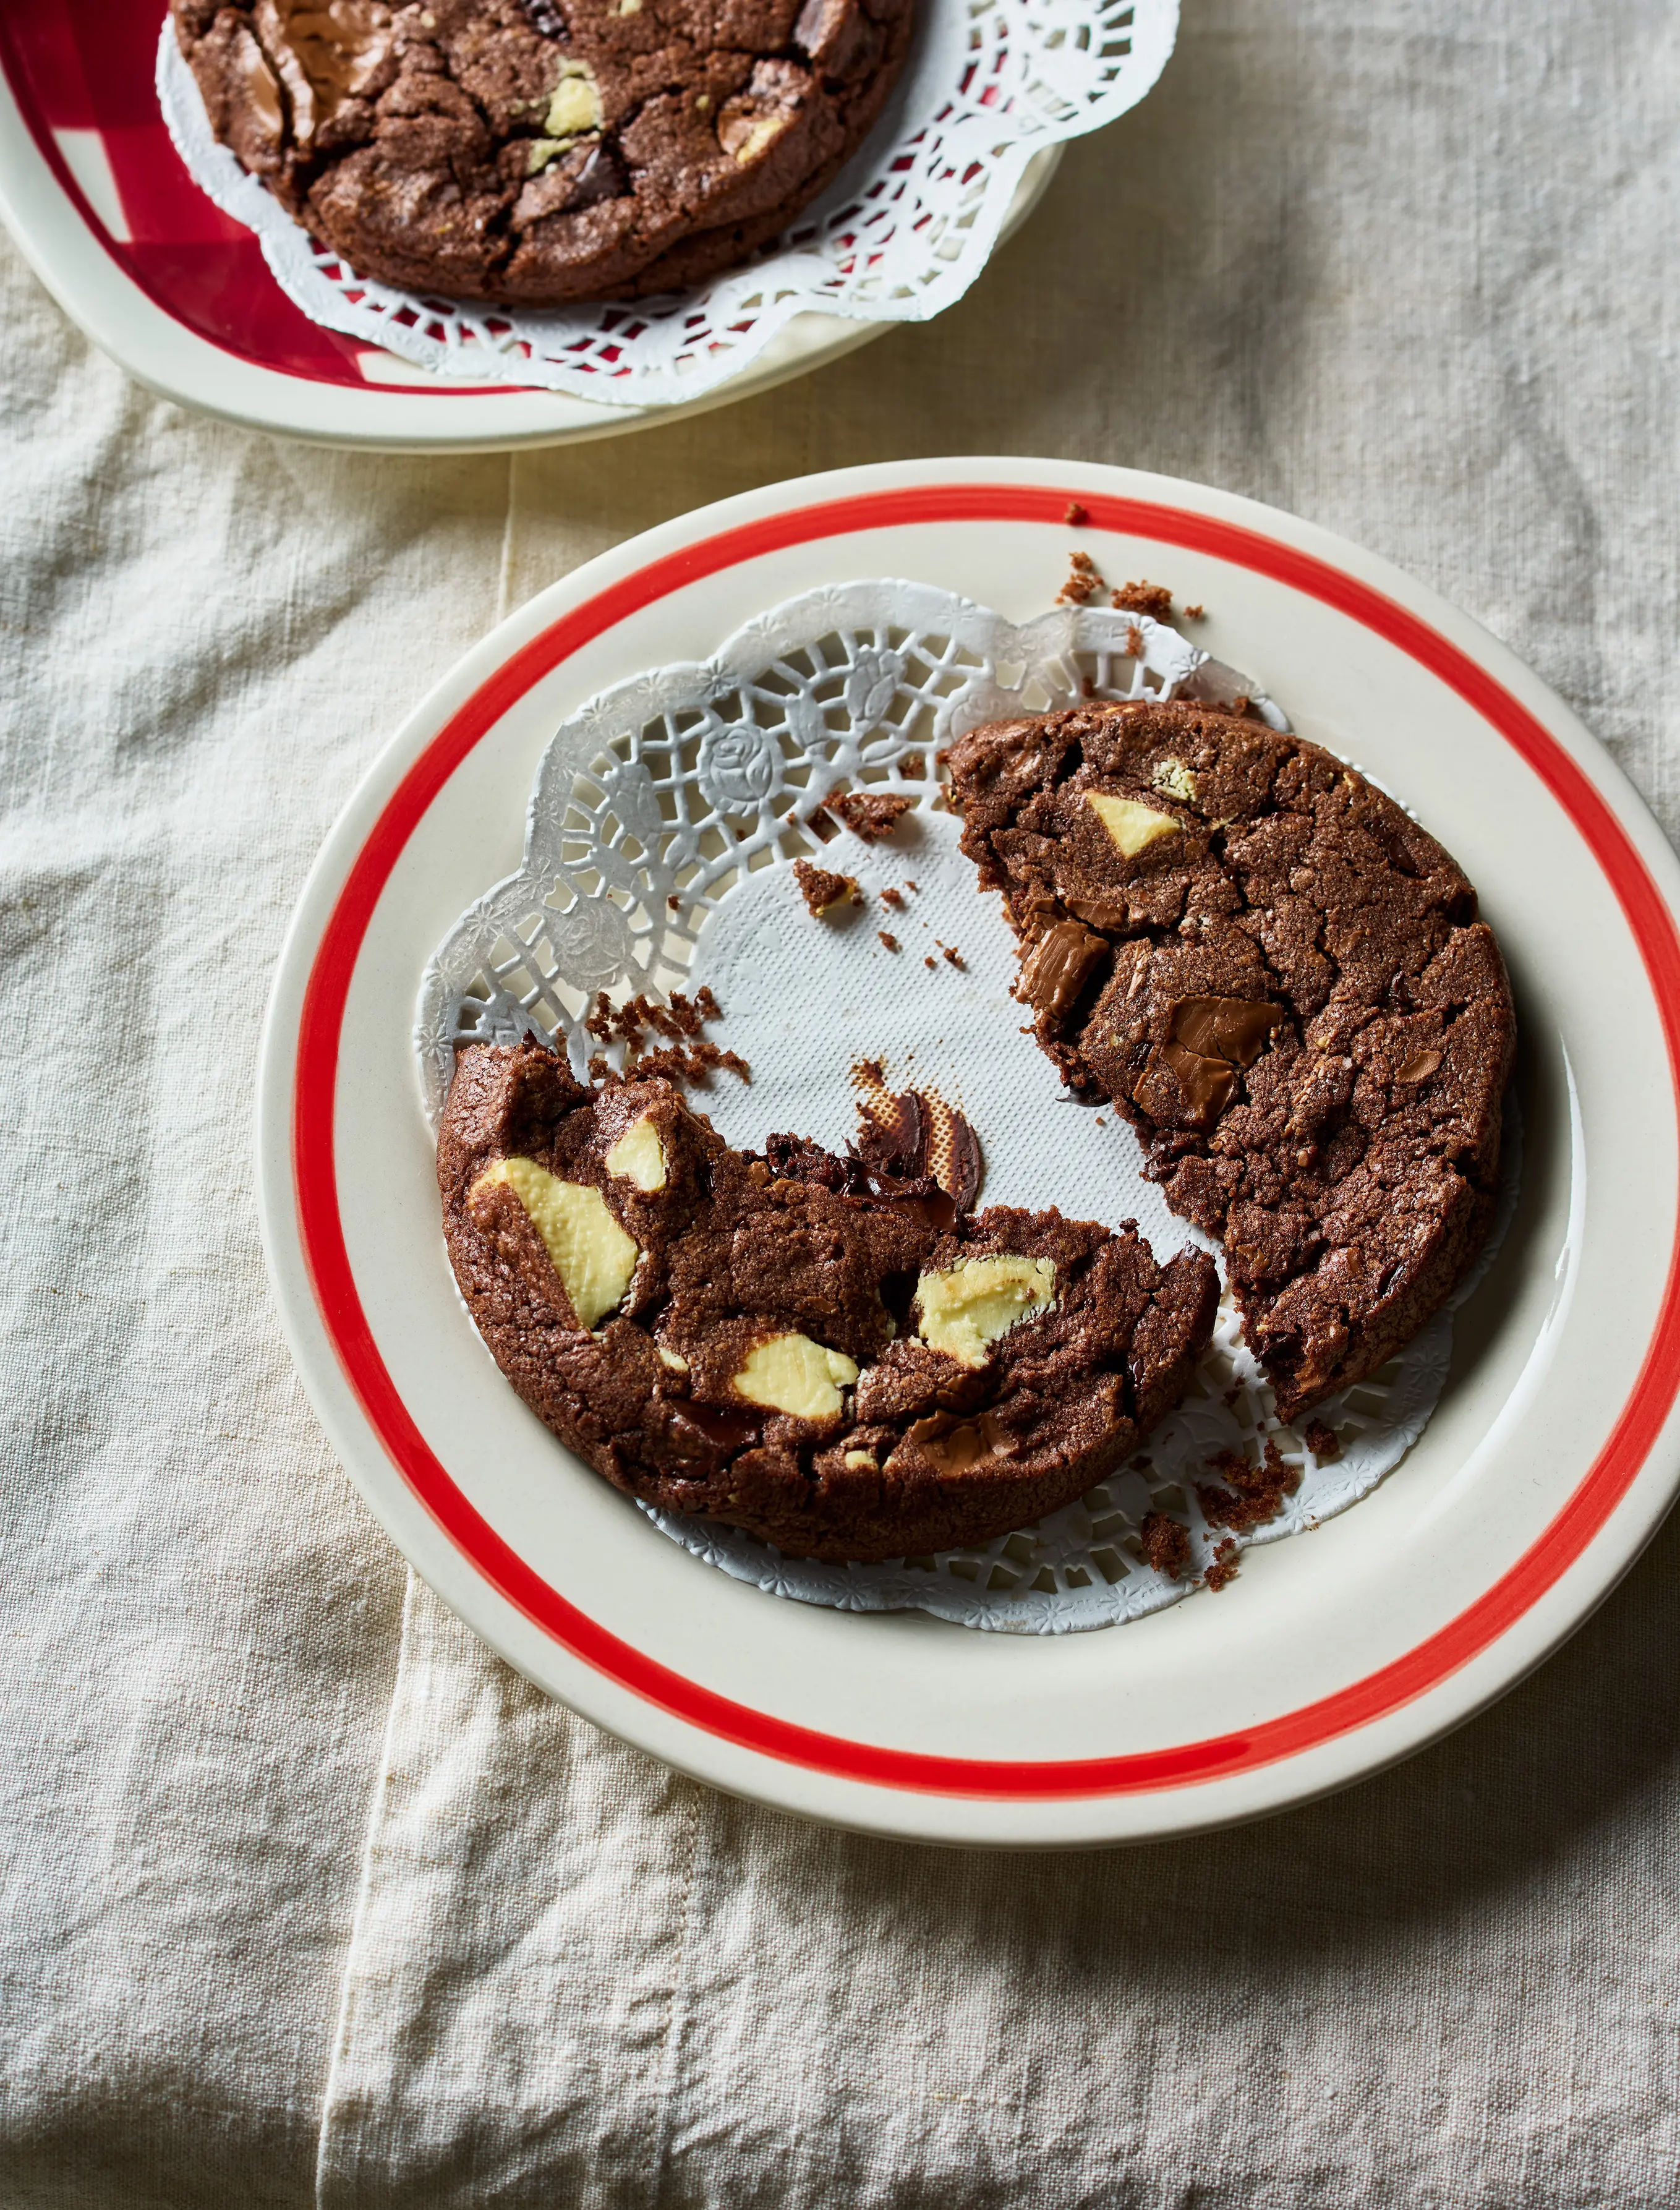
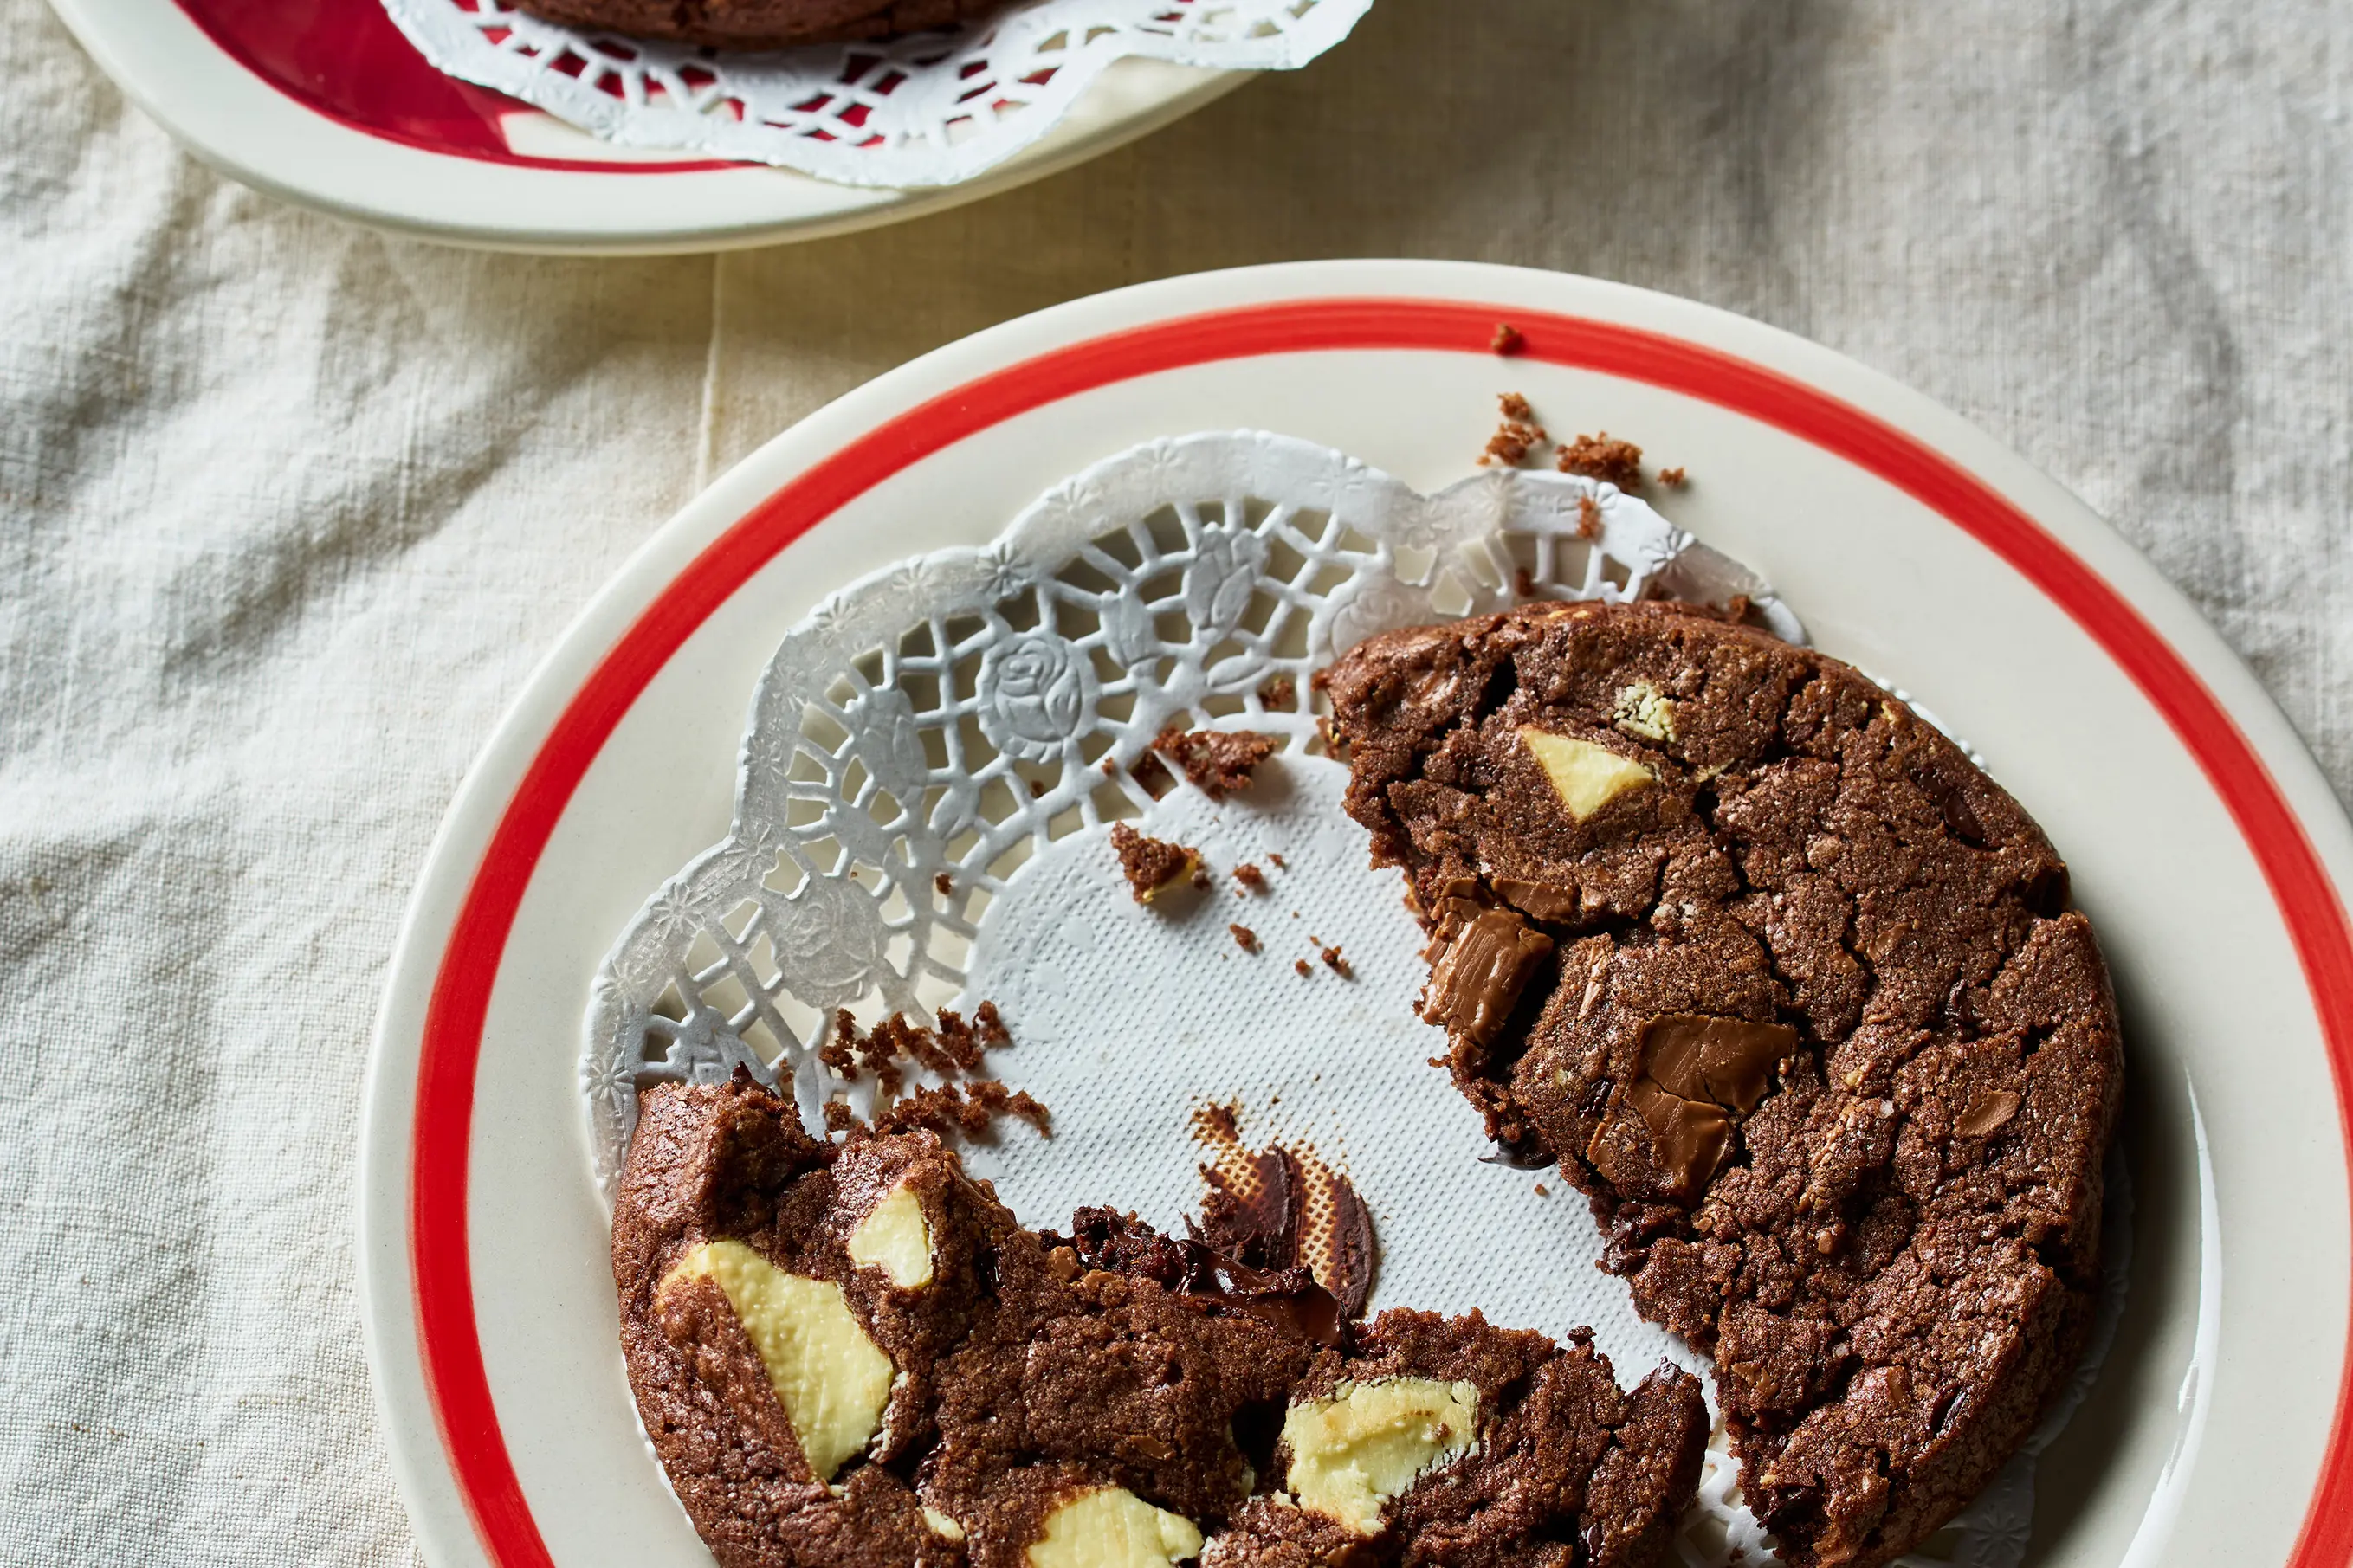
All-the-chocolates chocolate chip cookies
The all-chocolate cookie I wanted for you and me (thus us) was an elegant, crisp edged, politely pudgy cocoa beauty. I wanted all the types of chocolate involved to use up whatever chocolate remnants were left in the cupboard. I wanted irregular, dough-enriching pieces (not the disinterested collaborators that chocolate buttons or chips are). Extra nice cocoa also makes a better bake. Inspiration for these comes from the Pierre Hermé et Dorie Greenspan world-peace cookie – one of the top three cookies in the known universe.
MAKES 12 cookies
TAKES 2 hours hands on, plus at least 4 hours chilling
40 g egg yolks, from approx. 2 eggs
120 g light brown sugar
60 g caster (superfine) sugar
2 teaspoons vanilla bean paste
180 g unsalted butter, cool and pliable (15°C)
210 g plain (all purpose) flour (10% protein)
30 g good Dutch cocoa powder slightly heaped ½ teaspoon (4 g) bicarbonate of soda (baking soda)
1 teaspoon (5 g) fine sea salt
210 g chocolate – I like to use a mix of 90 g dark chocolate (70% cocoa), 60 g milk chocolate and 60 g white chocolate
cooking oil spray
Method
Beat the egg yolks, sugars and vanilla in the bowl of a stand mixer with the paddle attachment, on just above medium speed until the mix becomes slightly paler and paste-like. (Alternatively you can do this in a wide bowl using hand-beaters, or the power of your arm and a hand-whisk.) The mix will look dry to start but keep on beating! Add the butter in chunks, beating on medium speed, until they merge with the egg mix and become a dense, creamed paste (not a super pale fluffy mix). Stop and scrape the side of the bowl once.
Prep the remaining ingredients: Sift the flour, cocoa, bicarbonate of soda and salt together into a small bowl. Chop the chocolates – you want a nice blend of fine shards and larger chunks the size of small chickpeas. Set aside.
Finish the dough: Tip all the drys and the chocolate in and mix on low speed, or by hand with a stiff plastic spatula, to ensure there are no butter streaks in the dough. The dough will be sticky and moist but will firm as it rests.
Scoop the dough: Scrape the dough on to a piece of plastic wrap and mould into a loggish shape. Wrap the plastic around loosely, then roll on the work surface to form an even and smooth log, around 20cm long and 6cm in diameter. Tap the log ends to make them flat. Wrap and chill for at least 4 hours before slicing. (See Top Trix 1.)
Bake: Preheat the oven to 150°C. Line two shallow baking trays with baking paper ‘glued down’ with cooking oil spray.
Using a sharp serrated knife, trim the ends (bake these for snacks) off the cylinder, then slowly saw 1.5cm slices. (If any bits of dough break away, smoosh them back onto the main cookie.) Arrange them across the baking trays, spacing approx. 5cm apart to allow for spreading – they can get to 9 cm in diameter. Bake for 12–15 minutes – they will be matt chocolate brown and feel very soft to touch.
Grab an 11cm cookie cutter and place it over a cookie on the tray. Give the cutter a gentle swirl – this heightens the cookie sides and is completely aesthetic, not essential. The cookies will remain soft until 100% cooled and ready to eat. Try to resist.
Keep and store unbaked: the dough keeps for up to 4 days in the fridge, or frozen for up to 3 months. Can be baked from frozen but before freezing cut into slices and freeze with baking paper between each slice. Baked – store airtight at room temp, best eaten within 2 days. Can be refreshed at the bake temperature for 5 minutes.
TOP TRIX
- To lessen the flat edge that soft dough cylinders get, use the cardboard inner from a roll of paper towel. Snip the length of the roll, prise it open and place the plastic-wrapped cylinder of dough inside. The dough will chill with a curved (not flattened) base. Or nestle the wrapped logs on a tray of 1cm deep flour to chill.
ADAPTRIX
Nuts! Replace 90 g of the chocolate with 90 g low-and-slow deeply toasted nuts, roughly chopped – walnuts or pecans are my first choices. Try to chop the nuts one by one to reduce the nut meal created by collective chopping. The meal can absorb some moisture in the dough and make them spread less.
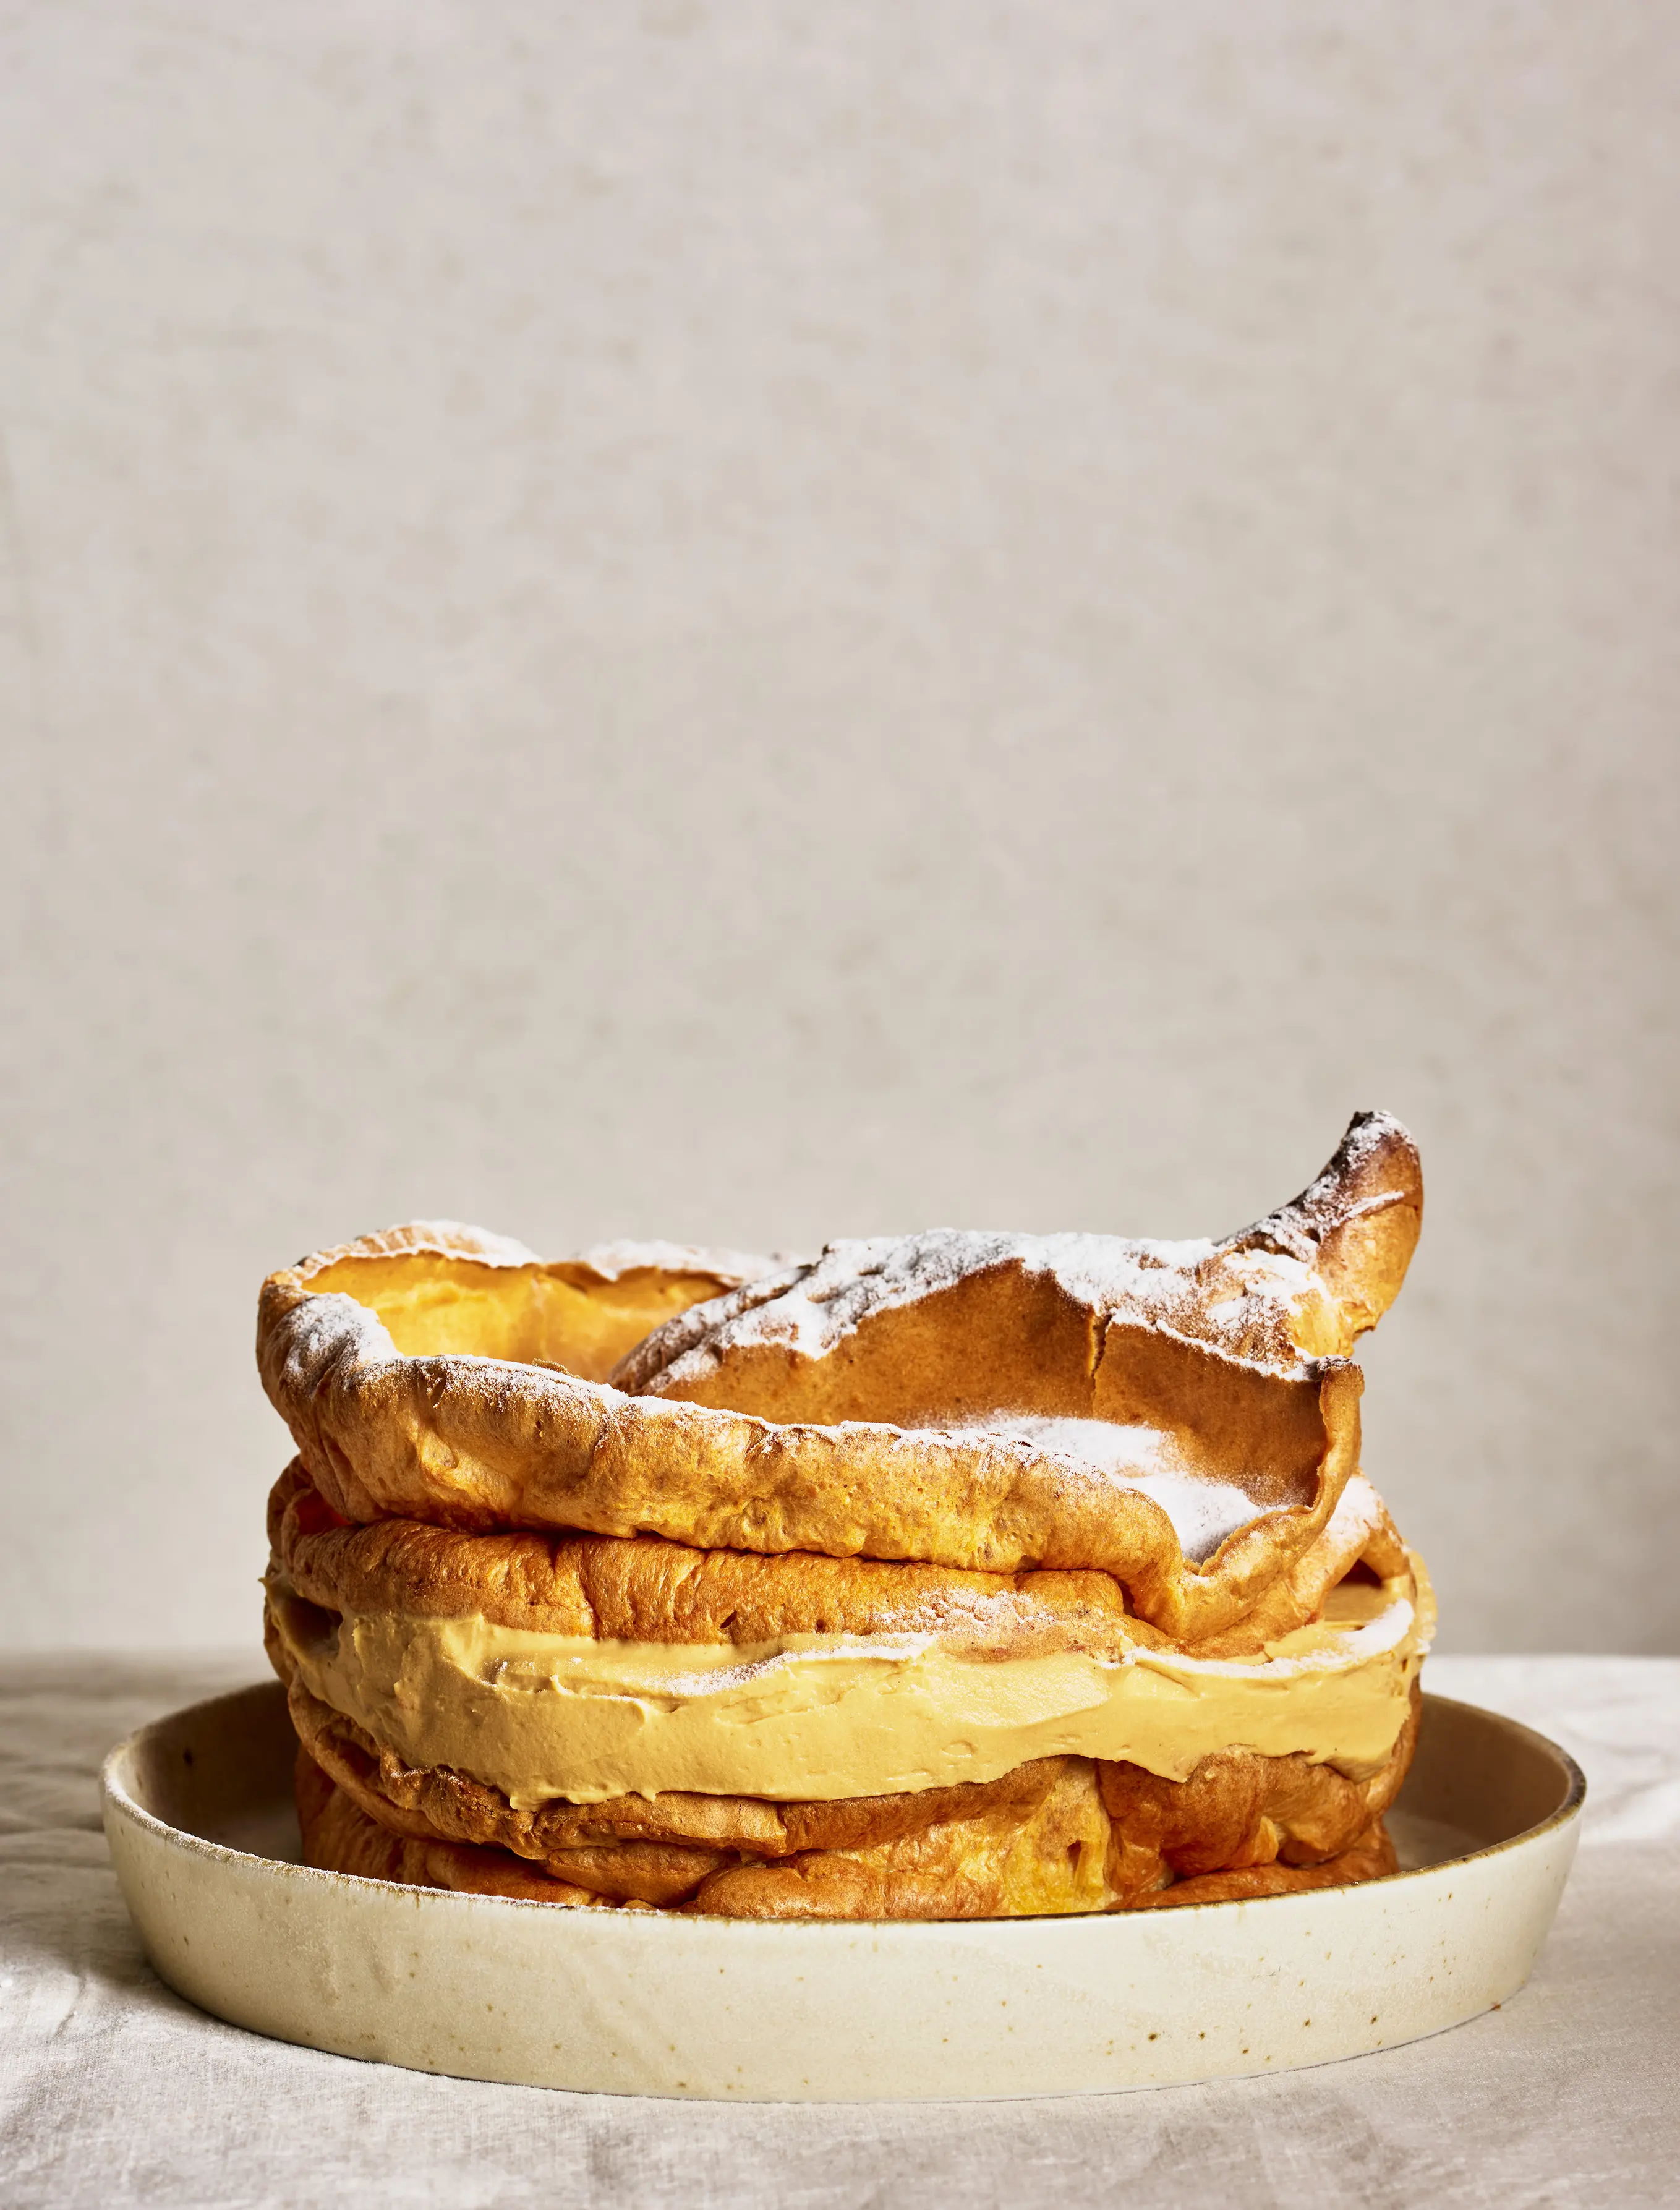
Butterscotch Cream Karpatka
The cake’s name comes from the choux batter that bakes with erratic undulating topography to emulate that of the Karpathy (Carpathian) mountain range that arcs from the Czech Republic to Romania. Fitting, as the fear of making my first one was akin to the thought of scaling those very mountains. But the components are simply a spreadable layer of choux dough and a buttery butterscotch-ed custard folded with high-fat whipped cream. Plant your pastry flag!
MAKES a 20cm cake to serve 6–8
TAKES approx. 3 hours to make and assemble, then 3 hours to chill
1 batch Choux pastry (below)
icing (confectioners’) sugar, for dusting
BUTTERSCOTCH CREAM FILLING
200 g caster (superfine) sugar
100 g unsalted butter, soft (20°C), diced
400 g thick (double/heavy) cream (45% fat)
80 g egg yolks, from approx. 4 eggs
50 g (cornflour (cornstarch)
½ teaspoon (3 g) fine sea salt
1 teaspoon (5 g) vanilla bean paste
550 g/ml full-fat (whole) milk
Method
Make the choux batter: Preheat the oven to 180°C. Line two 20cm shallow cake tins with cooking oil spray and paper on the bases and sides to come up just over the tins’ edges. Scrape 300 g of choux batter into each tin. Smooth out the top of one cake – this will be the base. On the second cake, smooth to the edges, then swirl your spatula into the batter to encourage a craggy mountain-esque finish.
Bake for 25 minutes, then reduce the temperature to 150°C and bake for another 30 minutes. Take each layer out of its tin and poke a couple of holes in the base with a small pointy knife. Return the layers to the tins and back into the oven. Drop the oven to 130°C to bake for a final 10 minutes so the inside is fully dry. Cool in the tin for a minute, then flip out and invert on to a cooling rack to sit top-side up to cool completely. (See Top Trix 1.)
Make the caramel for the filling: Start by stirring the sugar and 60 g/ml water over high heat until the sugar dissolves. Take the spoon out and keep boiling until the syrup turns a light gold colour. Immediately reduce the heat to low and keep cooking until it is evenly mahogany brown with fine plumes of smoke – temp check to 190°C – but not burnt.
Remove the pan from the heat and carefully add the butter – it will spit and sputter – and 100 g/ml of the cream. Wait a few seconds, then whisk carefully to avoid steam burns – if some caramel feels undissolved, return the pan to a low heat.
Cook the caramel custard: In a wide bowl, whisk the egg yolk, cornflour, salt, vanilla and 50 g/ml of the milk. Hand-whisk to a lump-free paste, then stream the remaining milk in. Finally, add the caramel-butter mix and whisk well. Return the mix to the caramel pan. Cook the custard over medium–high heat, constantly hand-whisking at a medium tempo and getting into the pot corners. Cook for 2–3 minutes until the mix thickens to soft paste consistency and a few boil-burps break across the surface. Hold it at this temperature for 15 seconds, still whisking slowly. Scrape into a wide clean bowl and leave at room temp to cool until tepid, whisking slowly every few minutes to prevent a skin forming. (The custard must be cooled enough – temp check to around 20°C so as not to melt the cream. See Top Trix 2.)
Fold the whipped cream in: Whip the remaining 300 g/ml cream until it reaches stiff, yet not chunky and over whipped, peaks. Fold one-quarter of the cream into the cooled custard until almost all incorporated. Add another one-quarter and then the remaining half. Fold this last amount of cream until no white streaks remain.
Assemble the karpatka: Here we are! I use a clever adjustable cake ring that clasps snugly to the baked diameter of the choux layers (see Top Trix 3 if you don’t have one).
Place the smooth-top choux layer top-side up. Scrape the caramel cream on top and smooth slightly. Place the second, rough-topped layer on, craggy-top-side up and press down lightly. Chill the cake for a minimum of 3 hours.
Serve: Unmould and dust the top liberally with a snowfall of icing sugar. Just like the mountains! Slide on to your best serving plate.
Keep and store: Best served on the day of assembly, as the choux will soften as it ages. If you have to hold it over, cover with plastic wrap and refrigerate for up to 3 days.
TOP TRIX
- Don’t worry about how uneven they are – it is the nature of the choux baking and a feature, not fault, of this iconique cake. You can make the choux the day before and re-crisp it at 130°C for 20 minutes, then cool before assembly. It just feels fresher!
- If you add the first amount of cream and it melts, halt the process, chill both the custard and cream and re-start in 5 minutes. All is not lost!
- If you don’t have one of these expandable cake rings, you can freestyle. Take a large sheet of foil – long enough to wrap around the cake circumference. Fold it into thirds and wrap around the base choux, then secure the two ends with a paper clip. Or you can truly freestyle and stack, smoothing the cream layer to sit flush.
Choux pastry
MAKES approx. 640 g pastry
TAKES approx. 1 hour
130 g/ml water
70 g/ml full-fat (whole) milk
80 g ( unsalted butter, cool (15°C), diced
10 g (caster (superfine) sugar
1 teaspoon (5 g) fine sea salt
140 g bread/baker’s flour (12+% protein)
200 g egg, from approx. 4 eggs, plus 30 gegg whites or extra egg (if needed)
Method
Make the choux dough base: Place the water, milk, butter, sugar and salt in a medium saucepan over low heat. As soon as the butter is melted, increase the temperature to medium–high and bring to the boil (see Top Trix 1). The moment the mix boils, add the flour off the heat, mixing well with a wooden spoon. Return the saucepan to medium–high heat and cook for approx. 2–3 minutes until the dough feels like very stiff mashed potato and leaves a cream-coloured film on the base (see Top Trix 2). Stir constantly but not at top speed – more like pushing and mashing the dough ball.
Tip the dough base into a medium bowl and leave for 2 minutes to cool, breaking it up with your spoon occasionally.
Add the egg in batches: Break up the eggs with a light hand-whisk. Start adding the egg in four batches, beating hard after each addition. It’s a workout! Allow the dough to “recover” after each egg addition before adding the next. The dough will be like gloopy clumps and seem like it won’t come together. It will. Just mash and mix until some mix ‘catches’ and then it will quickly become a paste again. (See Top Trix 3.)
Check the dough consistency The goal is getting the V. This means that when you lift up a scoop of dough and hold it over the bowl, some of the dough easily falls off, leaving a 10cm-long, jagged V hanging from the spoon. The tip of the V will be sheer and you’ll see light through it. If the V is shorter than 10 cm, use a little beaten egg or egg white to loosen it slightly.
Use it for … When you get the V, scrape the mix into your cake tins for Butterscotch cream karpata.
Keep and store You can pipe the dough and then chill for 24 hours or freeze for up to 2 weeks, covered.
TOP TRIX
- Increasing the heat after the butter melts prevents excess evaporation. If you lose too much liquid, the dough base bakes heftier.
- For a technical marker, temp check the inside of the dough ball to 80°C. This is starch gelatinisation – when the starch in the flour forms a viscous complex with the water, making it stable in its thickening. Using this exact marker changed my choux success game.
- You can do this step in a stand mixer (or with hand-beaters) on medium speed. Ensure you stop and scrape a few times and add the last amount of egg by hand, as you will have much more control over the final consistency.
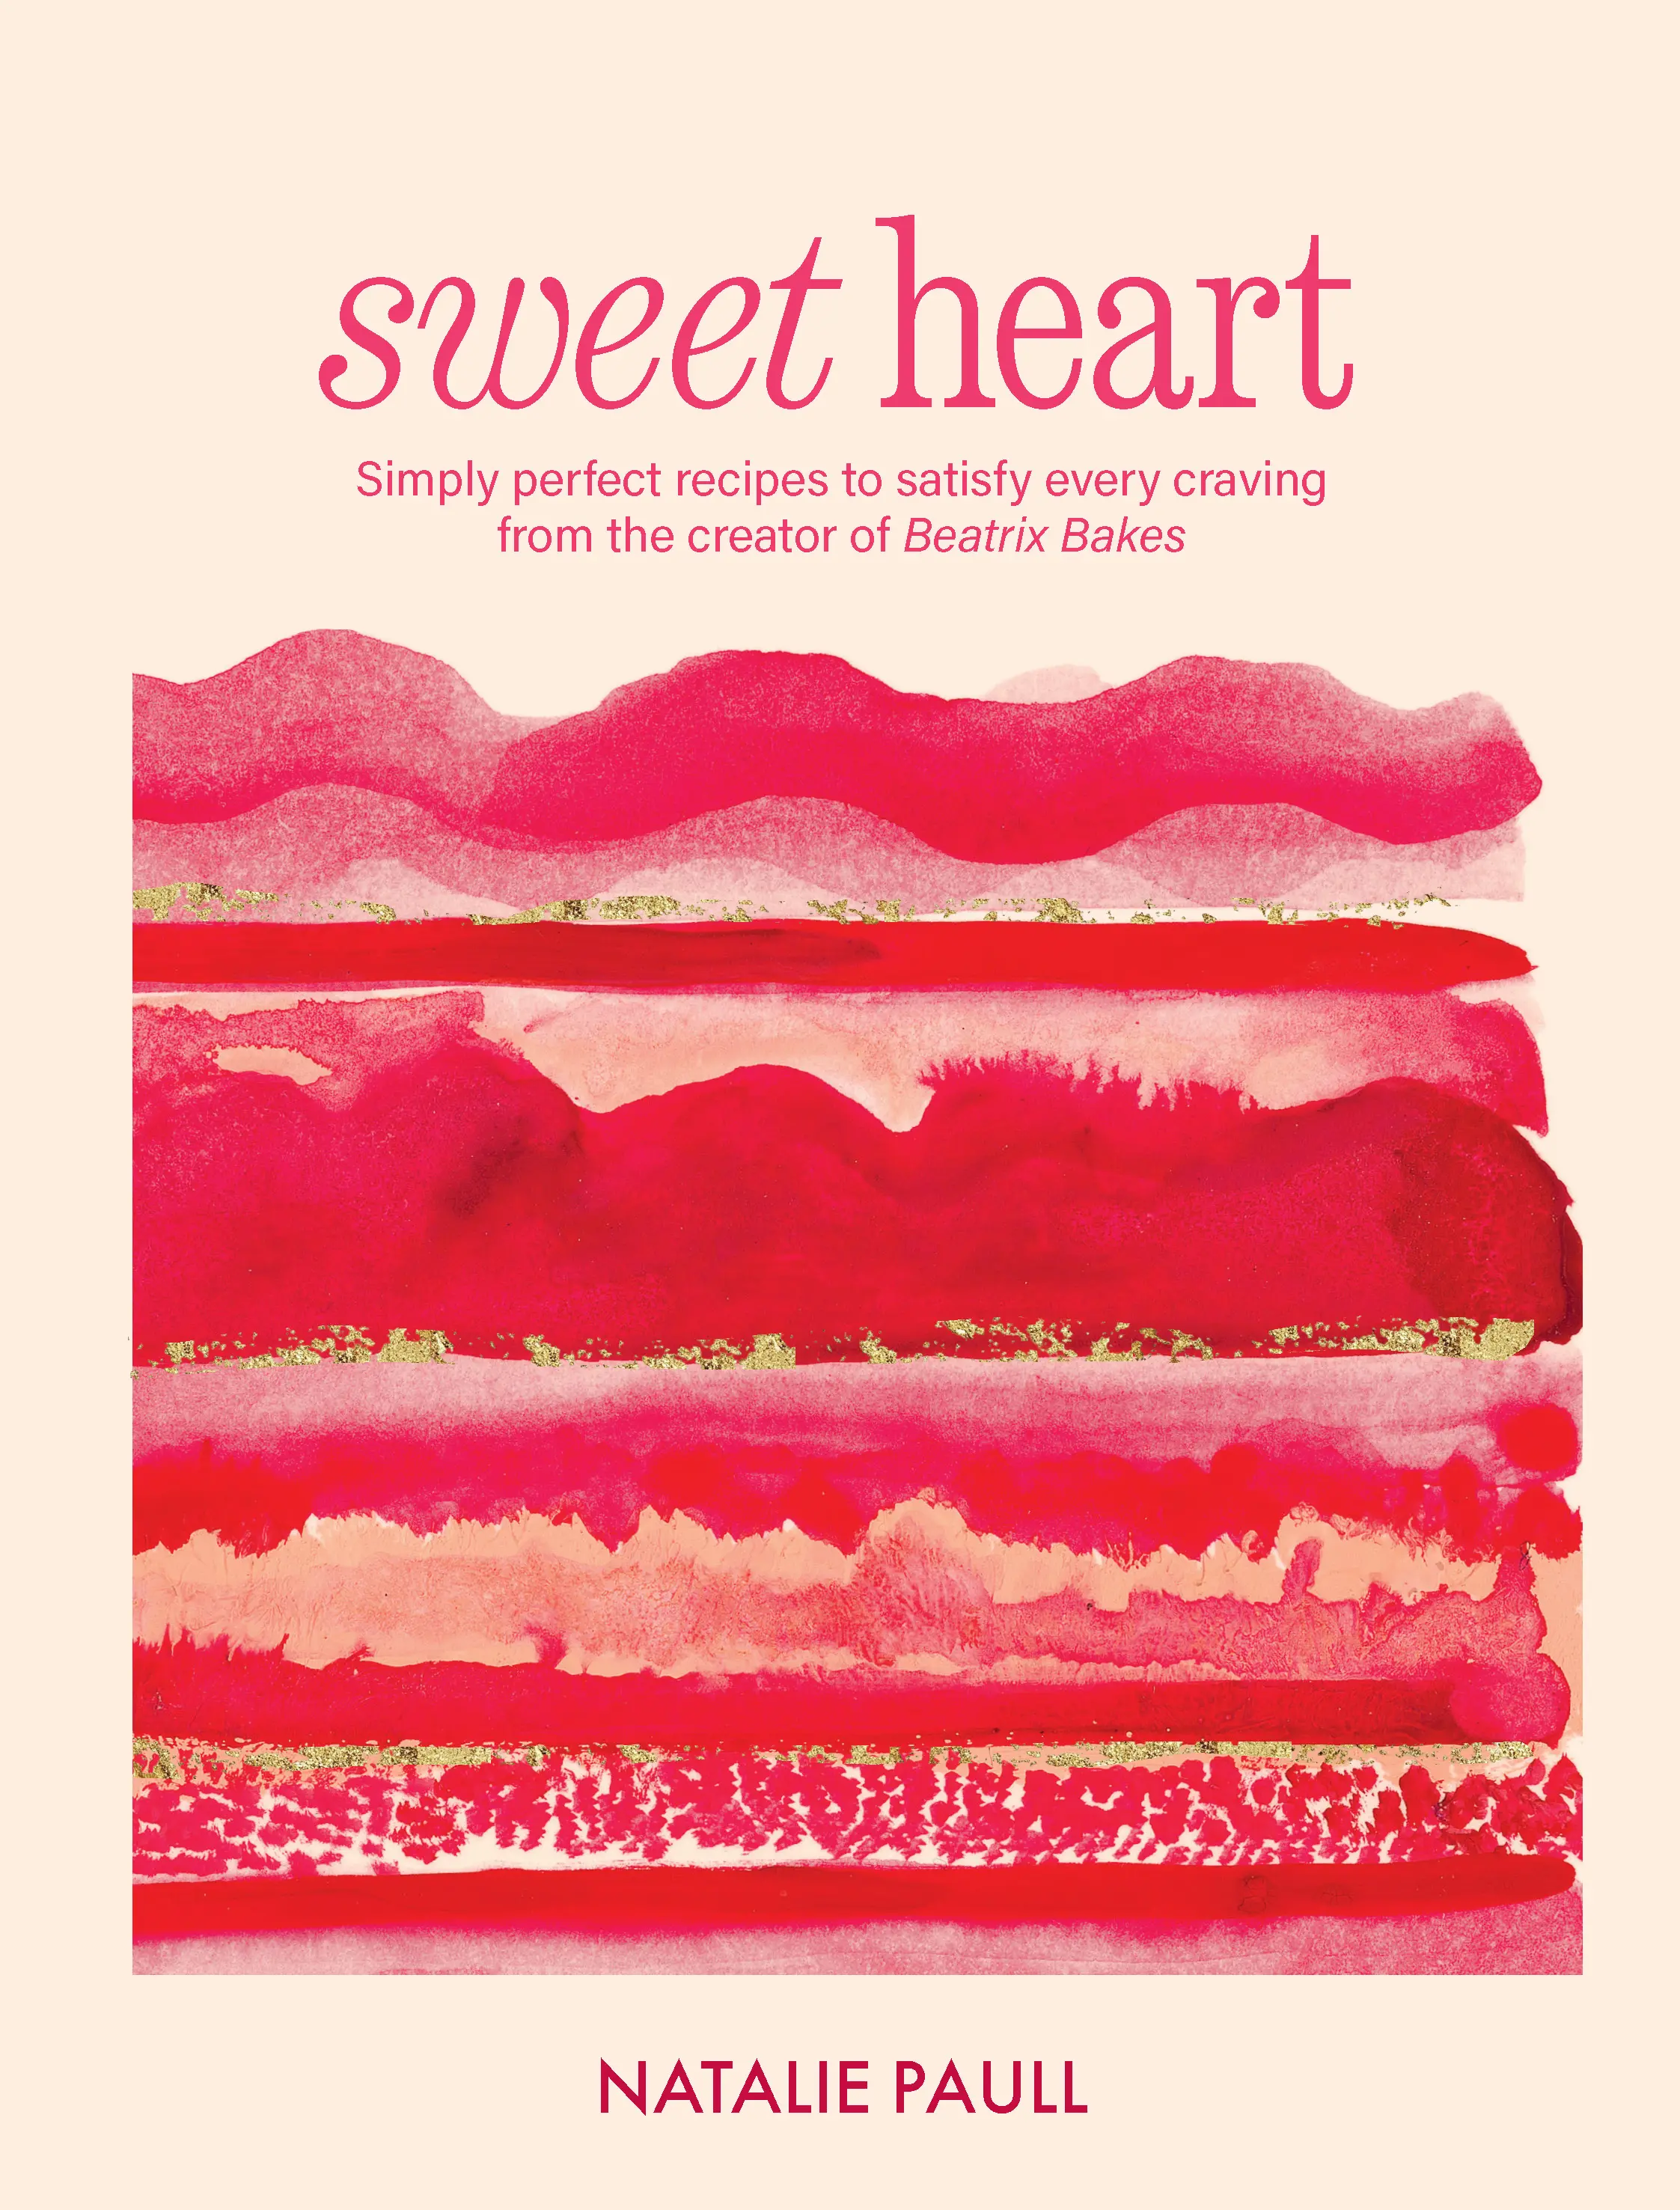
The book: Sweet Heart by Natalie Paull, photography by Rochelle Eagle. Murdoch Books RRP $55.00.’