
Food writer, author, teacher and hospitality worker Sarina Kamini is opening up the world of masala — the regional Indian kitchen mythology — in her new book What We Call Masala.
"Learning the art of masala is a bit like going to French cooking school, or taking an Italian pasta class — knowing about masala will not only make your Indian curries taste better, but will open your eyes to new ways of seasoning and spicing dishes you already love, for any cuisine."
Kamini, who teaches masala masterclasses, splits her time between the family home in New Delhi and her home in Margaret River, Western Austalia, and returned to masala after her children were born, rediscovering family traditions so she could pass them on to her sons.
"That experience of leaving, coming home and then teaching has given me an understanding of what those who are new to masala perhaps don’t know, and developed my ability to give them what they need."
There is no fast track to getting inside masala, Kamini says.
"The reward for uncertainty is the pleasure of finding constant new perspectives. The ability to get caught off-guard in this way is part of masala’s message.
"The more I learn about masala and its magic, the less I feel I know. And in a world of 30-second reels and at-your-fingertips online solutions, that mystery has a real beauty."
These questions come up in every class, so I’ll address them first. Then we can move on to the really fun stuff. But you can’t build a house without good foundations. Learning the ins and outs of how to buy and keep spice is the starting point for masala.
How long do you keep your spices?

Fresh dried spices will be more forgiving when you’re learning and making mistakes with ratios or combinations, because the spices are beautiful enough to soften your blunders.
How do you store your spices?
I store most in masala dabbas. These are traditional round tins with smaller containers called katoris inside.
Dad kept his spices in small jars in a top drawer by the stovetop. He wrote the names on white labels on the lids.
Work out a system that feels easy and best fits you and your kitchen. If your spices are easy to get to, you’ll use them more, which means they’ll stay fresher, so it’s a win-win.
How can you tell when spices are old?
Taste them. It won’t mean much to you at first. But if you buy a few really good-quality dried spices and then try them side by side with the old ones in your cupboard, that will give you a baseline.
If you keep tasting each spice every time you buy it, you’ll build a sensory reference library. This will allow you to blend intuitively, get to know new ingredients without coaching, and create your own personal version of masala.
The book
Images and text from What We Call Masala by Sarina Kamini, photography by Patricia Niven. Murdoch Books RRP $55.
 Chicken thigh coconut curry
The masala in this dish uses pungent and earthy spices. But more importantly, it’s focused on the cohesion created by individual aromatics that are strongly associated with traditional regional Indian tastes: kala namak, mace, fenugreek powder, ginger powder, cumin powder and, of course, ajwain. Reinforcing classicism is a way of building a texture of tradition into the dish.
Serves 3-4
Ingredients
2 Tbsp mustard oil
1 Tbsp ghee
1 Tbsp yoghurt
1 tsp fine white sea salt
5 cloves
2 dried bay leaves
5 chicken thigh cutlets
5 small tomatoes
½ tsp fenugreek powder
Masala
2 tsp fennel powder
1 tsp fine pink salt
1 tsp Kashmiri chilli powder
1 tsp ajwain seeds
1 tsp cumin powder
1 tsp ginger powder
½ tsp kala namak
½ tsp turmeric powder
scant ½ tsp mace powder
To finish
1 cup (250ml) coconut milk
8-10 fresh curry leaves
Method
Heat the mustard oil, ghee and yoghurt with the white sea salt, cloves and bay leaves in a large cast-iron kadai or heavy-based saucepan over high heat, stirring constantly. You’ll notice how rich and thick the fat base is, even before the fat from the chicken skin can add to it. This very dense bed will provide some of the camouflage for the ajwain seeds.
Once the yoghurt starts to spatter and split, add the chicken thigh cutlets and begin browning. Keep over high heat and use the Kashmiri Hindu method of cooking. Cook until the chicken is very well browned, about 20 minutes. As the yoghurt evaporates, the base fats will become oil-like. At this point you need to pay attention, stirring almost constantly to prevent the chicken sticking too much.
Meanwhile, combine all the masala ingredients in a katori or small bowl and keep by the stovetop. While the chicken is browning, place the tomatoes in a pressure cooker and cover with water. Bring to pressure and cook for 12 minutes before turning the pressure cooker off and force-releasing the steam. Drain, skin and core the tomatoes, then puree them using a hand-held blender. Stir in the fenugreek powder.
When the chicken is browned, remove the pan from the heat briefly to prevent spatters and add the tomato puree. Add a little water to the puree vessel and swish it around to get as much of the tomato out as possible. Stir through, return to the heat and deglaze the cooking vessel, then immediately add the masala. The chicken will become rich and the oils will split the tomato. Cook together for 2-3 minutes. Transfer the chicken and tomato to the pressure cooker, making sure you scrape out every last bit of sauce. Set the pressure cooker to high and cook until it emits one or two jets of steam. Lower to a medium putter, then continue to cook for 8-10 minutes. Turn off the heat and let the pressure cooker depressurise on its own.
If you don’t have a pressure cooker, continue cooking in the saucepan. Reduce the heat to low and cook for 45-60 minutes, adding more water if necessary to stop the chicken cooking dry. Open the pressure cooker. If yours is flameproof, place it over low heat. If not, transfer the chicken and sauce to a large heavy-based saucepan over low heat. Stir in the coconut milk and cook for 10 minutes for the masala to thicken.
Just before serving, stir the fresh curry leaves through. The final sauce will be rich and creamy but also deep and strong, with a tail pungency courtesy of the ajwain seeds leading a marching band of charismatically pungent spices.
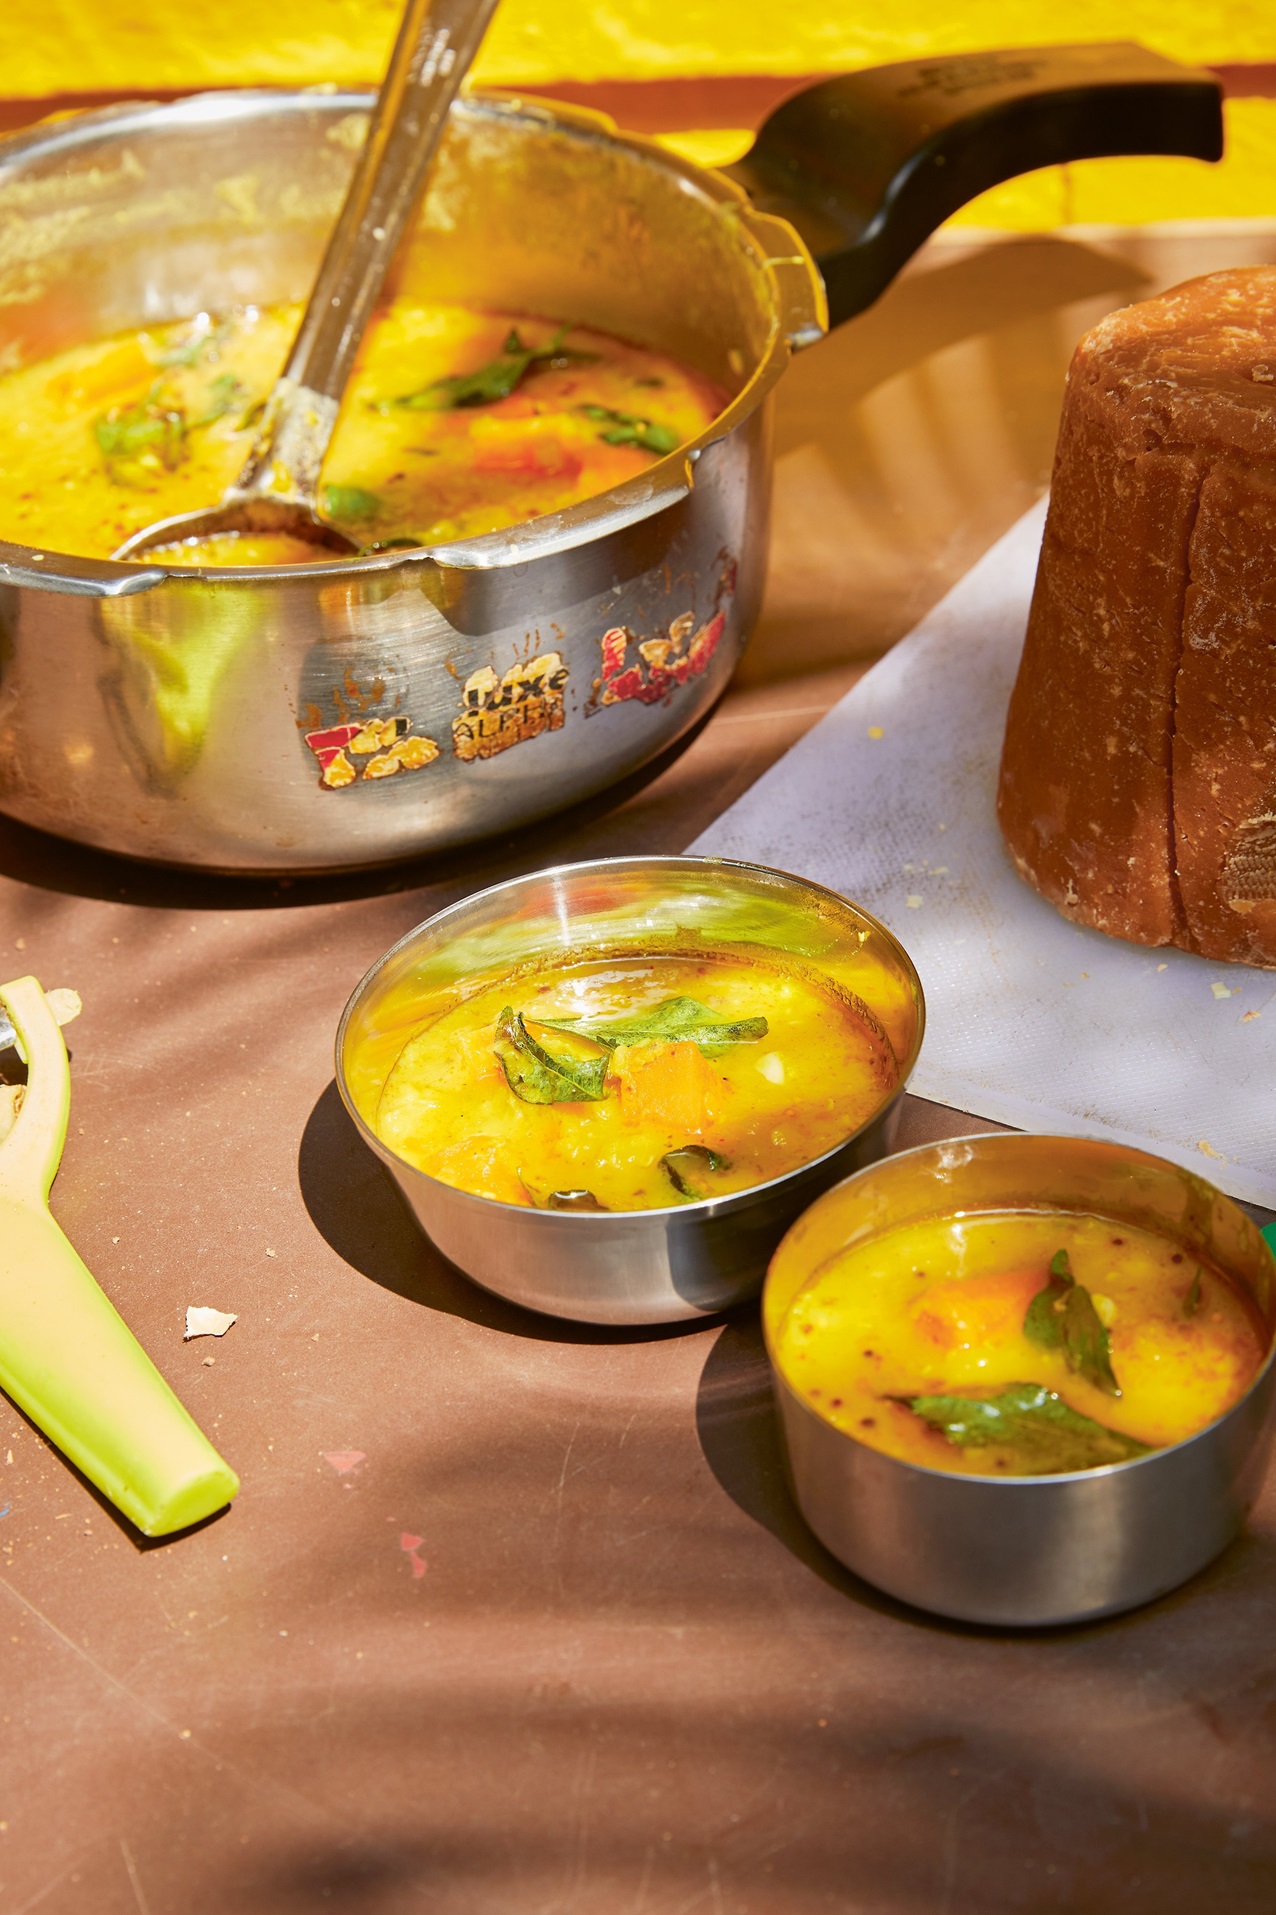 Masoor dal
Split red lentils, or masoor dal, make a soft style of dal that lacks the structure and integrity of channa (split chickpea) or toor (yellow split pigeon pea) dals. This means we prepare masoor dal differently, creating structure by using spices and produce that give the dal texture and tiers. Poached fenugreek carrot is my go-to to break up the glut of red lentil dal, as is using more water in the initial cooking process. Curry leaf is the power boost to this process — it reinforces movement and adds an additional storey. Get started at least an hour beforehand, to give the lentils time to soak.
Serves 6-8 as part of a shared meal
Ingredients
1½ cups (305g) masoor dal (split red lentils)
3 cups (750ml) water
generous 1 tsp fine pink salt
1 tsp fine white sea salt
scant 1 tsp turmeric powder
1 x 2cm piece of jaggery
Fenugreek carrot
2 carrots, cut into 2-3cm pieces
½ cup (125ml) whey or vegetable stock
1 tsp fine pink salt
½ tsp red chilli powder
scant ½ tsp fenugreek powder
Curry leaf tadka
2 Tbsp mustard oil
1½ tsp yellow mustard seeds
1 tsp black mustard seeds
2-3 fresh curry leaf sprigs
2 garlic cloves, finely chopped
Method
Rinse and drain the lentils repeatedly in a large bowl until the water is clear, then add enough cold water to cover the lentils by about 4 cm. Leave to soak for 1 hour. Drain the lentils and rinse them one last time.
Transfer to a pressure cooker or large heavy-based saucepan and add the water, salts, turmeric powder and jaggery. Pressure-cook for 5 minutes or boil over medium heat for up to 35min, until soft. Set aside and keep warm.
Combine all the fenugreek carrot ingredients in a small saucepan, mix them together and place over medium-low heat. Bring to the boil, then cook for 15-20min, until the carrots are just soft. Remove from the heat and stir into the cooked dal. Taste the dal now to compare with the final taste.
Combine all the tadka ingredients in a small saucepan or frying pan and stir together. Warm through over medium heat, stirring frequently, until the curry leaves and mustard seeds are popping and fragrant but the garlic is not browned — you want it to retain its sweetness. This should take about 5min.
Remove from the heat and stir into the cooked dal. Taste the dal again to get a feel for how much movement in taste and weight is created by adding the tadka. Serve with basmati rice and Kalia.
Kalia
Embedding triangular structures in masala provides a framework that allows for fluid aromatic movement within that support. In this dish, it is the structure of the lamb, the aromatic pillar of green cardamom, and the density created by adding the milk and yoghurt. Getting a feel for the triangular support points in any dish you cook will aid you in building a fluid and intimate relationship with masala.
Serves 6 as part of a shared meal
Ingredients
1kg lamb leg, fat trimmed, cut into 5cm chunks
1½ cups (375 ml) water
¼ cup (60 ml) milk
100ml plain yoghurt
Masala
3 tsp fennel powder
2¼ tsp fine pink salt
2 tsp ginger powder
1 tsp turmeric powder
pinch of hing (asafoetida) powder
4 black cardamom pods, husks cracked
2 dried bay leaves
Tadka
2 Tbsp mustard oil
1 tsp Ammis garam masala (right)
4 green cardamom pods, husks cracked
4 cloves
Method
Combine the lamb and water in a large heavy-based saucepan and bring to the boil. This stage of cooking imparts an edgy textural structure to the lamb. Add the masala ingredients and stir them through, then cover and cook over high heat for about 20mins, stirring occasionally. The lamb should look quite tense, so don’t worry if it seems a little hard.
Reduce the heat to medium-low and cook, uncovered, for about 10min, until the lamb is tender.
Combine the milk and ¼ cup (60ml) of the yoghurt in a small bowl and whisk together until smooth. Add to the lamb and cook over low heat, stirring constantly, for about 3-5mins, until the lamb has had the opportunity to relax into this slightly acidic dairy bed and become very tender. It’s important to take time here.
Combine the tadka ingredients in a small frying pan and temper the spices in the oil over medium heat for 1-2min or until bubbling slightly and aromatic. Add to the lamb and stir through. For a richer result, stir the remaining yoghurt through until the lamb is glossy.
Ammis garam masala
1 cup black cardamom pods
½ cup green cardamom pods
⅓ cup cumin seeds
1/2 tbsp mace flower
4 large dried bay leaves
2 nutmegs
1 cinnamon stick
Grind together. (Do not toast). Store in dark place in airtight container.
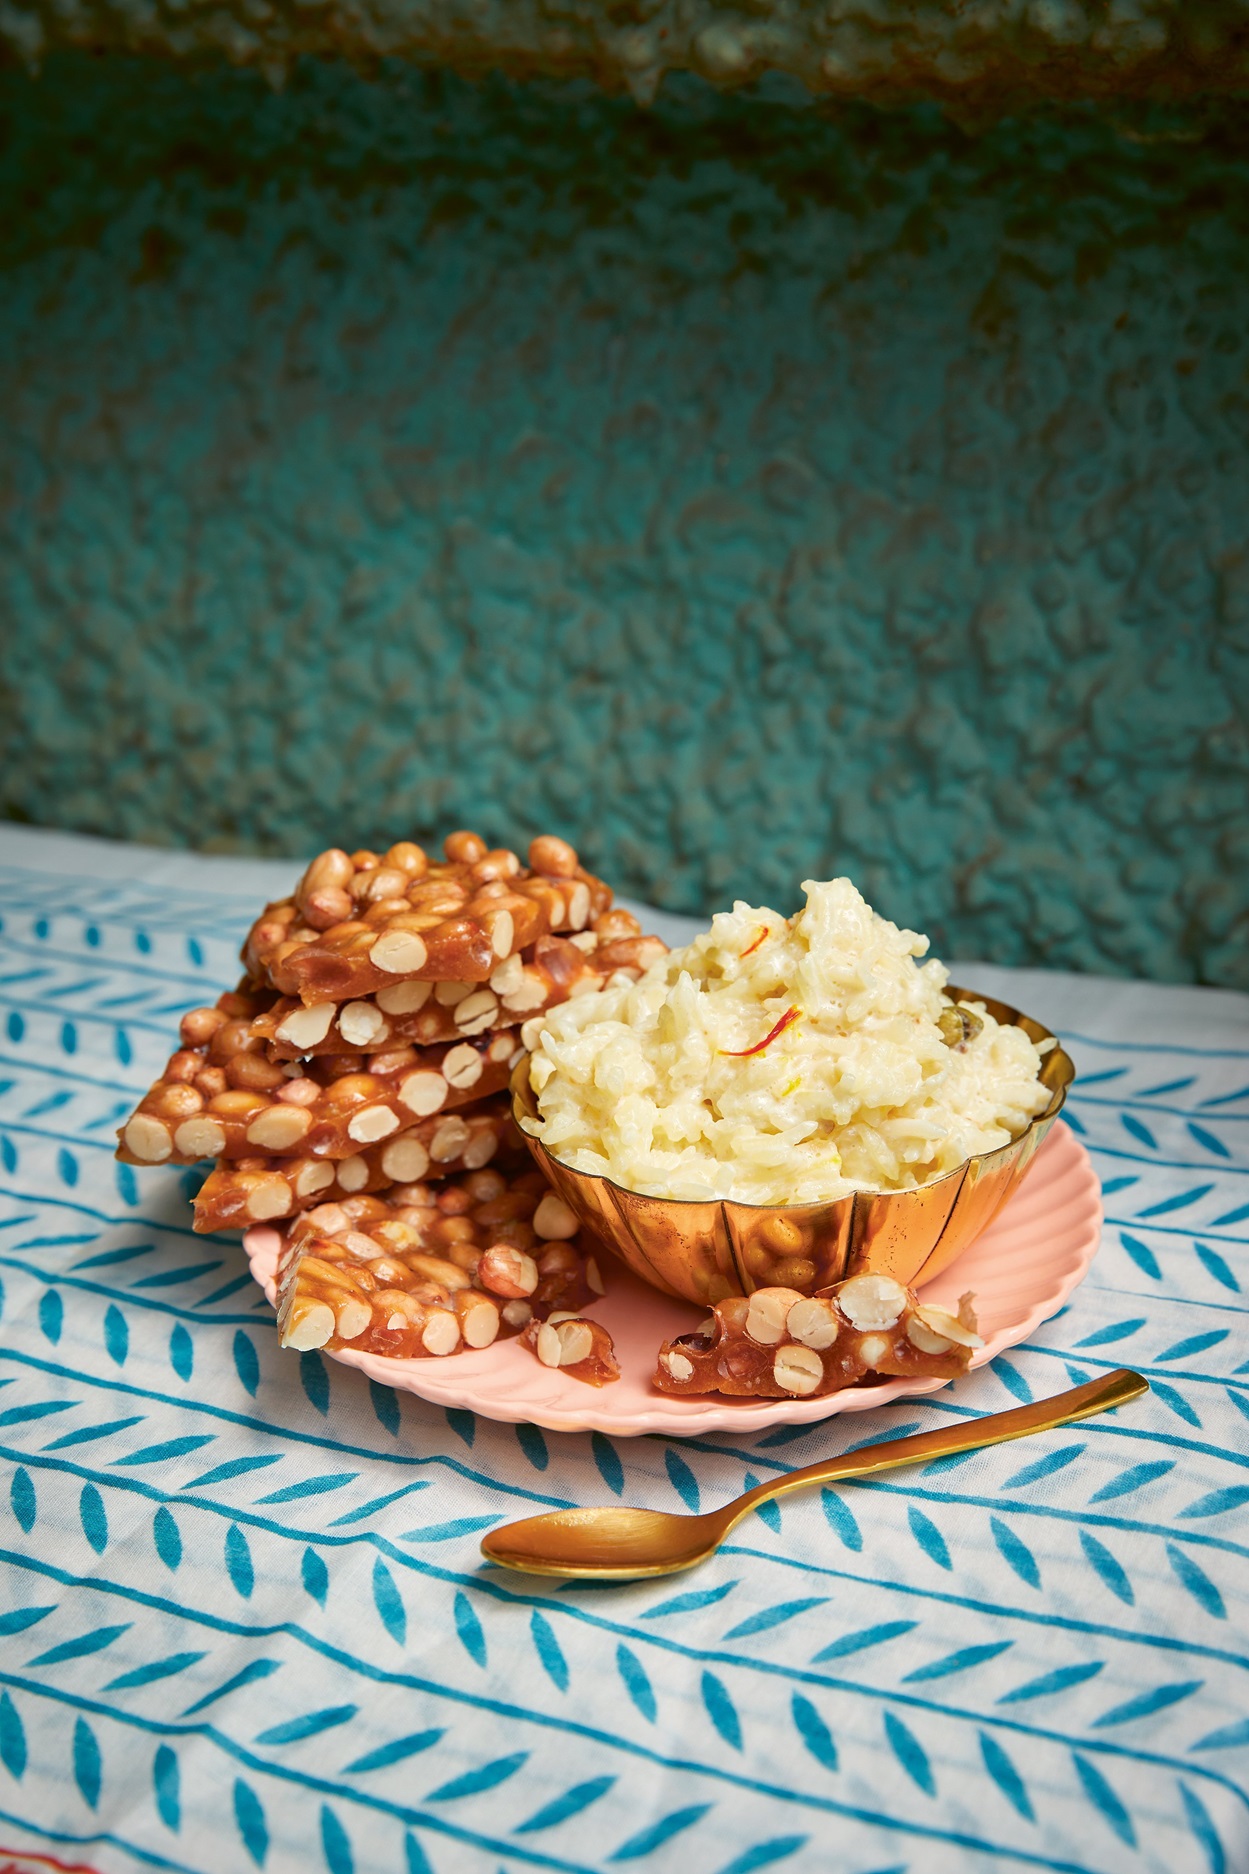 Kheer
Kheer
As a dessert, kheer appears on Kashmiri Hindu tables at all the significant havans; weddings, funerals and annual pujas. Saffron isn’t always included, but when it is, it changes kheer, embedding a deeply traditional taste. It’s absolutely worth starting with the best long-grained basmati rice you can find. And the pot matters quite a lot. Mum used to make it in our rice pot. I did too ... until I discovered how beautifully my Le Creuset casserole conducts heat for this type of longer, low-temperature cooking.
Serves 6
Ingredients
150g basmati rice
5 cups (1¼ litres) milk
50g slivered almonds
4 green cardamom pods, husks cracked
pinch of saffron threads
To finish
1¼ cups (330g) caster (superfine) sugar
edible silver leaf (optional), to decorate
Method
Start 3 hours before cooking by rinsing the rice a few times with cold water, then leaving it in a bowl of cold water to soak. Soaking allows the rice to release its flavour profile.
When ready to cook, heat the milk in a large heavy-based saucepan over medium high heat, stirring constantly, until it begins to boil.
Reduce the heat to medium and add the slivered almonds, cardamom pods and drained basmati rice. Cook, stirring constantly with a wooden spoon, for about 20 minutes, until the rice has softened. (We’re cooking the rice starch and milk protein into a sweet foundation that will create weight and structure. The aromatic body of green cardamom is structural reinforcement.)
Spoon 2 Tbsp of warmed milk from the pan into a small bowl. Crush the saffron threads just a little, then stir them through the warmed milk until they release their colour. (Smell it now and you’ll get all of that incredible sandalwood, pressed cotton, hot dry flower aroma. For a fragrant and delicate spice, saffron has incredible integrity.)
Stir the saffron milk into the kheer. Add the caster sugar, still stirring constantly. (The overt sweetness creates density and richness, but if you taste it now, you’ll feel why this kheer is not about the sugar. Instead, the lasting impression is an entrance into green cardamom and then a step up to the strong elegance of saffron. It feels like rice pudding, but grown up.)
Now replace the wooden spoon with a metal one — it keeps the sugar notes tighter — and continue cooking over medium heat, stirring constantly, until the rice has thickened and yellowed, 20-30 minutes. Remove from the heat and spoon into small bowls. Decorate with silver leaf if you like.
Refrigerate for 2-3 hours, then remove from the fridge about 30 minutes before serving.


