PHOTO

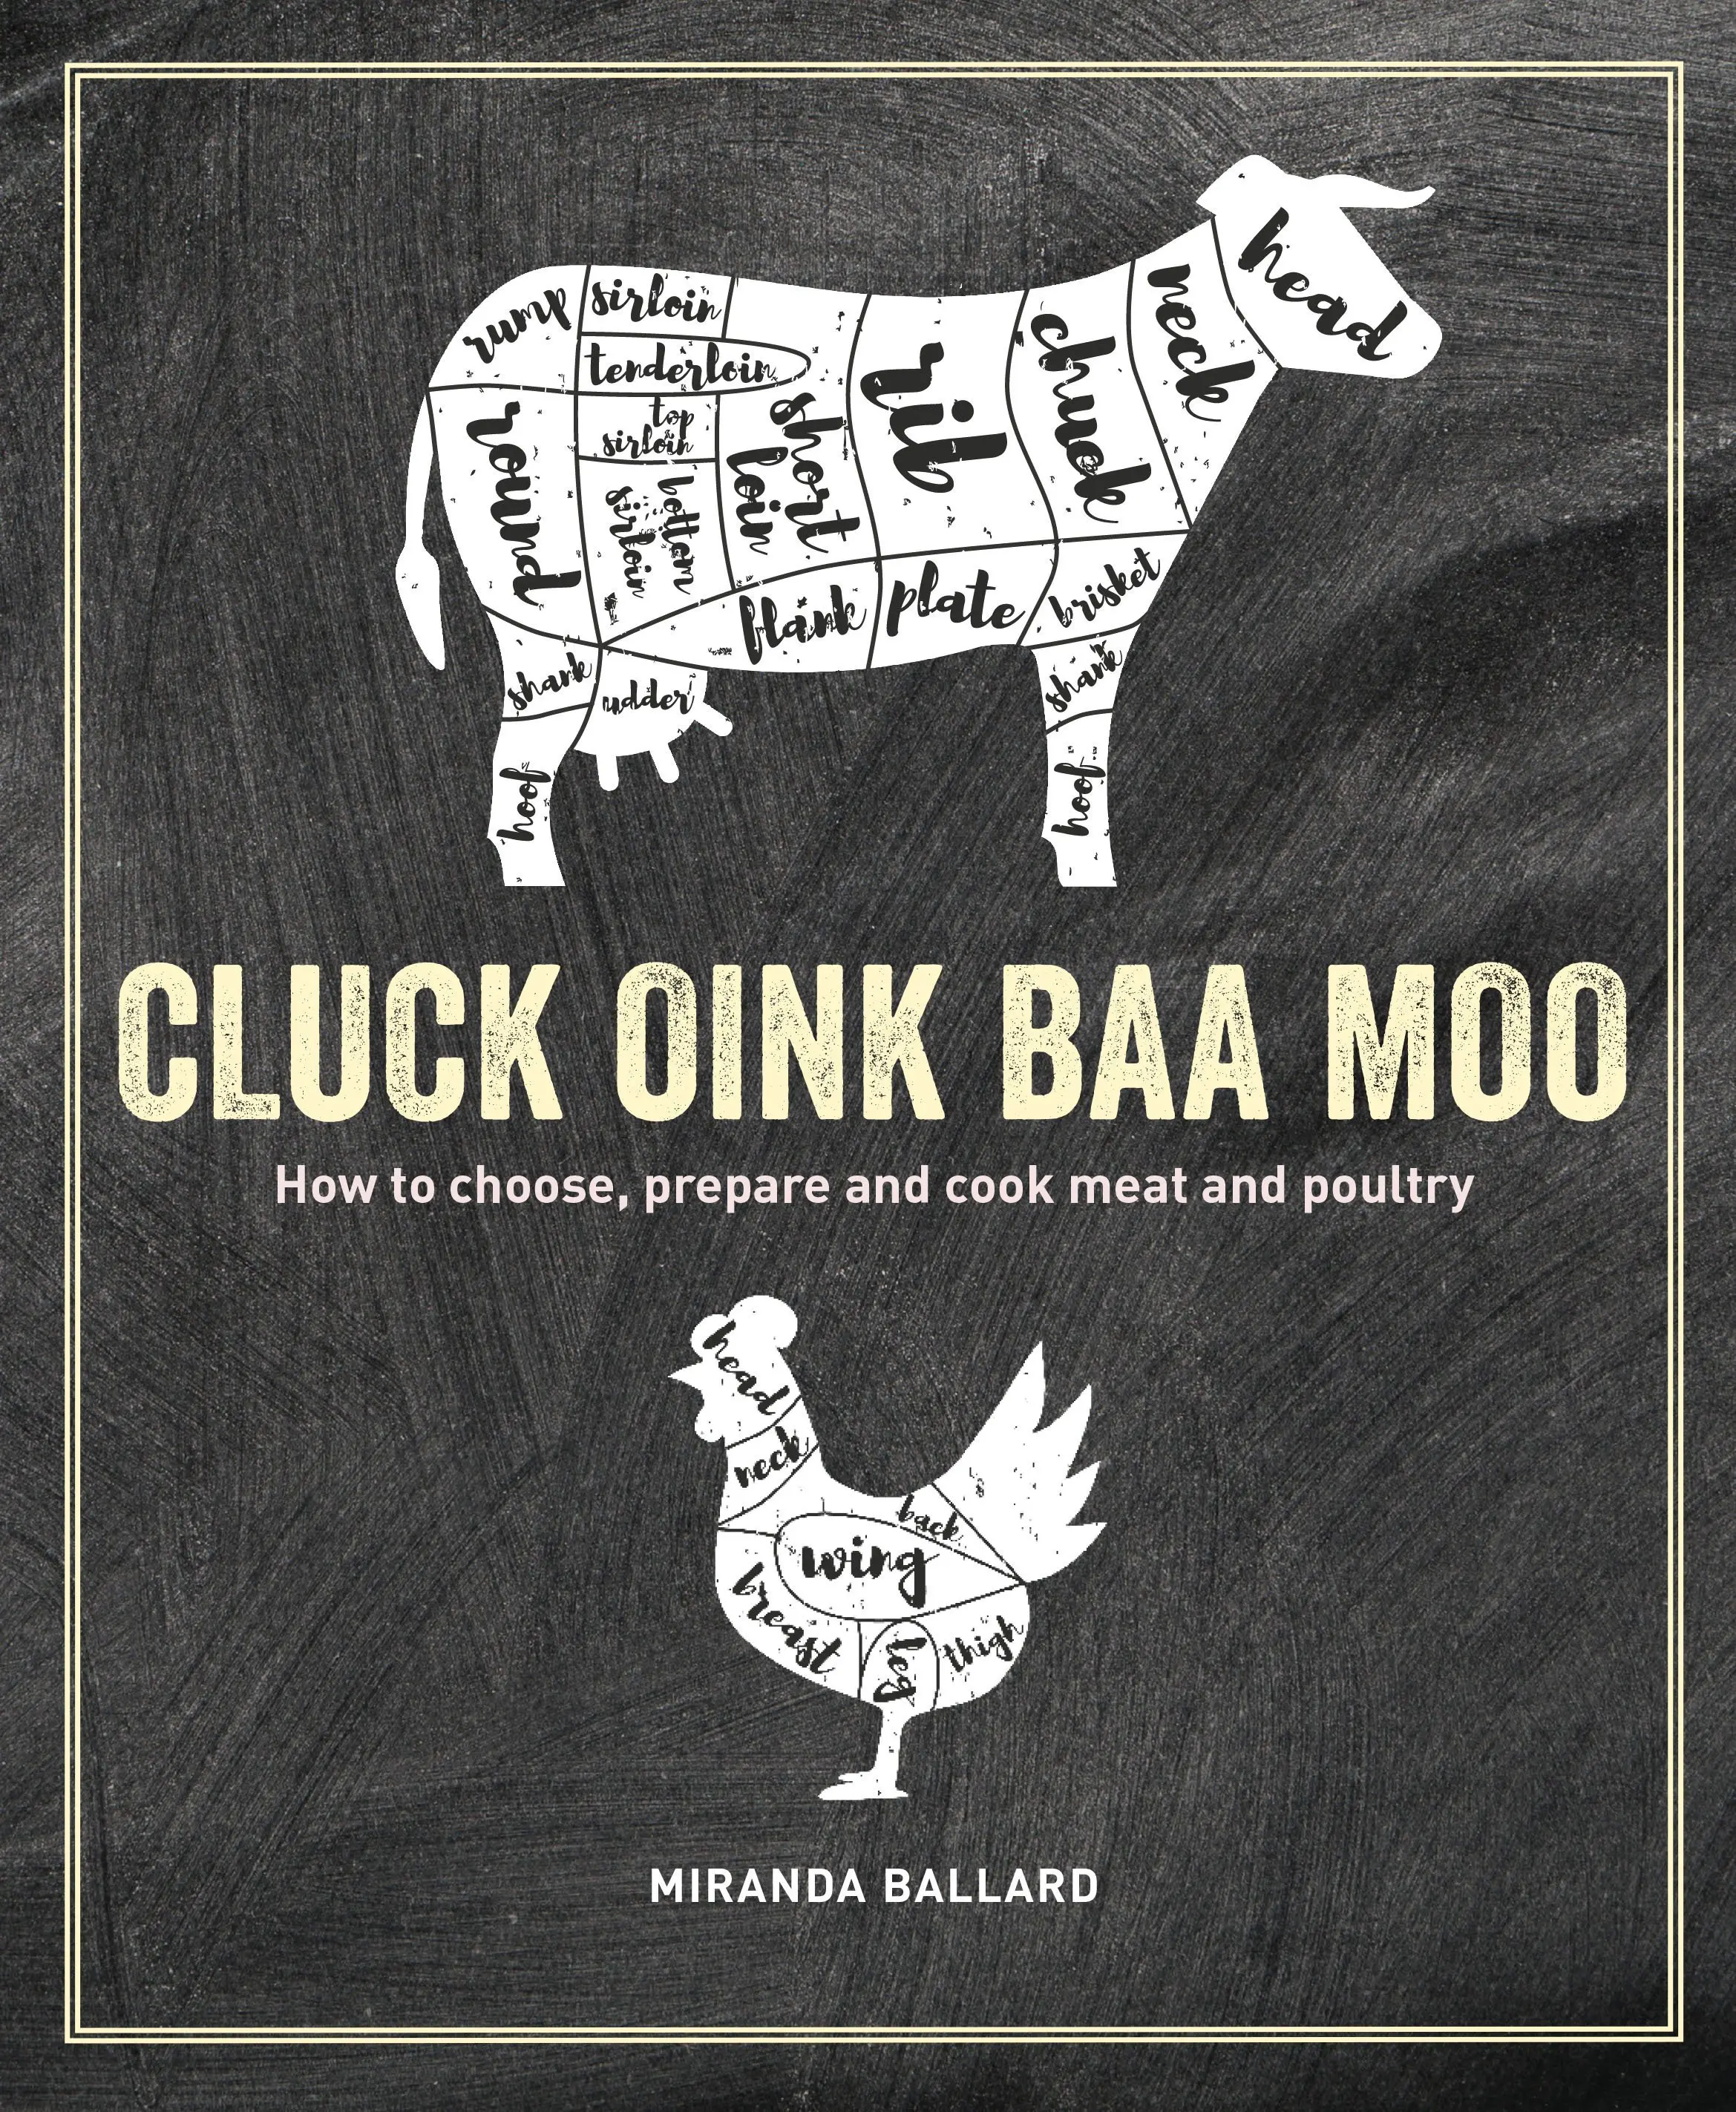
She believes a modern meat cook does not need to be detached from the handling of meat so shares her ‘‘cooktchery’’ knowledge in her latest book Cluck Oink Baa Moo.
Cooktchery is a term I use for cutting meat at home. Essentially it is butchery for cooking, rather than retail.
Skilled and trained butchery is a beautiful thing to watch - the effortless flow and controlled pace of an experienced butcher cutting down some meat is utterly mesmerising. It is, however, a craft for a profession and it has been developed for two main reasons: the commercial value of using the maximum amount of meat on a carcass and achieving the best presentation to appeal to customers.
However, cutting a piece or joint of meat in your own home isn’t the same as cutting it for retail. You don’t need to worry about the cumulative cost of a few grams of meat going to waste on 1000 carcasses in a month, for example, and you don’t need to worry that it’s looking perfect for retail. You’re simply going to cook it.
So let’s start doing a bit of cutting ourselves in our own kitchens. We already do this when we trim a bit of rind on bacon or remove the skin on chicken breasts, for example. If it’s any interest to you to take it a step further, you’ll see that’s it really easy, very satisfying and (to suit our modern lives and budgets), much better value than pre-packaged cuts.
And you won’t be surprised to hear me say again, if you start with ‘‘good meat’’ you simply can’t go wrong. Butchery for the purpose of cooking is wonderfully easy, I promise.
Cooktchery tools
These are all available with a quick internet search, or ask your butcher or local meat shop if you can source some equipment through them.
• Butcher’s twine
• Paring knife
• Chef’s knife (larger, all purpose kitchen knife, ideally with a bit of weight to it and more than 15-cm length of blade)
• Knife sharpener
• Scissors
• Cutting board
• Muslin/cheesecloth ( optional)
• Meat saw ( optional)
• Boning knife (optional - quite like the paring knife for getting into small cuts but more flexible to be able to bend around the bones and joints)
Cooktchery tips
Here are a few cooking hints and tips that will help you become a successful and confident cooktcher!
Rolling with twine
The stronger the twine or string, the easier and better. Red and white (or blue and white) butcher’s twine is best.
Simply explained, you need to tie the meat back together after you’ve boned it. You can make individual ties: cut a piece of twine, wrap it under the meat, tie it on top tightly with a double knot, then trim the ends. And repeat. If you’re doing this, it’s easiest to start in the middle of the piece of meat to hold the centre together (the first knot is always the hardest), then do the next one to the right and to the left, and then back to the right, et cetera.
Tunnel boning
As the name suggests, this is tunnelling out a bone. It is, for example, how you could get the bone out of a pork leg without having to cut a line down the middle to reach the bone and open out the meat. It’s only recommended if you’re going to slow cook the piece of meat. This is because, by tunnelling in from either end with a knife until the bone can be twisted out, you get a neat and tidy result but you haven’t had access to the sinews and tissue inside, so you won’t have trimmed it back to lean muscle. Therefore a fast, dry roast will mean that the ‘‘chewy’’ bits inside don’t have a chance to dissolve and tenderise.
Sharpening your knife
My favourite method of sharpening a knife is by using a ‘‘steel’’ (a handled, long rod of metal). A sharp knife makes everything easier. A butcher will have their steel by them (or connected to their belt) and will do three quick sharpens every 10-15 slices of meat. It becomes a habit and keeps the knife razor-sharp. I hold the steel with the tip down and the weight of my arm holding the handle in place and then run the blade of the knife either side of the steel, just a few times. The best advice I can give you is to keep playing with it. Wait until it sounds right and feels satisfying. Have a lemon nearby, as that’s great for testing for sharpness (and cheaper than slashing up a piece of meat). If you pinch your thumbnail on the blade edge too, you’ll hear a click on a ridge one way and feel a rounded curve on the other side. There is a dominant side to your knife — don’t worry about this too much, but if you do two strokes on the soft side and one on the ridge side, you’ll have a sharp knife in three strokes.
Hand-cutting and cubing
Cubing is very simple. The longer you’re going to cook the meat, the less you need to trim it, as the tissue and proteins will break down in the liquid (for example in a cassoulet or stew). However, if you’re using diced meat for a shorter or dry cooking process (for example in a stir-fry), trim off all the fats and sinew so that you just have lean meat, as the strips or cubes of meat won’t have long enough to tenderise.
Mincing/grinding seems like something that needs a mincer/grinder but it really isn’t more complicated than finely dicing an onion, for example. Just keep slicing it until it’s in really small pieces. You’ll get to experience a wonderfully different texture and flavour with hand-cut mince in dishes like spaghetti Bolognese or chilli con carne. If you’re cutting it for burgers, meatballs or meatloaf, try to go even more fine so that it binds together well.
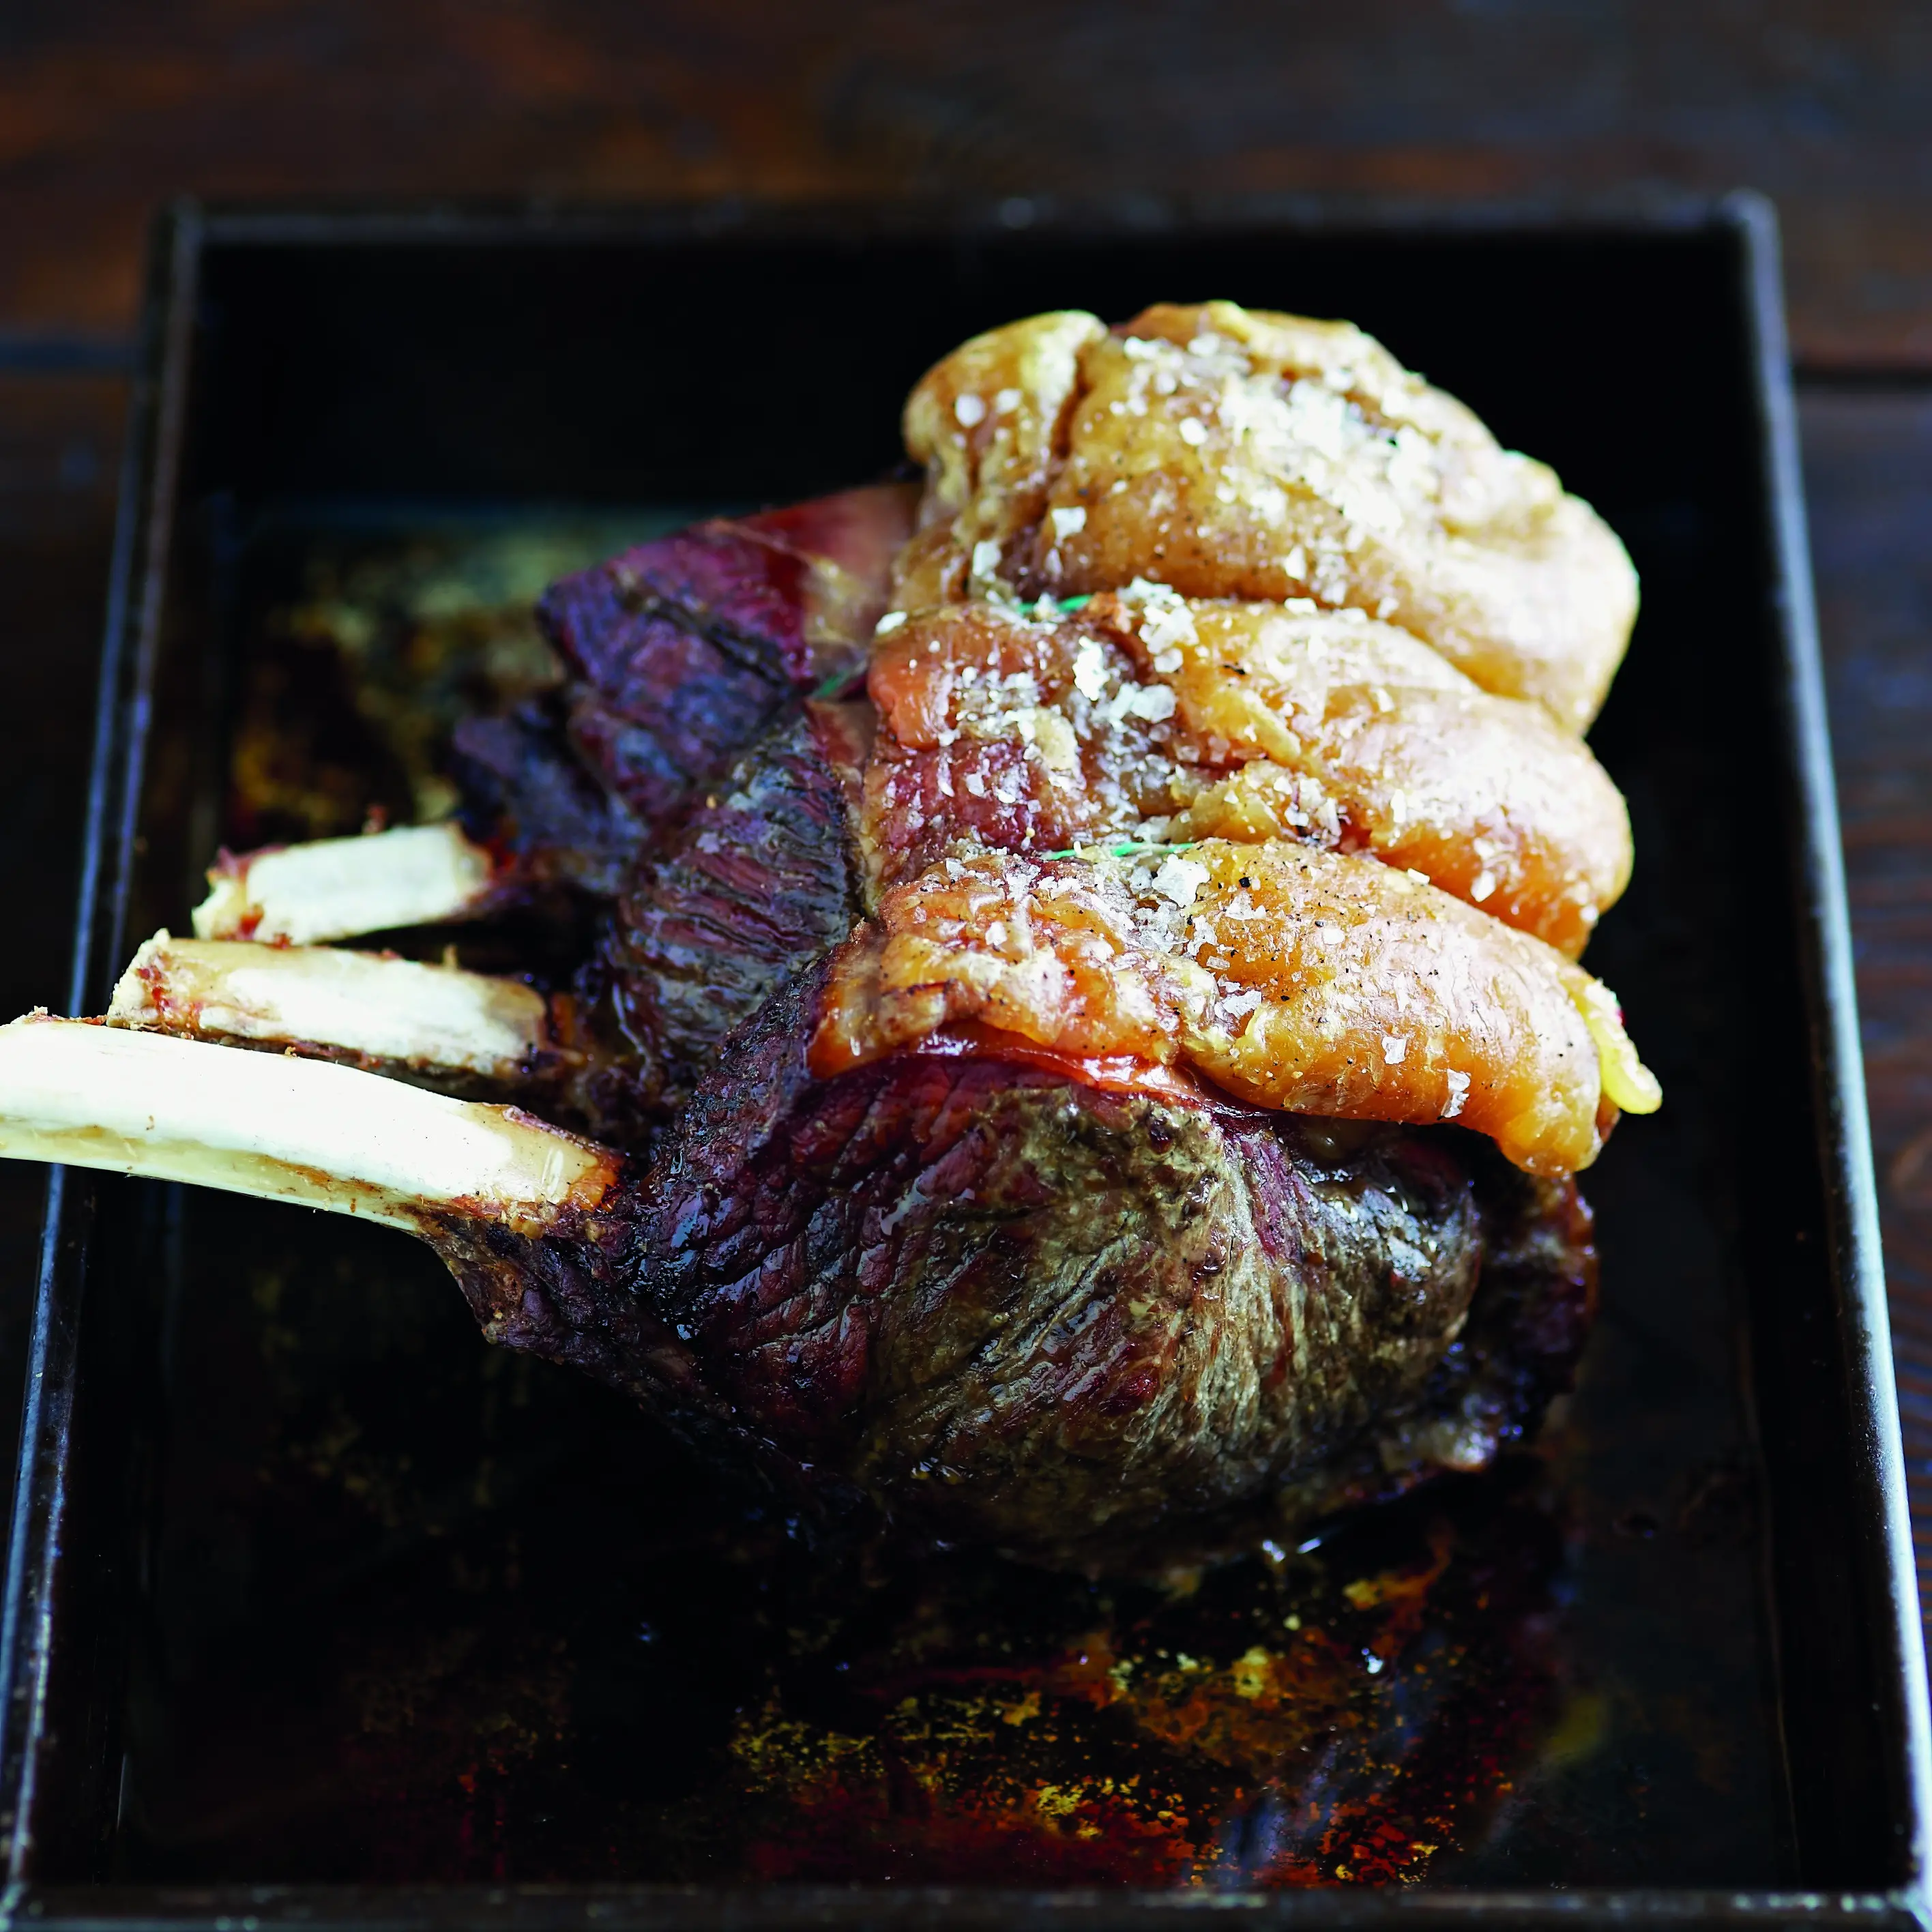
Roast rib of beef
Serves 6-8
Three bone rib of beef (about 3kg)
Preheat the oven to 190degC.
Roast in preheated oven for 20min and then reduce heat to 160degC and roast for a further two hours for medium.
Turn off the oven, open the door to let the heat out and then shut the door again, leaving the beef to sit in the warm oven, still uncovered for 15 minutes. (If you are roasting vegetables at the same time, remove the meat and leave it to stand in as warm place).
Remove the twine and place the meat on a carving board. Save the juices to use in the gravy.
Easy roast gravy
Serves 6
2 tablespoons plain/all-purpose flour
100g brown chicken stock or 200ml/scant 1 cup chicken stock from a stock/ bouillon cube
2 teaspoons redcurrant or cranberry jelly
salt and black pepper, to season
Method
Once your meat is fully roasted, move it to a board to rest (don't put kitchen foil over the top; you'll only be a few minutes, so just let it breathe).
Drain nearly all of the meat juices from the roasting pan into a jar, but leave the last 3-4 tablespoons in there. This is usually the fattier portion, which is what we want.
Put the roasting pan over a medium heat on the stovetop and let the reserved fatty meat juices start to bubble.
Stir in the flour and then add the stock and stir well until smooth. Add the redcurrant or cranberry jelly and keep cooking until thickened and glossy. Season to taste.
Transfer to a gravy boat or spoon over the carved meat.
Foolproof roasties
Serves 4
6 Maris Piper or Yukon Gold potatoes, peeled and quartered
100g goose/duck fat or 100g/7 tablespoons butter
1 tablespoon plain/all-purpose flour
salt, for the water
Method
Preheat the oven to 200degC and put a roasting pan in the oven to heat up.
Put the potatoes in a pan of water with a pinch of salt. Bring to the boil then reduce the heat to low and simmer for 2 minutes.
Meanwhile, remove the hot roasting pan from the oven and put the goose fat or butter in. Return it to the oven to get really hot.
Drain the potatoes well in a colander. Take the lid from the pan and hold it securely over the top of the colander, then shake, shake, shake for 15 seconds to roughen the edges a little. Sprinkle with the flour.
Carefully put the potatoes into the hot fat (be wary of splashing) and roast in the preheated oven for 15 minutes. Turn all the potatoes over and return to the oven for a further 15 minutes.
If they're still not quite crispy, turn them again and replace for a further 10 minutes, until golden brown and crispy.
Yorkshire puddings
Makes 8-10
3 eggs, beaten
200g/1½ cups plain/all-purpose flour, sifted
250ml/1 cup full-fat/whole milk
salt and black pepper, to season
an 8-10-hole muffin pan, greased well with butter or dripping
Method
Preheat the oven to 180degC.
Beat the eggs into the sifted flour, then use a whisk or electric hand-held whisk to mix while you add the milk. Mix until smooth and season with salt and pepper.
Place the batter in the fridge for 30 minutes to rest.
To help the batter brown well on the underside and ensure a good rise, put the greased muffin pan in the preheated oven for the last 5 minutes of the batter's resting time.
Take the hot pan out of the oven and divide the batter between the holes. Put it back in the oven and cook for 25-30 minutes, but keep checking the puddings after 20 minutes and remove once risen and golden brown.
Honey parsnips
Serves 4
2 tablespoons olive oil
4-5 parsnips (depending on how chunky they are), peeled and quartered
4 tablespoons runny honey
1 teaspoon mustard powder (optional)
salt, for the water
Method
Preheat the oven to 180°C
Put the olive oil in a roasting pan and place in the oven to heat up.
Bring a pan of water to the boil over a high heat, add the quartered parsnips and a pinch of salt and boil for 2 minutes. Drain well.
Take the hot roasting pan out of the oven and tip the parboiled parsnips into the hot oil carefully, being wary of spitting oil. Toss the parsnips in the hot oil to coat them all over.
Roast the parsnips for 5 minutes in the preheated oven to dry them out a little. Then drizzle the honey over the top, sprinkle with salt and return to the oven for 15-20 minutes, until sticky and brown. You can also add mustard power along with the honey, if you like.

Serves 1
2 slices of bread, or a bagel or roll of your choice
1 garlic clove, skin still on
2 rashers/strips streaky/fatty bacon (optional)
20g Stilton or other blue cheese, thinly sliced
2-3 slices of leftover roast beef
1-2 cherry tomatoes, as ripe as possible, sliced
Method
Preheat the oven to 200degC.
Put the garlic clove (skin still on) on a baking sheet and cook in the preheated oven for 10 minutes.
Fry the bacon in a frying pan/skillet over a medium heat until crisp and cooked to your liking. Set aside on paper towels to soak up any excess oil.
Meanwhile, lightly toast the bread.
Set the roasted garlic aside to cool, then once it’s cool enough to handle, squeeze out the inside of the garlic clove by cutting off the hard end and gently squeezing the soft centre.
Butter the bread and then spread the soft garlic puree on top. Place the Stilton or blue cheese slices on top, then add your beef, followed by the tomato slices and finally the crispy bacon.