PHOTO
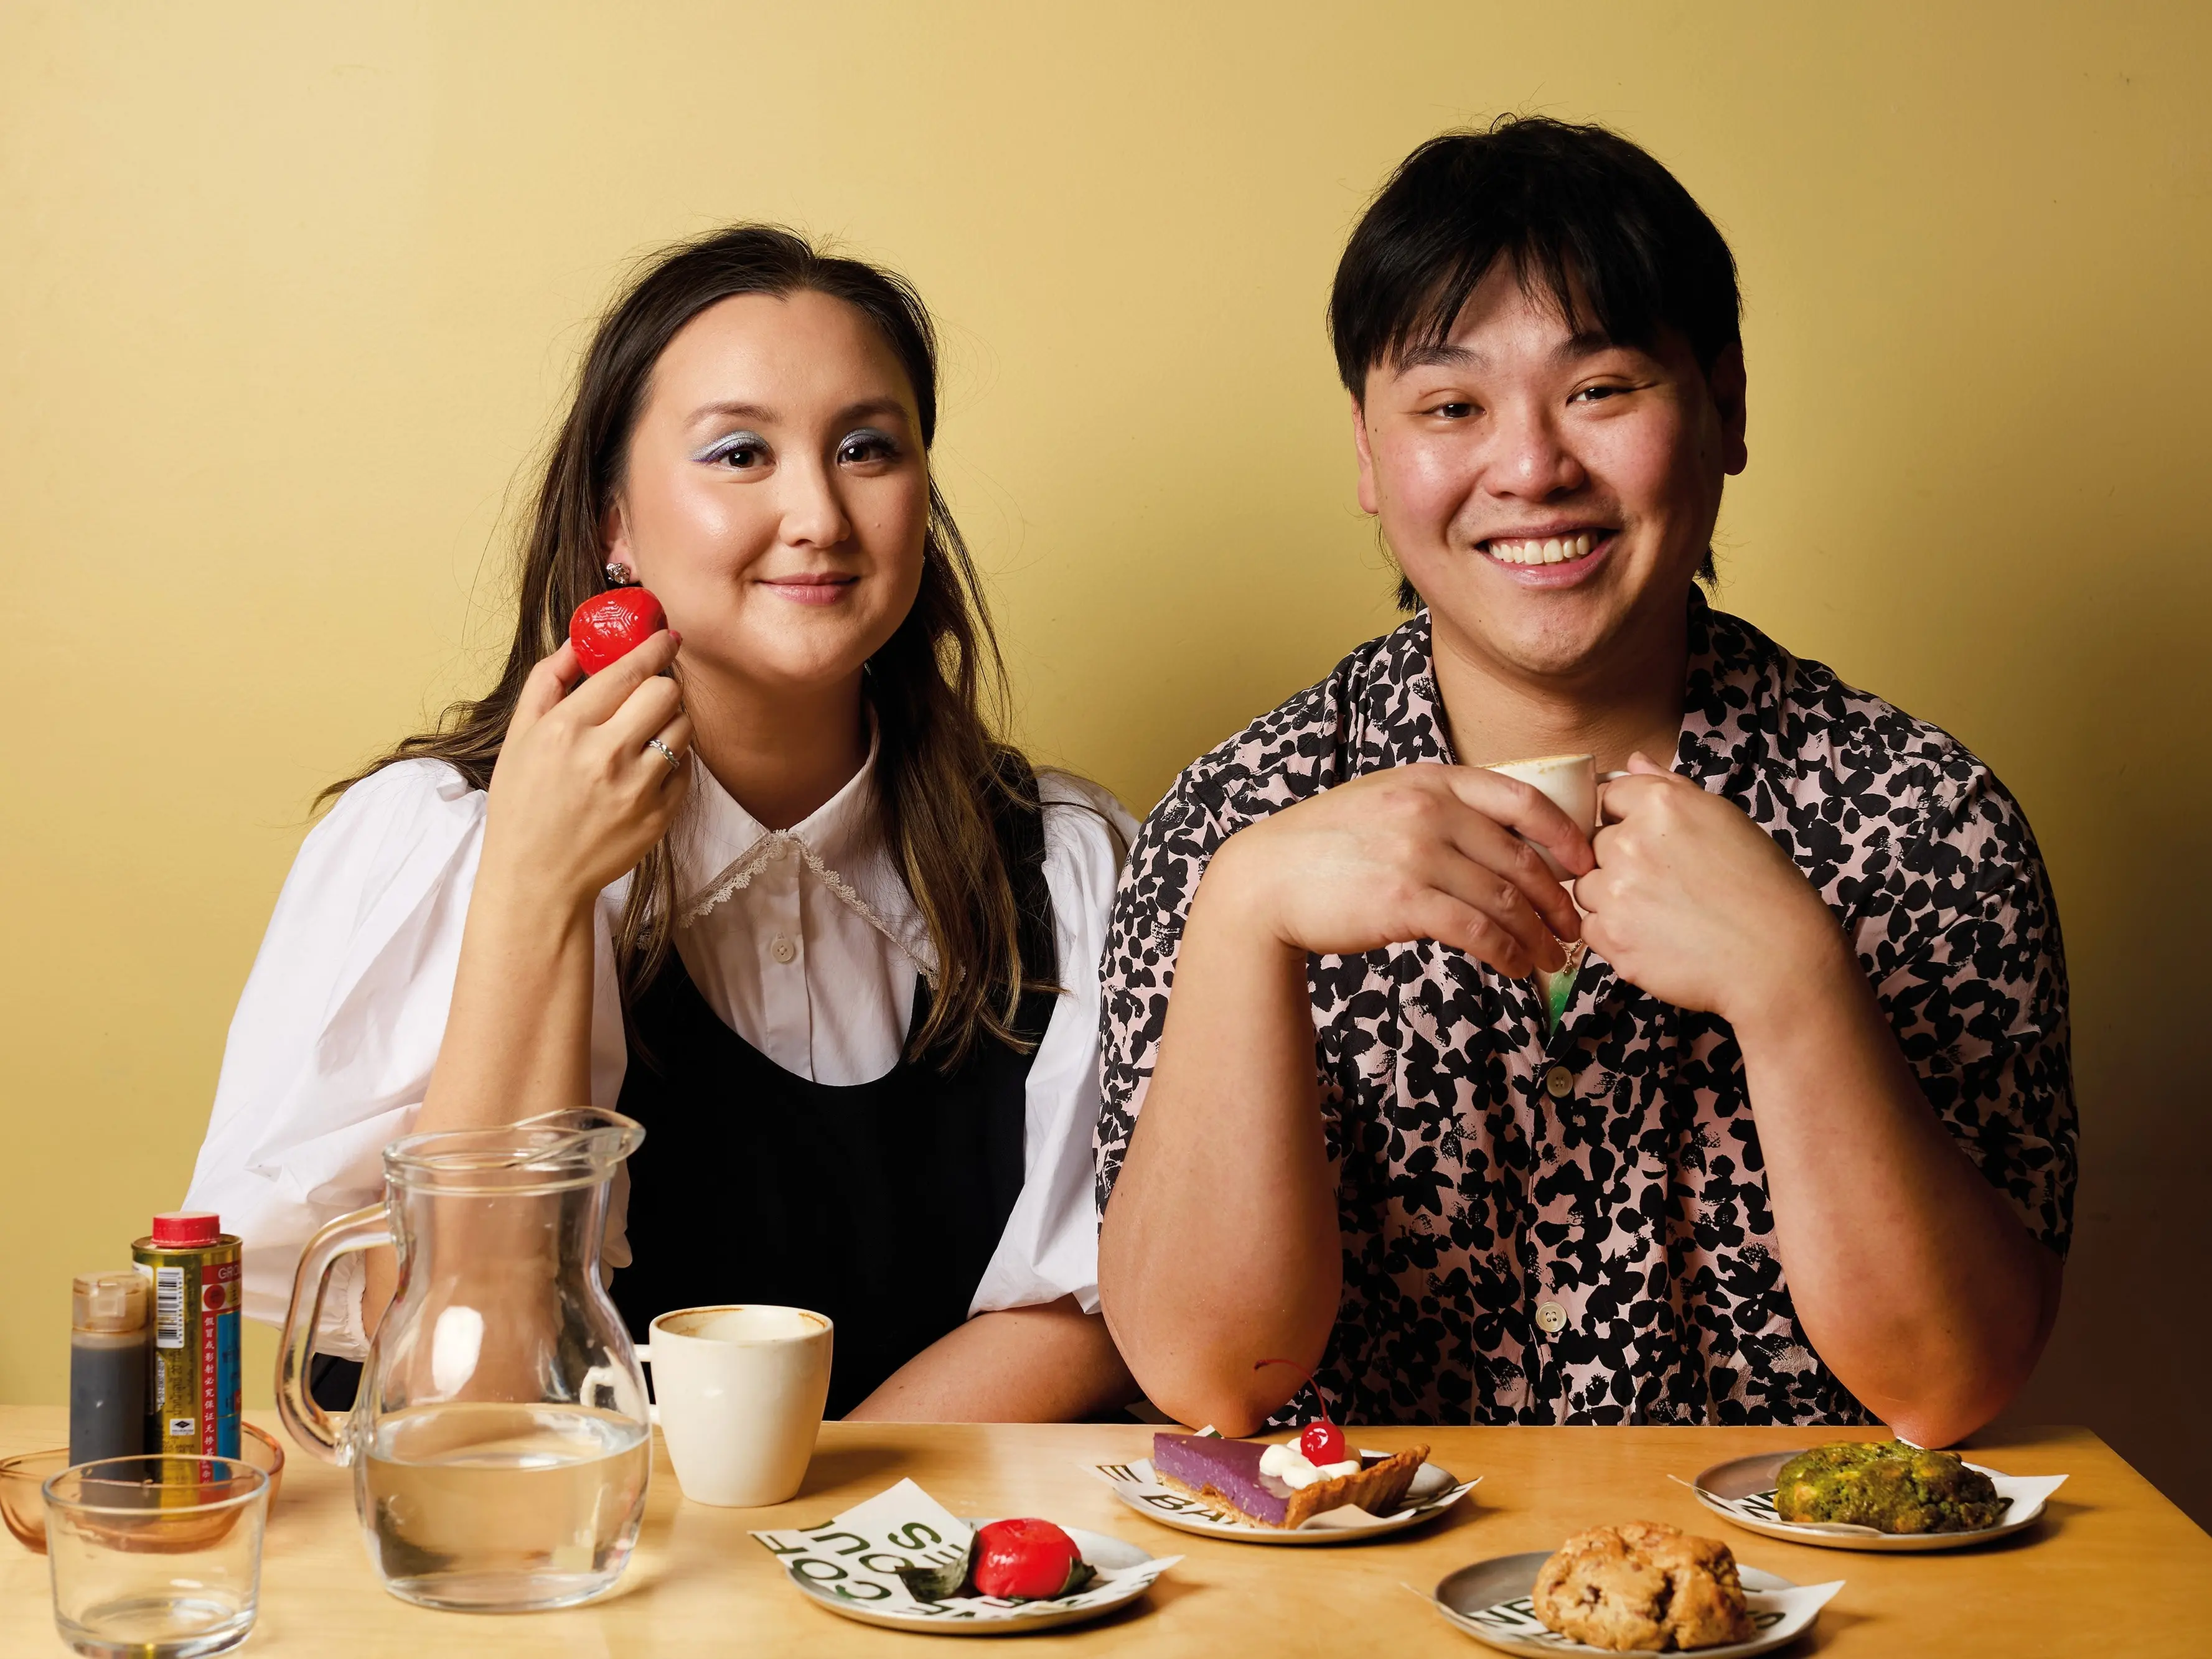
Homesickness and reality television led Raymond Tan to baking - to make the celebratory foods he missed from home and to see if doing so was as hard as the programmes made out.
Tan had never turned on an oven before he moved to Australia in 2006 but now runs two Melbourne bakeries, Raya and Dua, adding his Southeast Asian spin on baked goods from mooncakes to miso peanut cookies.
He started out making the “hard things’’ tarts, sourdough and a lot of macaroons and then birthday and wedding cakes.
‘‘Then I made cake popsicles and everything went crazy. Suddenly I was making these cake pops for fashion houses and major events.’’

Then he made fortune cookies and rainbow teochew mooncakes which gained a lot of interest online. It led to him travelling the world, teaching baking classes.
‘‘Everything happened so quickly, it was a whirlwind.’’
He had always used Southeast Asian flavours such as pandan in his desserts but after travelling he found himself even more drawn to the flavours he grew up with.
‘‘I started to make a lot of mooncakes, which we always eat during the Mid-Autumn Festival and became interested in their symbolism, the meanings behind them and why we give them as gifts.’’
Then when Covid hit a homesick Tan began making Kueh, traditional Malaysian sweets.
‘‘If I hadn’t moved to Australia, I don’t think I would have become as interested in food and the stories behind different dishes.’’
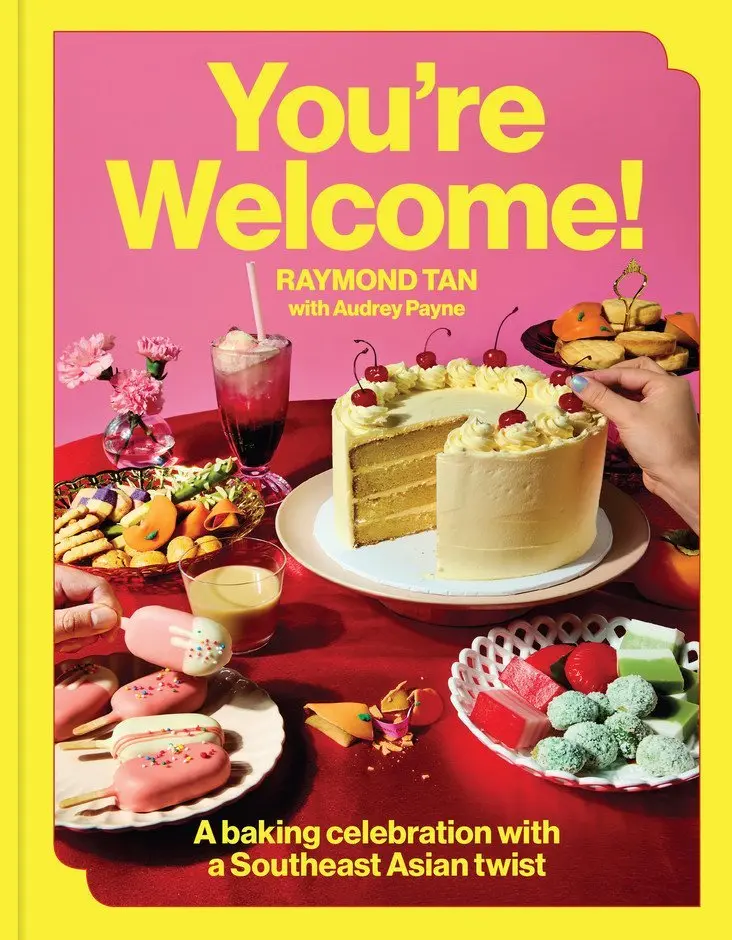
His book, written with food writer Audrey Payne, You’re Welcome!, features some of his popular bakes including cookies for Chinese New Year, layer cakes for weddings and birthdays, mooncakes for mid-autumn festivals, savoury bites, breads and kueh.
The book
Images and text from You’re Welcome! By Raymond Tan with Audrey Payne, photography by Louise Hagger, published by Murdoch Books, RRP $55.

Blackout brownies
Makes 9 (or 16 bite-sized)
340g (1⅓ cups) unsalted butter, chopped
45g black cocoa powder
45g Dutch-processed cocoa powder
7g ground coffee
150g (⅔ cup) caster (superfine) sugar
113g brown sugar
135g dark chocolate, chopped
6g (½ Tbsp) vanilla extract
3 eggs
110g plain (all-purpose) flour
65g dark chocolate chips
65g milk chocolate chips
5g flaky sea salt
Method
Preheat the oven to 180°C. Grease the sides of a 19cm square cake tin and line the base with baking paper.
To make a brown butter, place the butter in a large saucepan (preferably light coloured, so you can see the butter turning brown) over medium heat. Stir until it melts, then watch it carefully, stirring occasionally. The butter will go through a few stages. First, it will foam as the water evaporates, then the milk solids will start to brown and light brown specks will form at the bottom of the pan. Continue to stir occasionally to prevent the milk solids from sticking, until the milk solids are brown and the butter has a nutty scent, about 8–10 minutes. Remove from the heat, then strain through a fine sieve into a large bowl. This should yield about 280g.
While the brown butter is still hot, add the cocoa powders, coffee, sugars, dark chocolate and vanilla. Stir until the chocolate melts and all the ingredients are combined.
Beat in the eggs one at a time, making sure each egg is fully incorporated before adding the next, then fold in the flour with a spatula.
Pour the brownie batter into the baking tin and sprinkle with dark and milk chocolate chips and the sea salt. Bake until just set, about 40–45 minutes. Cut into 9 large squares or 16 smaller squares with a knife.
Brownies will keep in an airtight container at room temperature for a week or in the fridge for 2 weeks.

Miso peanut cookies
Makes 35-40
100g (⅔ cup) skinless unsalted peanuts
45g pure icing (confectioners’) sugar, sifted
15g raw sugar
165g plain (all-purpose) flour, plus extra as needed
20g (white (shiro) miso paste
90g peanut or other neutral oil
1 egg yolk, beaten with a dash of milk, for egg wash
Method
Preheat the oven to 165°C. Spread the peanuts evenly on a baking tray and roast, checking them frequently (they burn quickly), until golden, about 8–10 minutes. Cool, then grind them in a food processor or with a mortar and pestle, or bash them in a zip-lock bag, until fine.
Increase the oven to 180°C and line two baking trays with baking paper. Add the icing sugar, raw sugar, flour and miso to a bowl, add the ground peanuts and combine with a wooden spoon or by hand.
Gradually pour in the peanut oil (you may not need it all), while mixing, until everything just comes together; the dough should still be a bit crumbly, but hold its shape if rolled. If the dough is too oily, add a pinch of extra flour.
Shape the dough into small balls – about 10g each or the size of a large grape – and place them on trays, leaving 3cm between them.
Brush each cookie with eggwash, then with the tip of a small piping nozzle covered in plastic wrap, or a boba straw, make a round indent in the centre of each cookie.
Bake until golden, about 12–15 minutes. Remove from the oven and leave on the baking trays to cool. Miso peanut cookies will keep in an airtight container at room temperature for 3–4 weeks.

Curry buns
Makes 14
2 batches Shokupan dough
½ batch of Mum’s Curry Chicken
Oil spray, for greasing
1 egg yolk, beaten with a splash of milk, for eggwash
Method
First, make a double batch of Shokupan dough. When you get to step 5, portion the dough into 80g balls and set aside.
Make a half-batch of Mum’s Curry Chicken, then spoon the curry chicken into the foil cupcake cups, filling them almost to the top. Wrap the shokupan balls around and over the foil cups, encasing them like a dumpling (the foil cups get baked inside the buns).
Place the buns on a greased baking tray. Whisk together the egg yolk and milk to make an egg wash, then brush the tops of the buns with it.
Leave the buns in a warm place to proof until they double in size, about 30–40 minutes. Meanwhile, preheat the oven to 200°C.
Bake until golden, about 25–30 minutes. Remove the buns from the tray and cool on a wire rack. Curry buns will keep, refrigerated, for 2 days. Reheat the curry buns in the oven or in an air fryer – don’t microwave them, they’re filled with metal!
Shokupan
Oil spray, for greasing
1 egg, plus 2 egg yolks
125g (½ cup) milk, plus a dash extra for eggwash
9g dried instant yeast
35g white (granulated) sugar
320g strong (baker’s) flour
8g (1⅔ teaspoons) fine salt
42g unsalted butter, softened
Tangzhong
60ml milk
20g strong (baker’s) flour
For the tangzhong, add the milk, flour and 25g (1¼ tablespoons) water to a small saucepan. Place over medium heat, and stir with a wooden spoon or spatula until a very soft, paste-like dough resembling thick porridge forms, about 2 minutes. Cool to room temperature. (If the tangzhong is too hot before proceeding to the next step, your shokupan dough will proof too quickly.)
Thoroughly grease a 600g loaf tin, then grease a large bowl. Place the whole egg plus one egg yolk, the milk, yeast, sugar, flour, salt (keep the salt away from the yeast) and tangzhong in a stand mixer fitted with the dough hook. (If the tangzhong is still warmer than room temperature, mix it with the milk first to bring the temperature down before adding it to the other ingredients.) Knead on low speed until a dough forms, about 8 min.
Add the butter and knead until the dough is smooth and elastic, about 7-8 minutes. To check if the dough’s been kneaded enough, pinch off a golf ball-sized piece and gently stretch it: when it’s ready, it should be thin enough for the light to pass through. If it tears easily, continue kneading for a few more minutes then test it again. This is often called the windowpane test. Take care not to over-knead the dough or it’ll become quite stiff and your final loaf won’t be soft.
Place the dough in the greased bowl and cover it with a pot lid or a tea towel. Leave in a warm place until tripled in size, about 45 minutes to an hour. To test if it’s ready, poke it with your finger: if it springs back, it needs to be proofed for longer; if it stays indented, it’s ready.
Mum’s Curry Chicken
1 Tbsp vegetable oil
1 packet (about 230g) instant chicken or meat curry paste (I like A1 brand)
8 eschalots, diced
8 garlic cloves, very finely chopped
15g piece ginger (about 3cm/1¼ inches), peeled and cut into julienne
6 birdseye chillies, sliced
1kg boneless chicken thighs, cut into bite-sized pieces
3 tsp light soy sauce
2 tsp fish sauce
4 large potatoes, peeled and cut into bite-sized pieces
10g fresh curry leaves
300ml coconut milk
25g caster (superfine) sugar
Sea salt and finely ground white pepper, to taste
4 makrut lime leaves, cut into thin strips
Steamed rice and Roti Jala, to serve
Method
Heat the oil in a large saucepan over medium heat. Add the curry paste and cook, stirring, until fragrant, about 2 minutes. If the paste catches, add a few tablespoons of water to stop it from sticking and burning.
Add the eschalot, garlic, ginger and chilli and continue cooking, stirring occasionally, until the shallots have softened, 3–4 minutes.
Add the chicken, soy sauce and fish sauce. Stir to coat the chicken with the paste well, then cook, stirring occasionally, until lightly browned, about 5 minutes.
Add just enough water to cover the chicken and bring to a boil. Reduce to a simmer, add the potato and curry leaves and simmer, stirring occasionally, for 20 minutes or until the chicken is tender and the potato is just cooked through.
Stir in the coconut milk, bring to the boil, then stir in the sugar and season to taste.
Turn off the heat and garnish with makrut lime leaves. Serve with steamed rice and Roti Jala. Curry will keep refrigerated, in an airtight container, for 2 days, or frozen for a month.